Ingredients
Equipment
Method
- In a large bowl, mix the bread flour, whole wheat flour, and water together by hand just until no dry flour remains. Cover and rest (autolyse) for 30 minutes.
- Add the starter and salt. Mix and knead until smooth and elastic, 8–10 minutes by hand or 6–7 minutes with a stand mixer.
- Cover and bulk ferment at room temperature for 4 hours, with 3 sets of stretch-and-folds in the first 2 hours. The dough should look puffy and about 50% risen.
- Turn the dough out and shape into a tight round. Place seam-side up in a well-floured banneton, cover, and refrigerate overnight (12–15 hours).
- The next day, preheat the oven to 475°F (245°C) with the Dutch oven inside for at least 30 minutes.
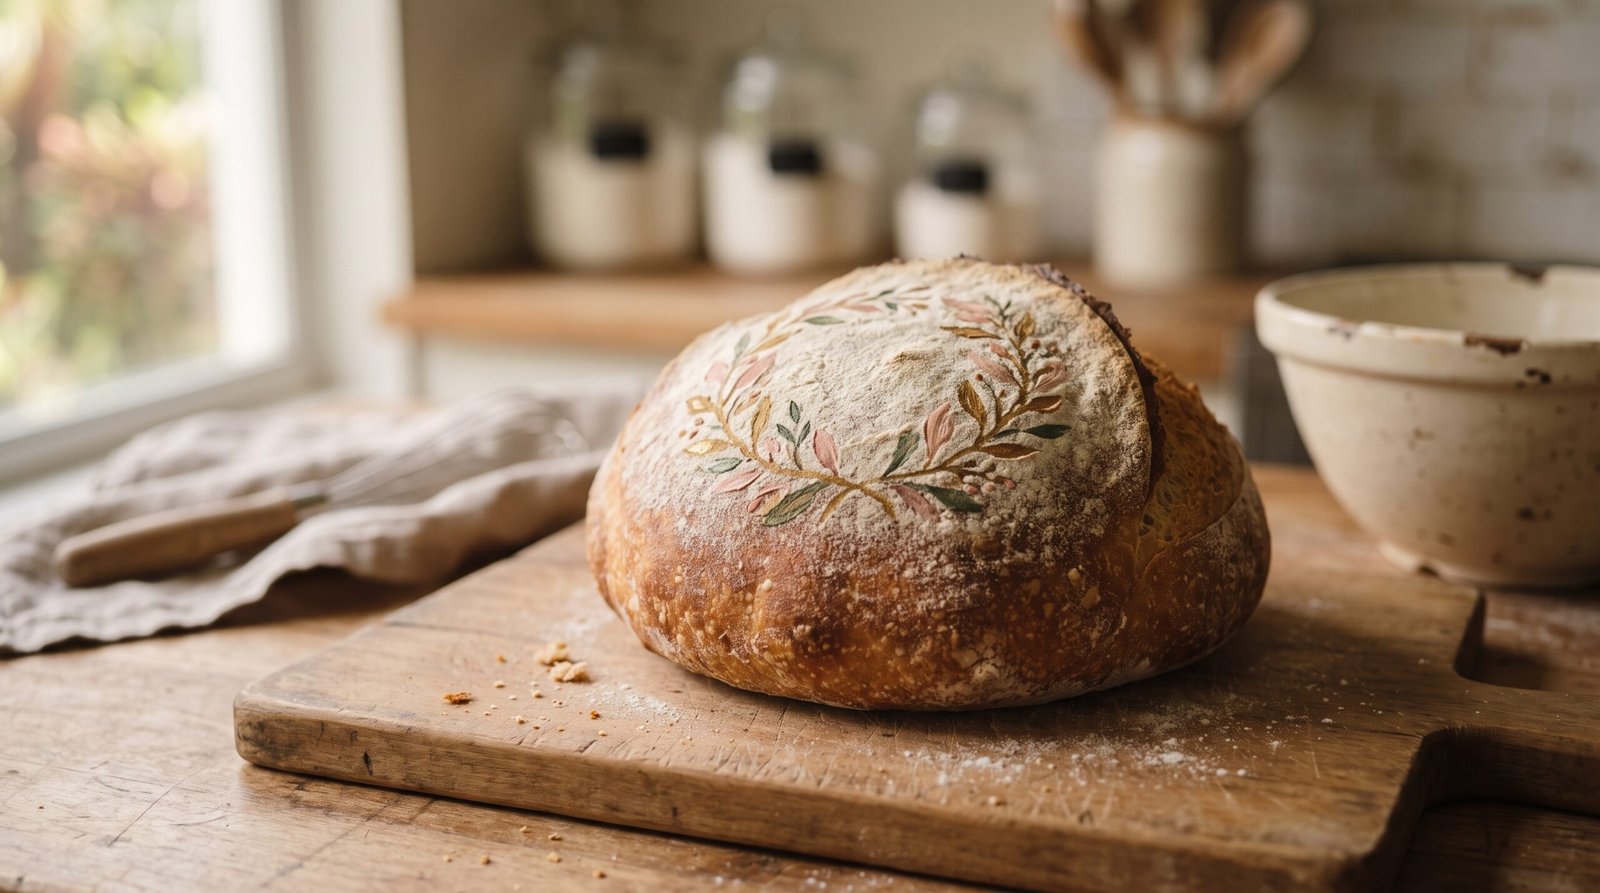
- Turn the cold dough out onto parchment paper. Dust the surface lightly and evenly with flour — this is your "canvas" and will help the paint show up crisply.
- Mix each natural paint color in its own small bowl, stirring about 1 teaspoon of water into each ½ teaspoon of powder until you have a watercolor-thin paint.
- Using the fine brush, paint a simple design onto the floured surface — a loose wreath of leaves, a few branches, or an abstract brushstroke pattern all work well. Keep it simple; detailed designs blur as the loaf bakes and expands.
- Score the loaf around or through the design as needed to let it expand evenly, then carefully lower the dough (on its parchment) into the hot Dutch oven, cover, and bake for 20 minutes.
- Remove the lid and bake another 20–25 minutes, until deeply golden and the design has set.
- Cool on a wire rack at least 1 hour before slicing.
Notes
The first time I painted a loaf I way overthought the design. A simple wreath of leaves or a few loose brushstrokes reads better on a baked, bloomed crust than anything fussy and detailed — the dough moves in the oven and fine lines blur.
Painting onto a light dusting of flour rather than directly onto bare dough is the single biggest trick here. The flour acts almost like a canvas and keeps the colors from just soaking in and disappearing.
This is "paint" made from pantry spices and a little water, nothing else — it's genuinely just food, not a craft project that happens to be edible.