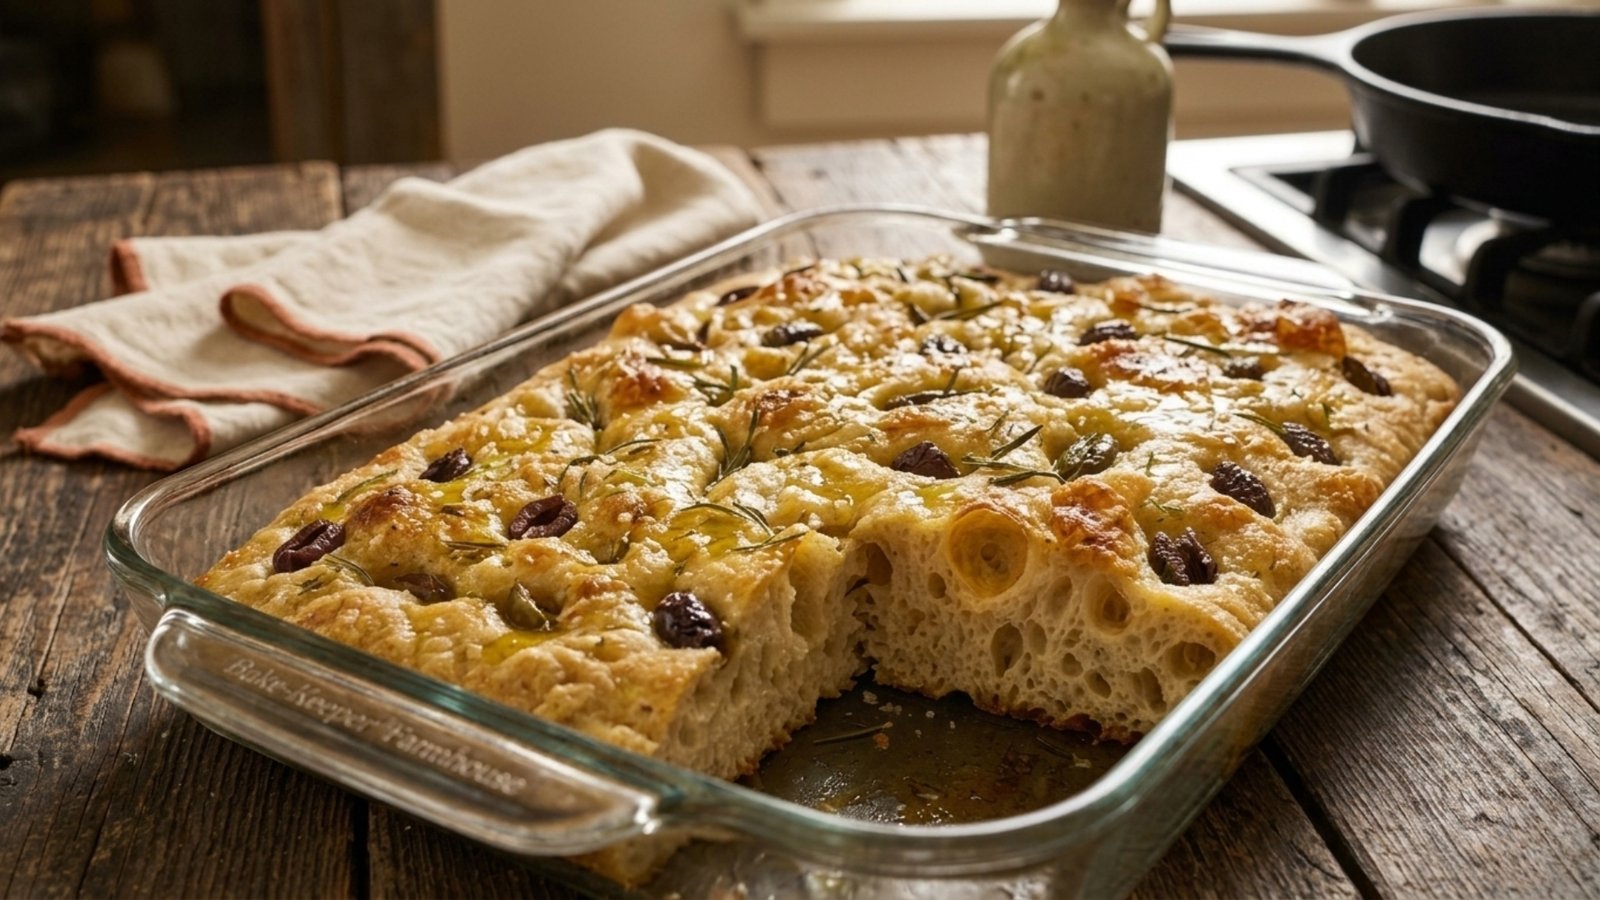
Ingredients
Equipment
Method
- Dissolve the starter. In a large bowl, dissolve the active starter into the water and mix well.
- Mix in the flour and salt. Mix in half of the flour first. Once that's combined, add the salt along with the remaining flour and stir until it comes together. At 80% hydration, expect a loose, wiggly texture rather than anything stiff.
- Rest. Cover the bowl and set it aside for half an hour before the first fold.
- Coil fold. Slide both hands underneath the dough from the center, lift it, and let it fold under itself, then turn the bowl and repeat the motion around the edges. Cover the bowl again and give it another half hour before the next round. Work through 4 rounds total, spaced 30 minutes apart.
- First rise and overnight cold proof. Move the dough into a square or rectangular glass baking dish, or divide and place into a muffin tin. Let it rise until it's about 50% bigger, then cover and place it in the fridge overnight.
- Warm counter proof. The next day, take the dish out of the fridge and leave it on the counter for several hours, until the dough has more than doubled. This is a longer, warmer proof than most other doughs, and it's what gives focaccia its big, open bubbles - don't rush it.
- Preheat. Once the dough has over-risen, preheat your oven to 450°F.
- Top and dimple. Spread your chosen toppings evenly over the surface of the dough. Using your fingers, press down firmly all over the dough, working the toppings in as you go. You'll see the dough shift and bubble underneath your fingers as the fermentation gases move around - that's exactly the texture you're after.
- Bake. Bake at 450°F for about 25 to 30 minutes, keeping an eye on it since ovens vary quite a bit here. Pull it earlier for a softer middle, or let it go the full time if you like a crunchier top and edges.
- Cool. Remove the focaccia from the baking dish and move it to a cooling rack. Let it cool before slicing into whatever pieces you're planning to eat.
Video
Notes
My kitchen runs hot, usually 78 to 80 degrees, so the counter proof the next day moves fast for me. If your kitchen runs cooler, plan on it taking longer to get to that over-risen point.
Don't be afraid to let this one go further than feels natural. I'm intentionally letting it more than double, that over-fermentation is where the big, open bubbles come from.
Press your fingers all the way down into the dough when you dimple it. You'll see the fermentation bubbles shift and show through the surface, that's exactly what you want.
I've frozen every topping combination I've tried on this one with no issues, so don't hesitate to make a full dish and freeze what you don't eat right away.