How to Dehydrate (and Rehydrate) Your Starter
Sometimes you end up with more active starter than you actually need. Maybe you planned a big bake and scaled it back, or maybe you’re about to travel for work and won’t be near your kitchen for weeks. Either way, feeding a starter you’re not using, or trusting it to just sit forgotten in the fridge, isn’t your only option. Dehydrating it is, and it’s the method I reach for whenever I know I won’t be baking again soon.
The Short Answer
Spread active starter very thin on parchment paper and let it air-dry completely, no wet spots anywhere, until it’s brittle enough to crack and lift off the paper on its own. In my hot, humid kitchen that takes about two days.
Blend the fully dried pieces into a fine powder, portion it into small amounts (I use 20 g), and store it airtight, in a moisture-resistant pouch or a sealed glass jar, in a dry spot. The goal is keeping humidity out, not just avoiding plastic.
To bring it back, feed 20 g of dehydrated starter with 20 g water and 20 g flour (a 1:1:1 ratio), then repeat that discard-and-feed daily for a few days until it doubles or triples with bubbles throughout. Because it came from an already active starter, you don’t need three consecutive strong days like you did building a starter from scratch. One good rise is your sign it’s ready.
Why I Dehydrate Instead of Feeding It Down
There are two situations where I reach for this. The first is simple: I planned to bake more than I ended up baking, and I have a heavy amount of active starter I don’t want to just keep feeding indefinitely. The second is travel. If you’re going to be away from your kitchen for a few months, leaving a starter in the fridge that whole time can feel risky. Maybe you’re worried it’ll die, or get moldy, or just not be usable when you get back. Dehydrating it is the next best thing to not losing it at all.
How I Dehydrate My Starter
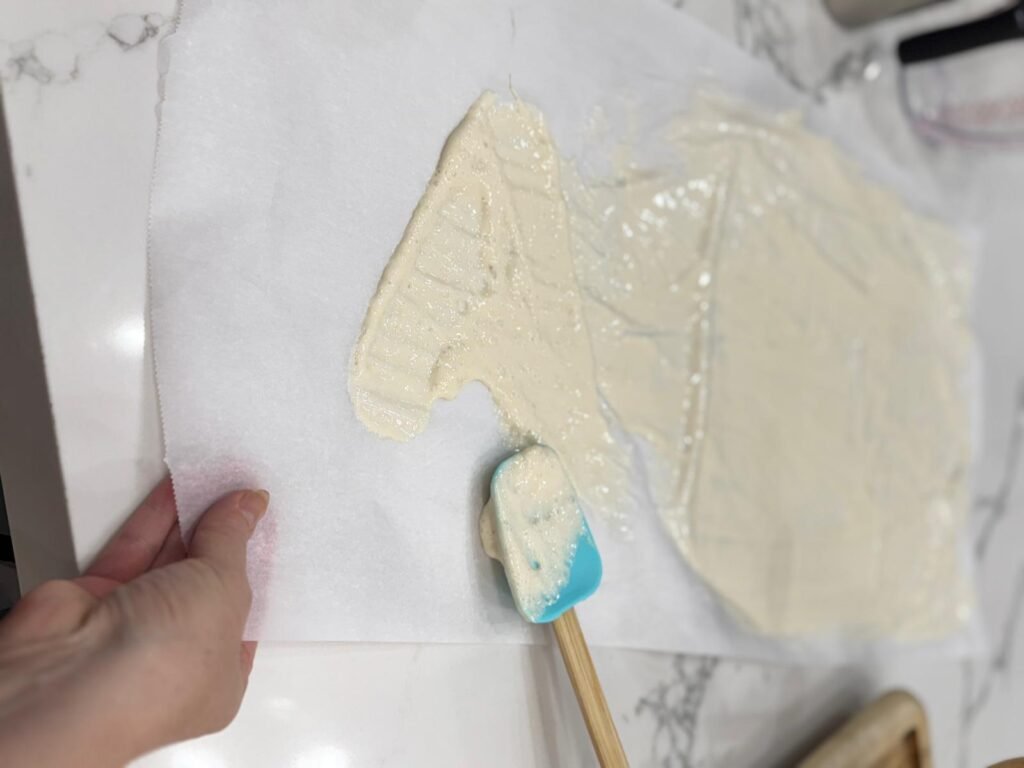
I use parchment paper and a spatula. I take a heavy amount of active starter, put it on the parchment, and spread it very thin. The thinner you spread it, the faster and more evenly it dries. In my hot, humid kitchen, spread thin, it takes about two days to fully dry.
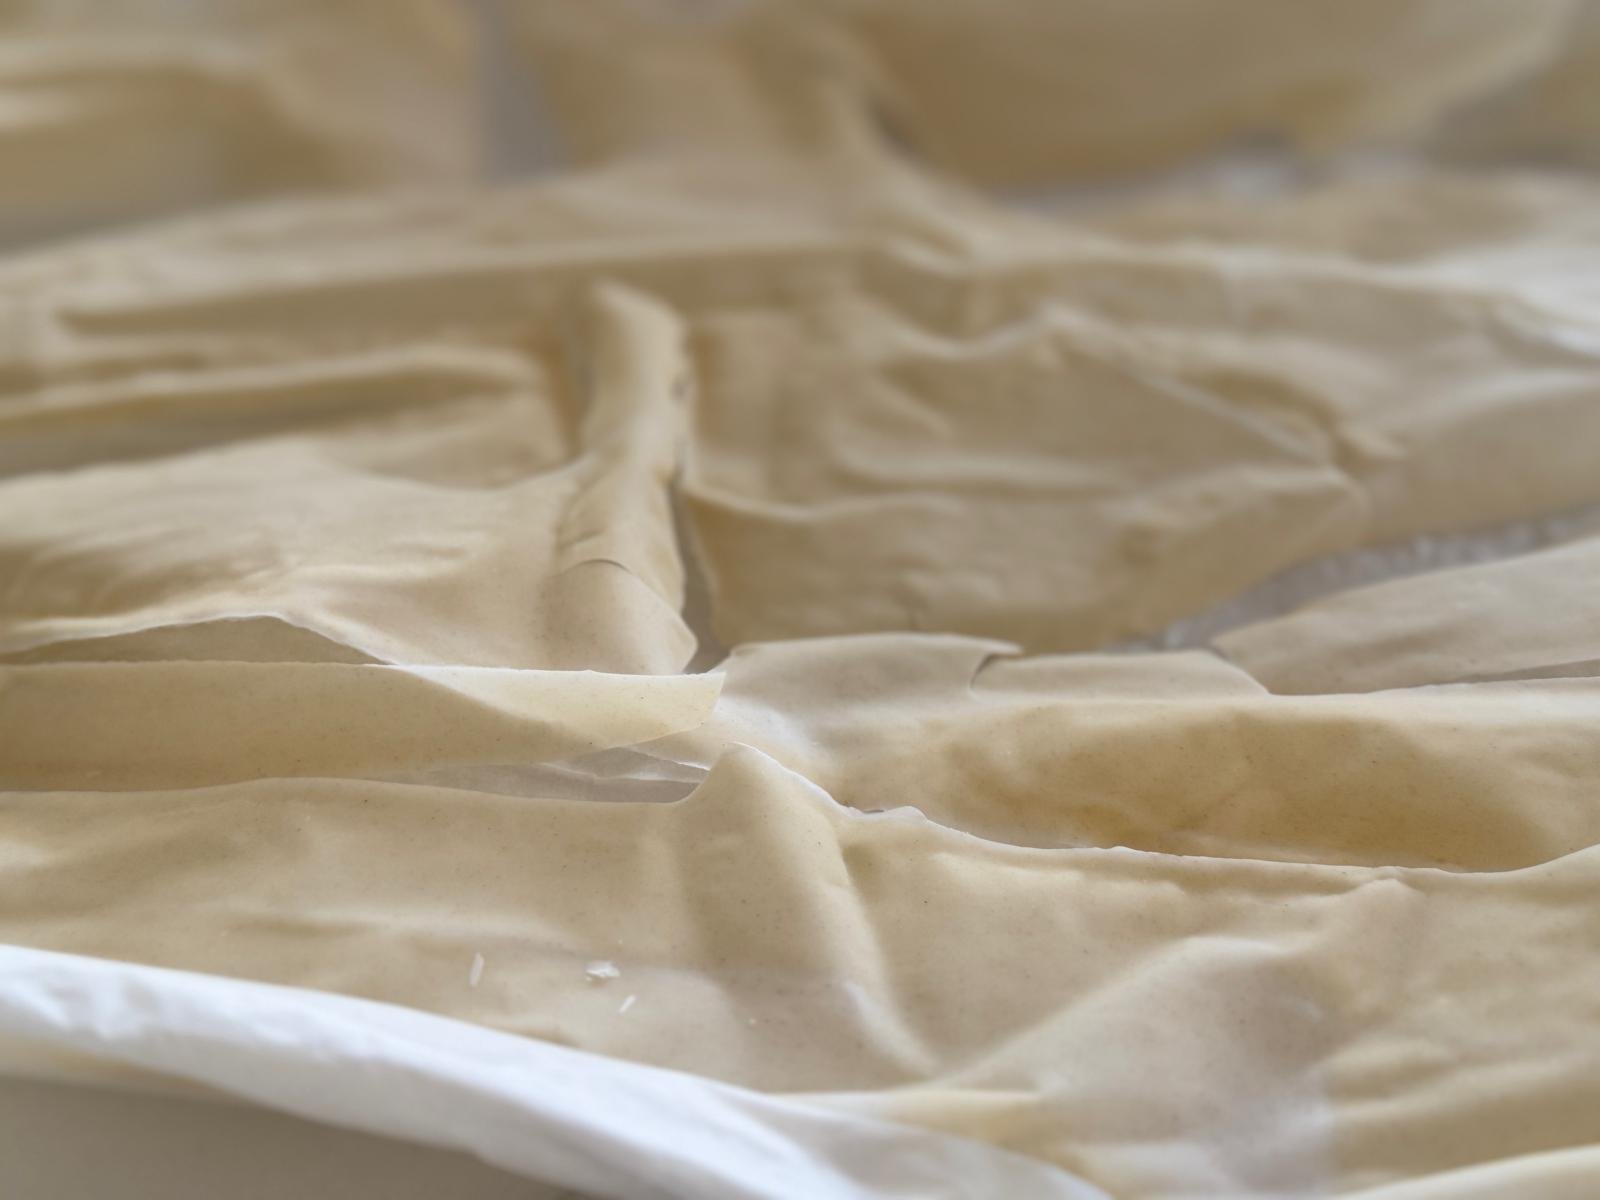
You’ll know it’s getting there when the layer starts cracking and pieces begin lifting off the parchment on their own. But don’t rush this part: it needs to be completely dried out, with no wet spots left anywhere. Any moisture you seal away with it is exactly what invites mold once it’s stored.
Once it’s fully dry, lift the pieces off the parchment and blend them into a fine powder. I use a Vitamix, but any high-speed blender or food processor works. From there, I portion it out, 20 g at a time, rather than keeping it all in one bag. If a seal fails or moisture gets in, I’d rather lose one small portion than my entire supply.
I store mine in small paper pouches, similar to single cookie packages, but lined with a moisture-resistant material rather than plain paper. I’m honestly not sure of the technical name for the lining, but it’s doing real work in a kitchen as hot and humid as mine. If you’re not using something similar, or you’re not sure what you’ve got, an airtight glass jar is the safest, most straightforward option, and it’s hard to go wrong with it. Whatever you use, the goal is the same either way: keep humidity out, so the powder doesn’t reabsorb the moisture you just spent two days drying out of it.
How I Reactivate Dehydrated Starter
In a small jar, combine 20 g of dehydrated starter with 20 g water and 20 g flour, a 1:1:1 ratio. My dehydrated starter is a fine powder rather than flakes, so I mix all three together right away instead of soaking the dry starter in water first, a step you’ll see recommended in some other guides. That soak tends to matter more for coarser flakes; a fine powder has hydrated well enough for me without it. Depending on your flour, if the mixture looks or feels too dry on this first day, you can add an extra 10 g of water; that adjustment is just for day one, not the feedings that follow. Mix well and let it sit for 24 hours. Just like when you’re building a starter from scratch, don’t expect to see movement on day one.
On day two, discard all but 20 g and feed it again at the same 1:1:1 ratio. Repeat that daily discard and feed for about three days. Your timeline will depend on your kitchen and your flour. One time mine activated in two days; during winter here, it took three. In a cooler kitchen, it could take longer.
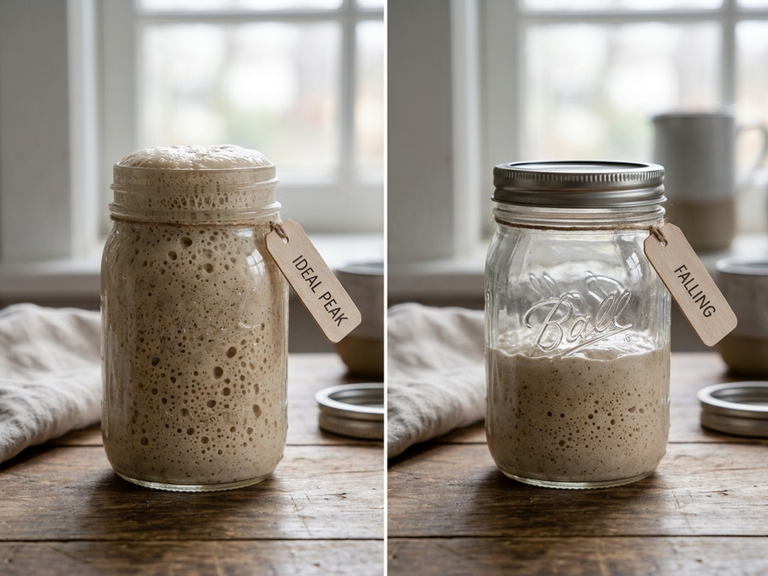
Here’s the difference from building a starter from scratch: you don’t need three consecutive days of a strong rise. The starter you dehydrated was already active and proven before you dried it, so one solid rise, doubled or tripled, with bubbles throughout and on top, is enough to tell you it’s ready to bake with.
Once It’s Active Again
From this point on, treat it the same way you would any other active starter. Everything in How to Maintain (and Revive) Your Starter, fridge storage, feeding ratios, watching for over-acidification, applies here too.
Why I Always Keep a Backup
Accidents happen. You might toss your fridge starter by mistake, or a well-meaning friend or relative cleaning out your fridge might decide it’s garbage. Keeping a few pouches of dehydrated starter on hand is cheap insurance against either one. If that’s a real risk in your house, label it clearly. Do not touch works fine.
I’d love to hear about your own experience with dehydrated starter. Leave a comment under this article and let’s talk about it.
Desi’s Note
Dehydrating isn’t just a rescue plan for starter you don’t want to use right now. It’s the reason I’m not precious about my fridge starter at all. If something ever happens to it, I’m never starting completely from zero again.
Key Takeaways
- Dehydrating is a way to save extra active starter you don’t want to keep feeding, or to protect your starter through travel or a long stretch away from baking.
- Spread starter thin on parchment paper and air-dry it completely. Any wet spots left inside risk mold once it’s stored.
- Blend the fully dried starter into a powder and store it airtight, in a moisture-resistant pouch or a sealed glass jar, in a dry spot. The goal is keeping humidity out.
- To reactivate, feed a 1:1:1 ratio (dehydrated starter, water, flour) and repeat the discard-and-feed daily for a few days.
- Because dehydrated starter comes from an already active starter, one strong rise with bubbles throughout is enough. You don’t need three consecutive days like you do building a starter from scratch.
- Keep a few dehydrated pouches on hand as backup. Accidents, and helpful relatives, happen.
So no, losing your starter for good doesn’t have to be a real risk. A few pouches of dehydrated starter in the pantry means you’re never more than a few days from baking again.
More Resources
Track every feeding with the free Starter Feeding & Discard Log.
Knead to Know?
New recipes, baking tips, and sourdough troubleshooting — delivered before your starter even finishes its next rise.
Get the latest insights, no spam — just new recipes and baking tips. Unsubscribe anytime. See our Privacy Policy.