
Sourdough Waffles
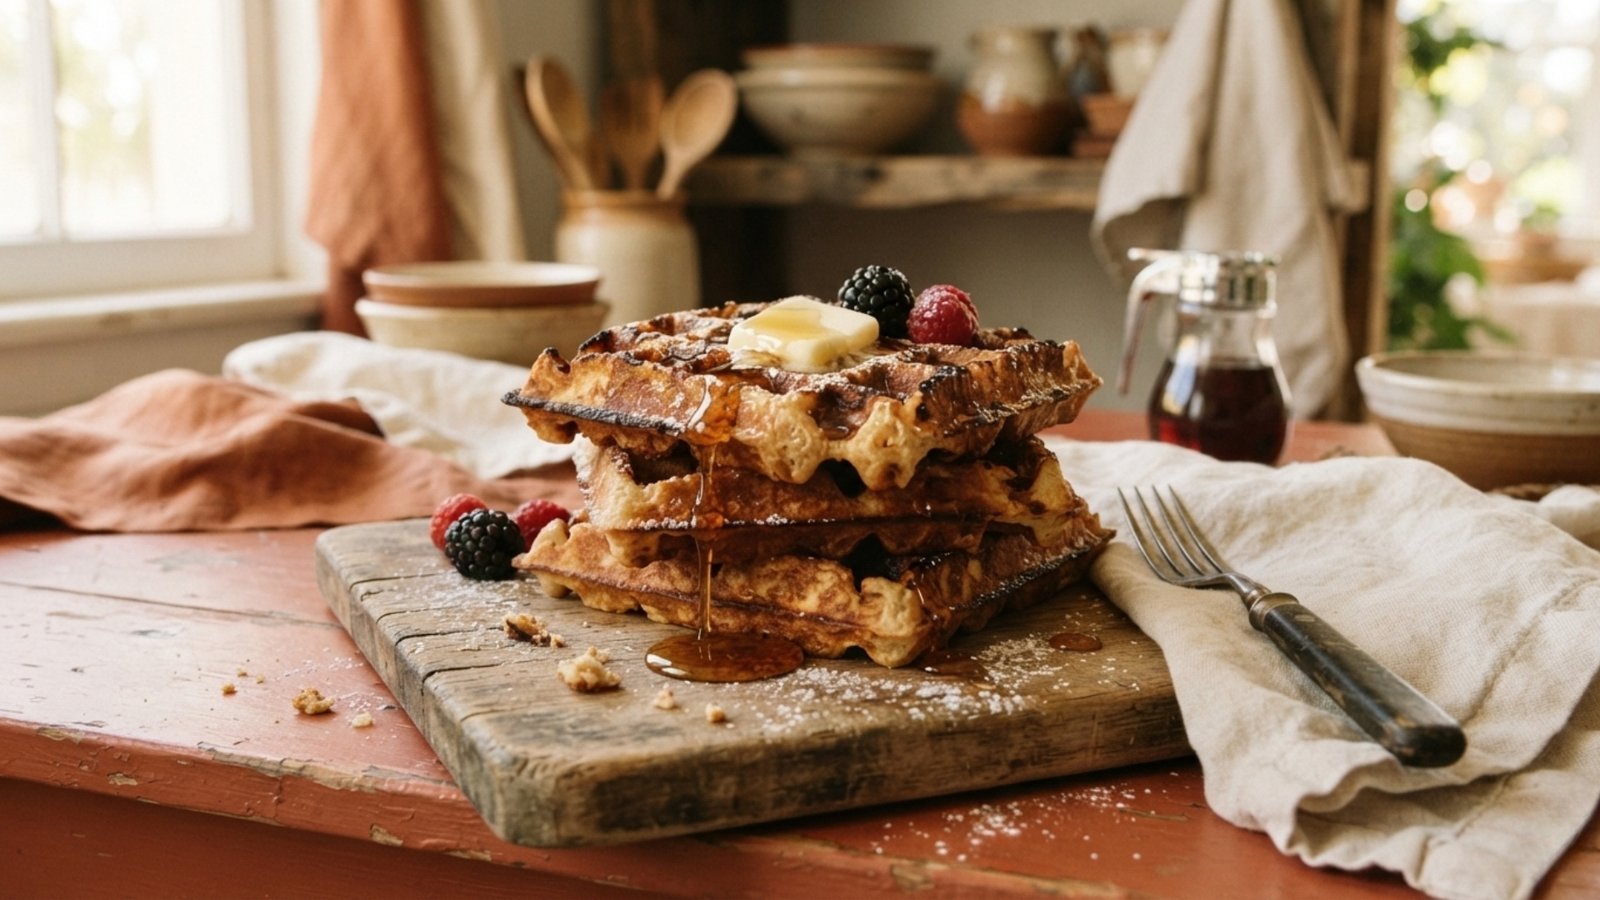
This is the recipe I reach for when my starter is active and I don’t want to wait hours for anything to rise. No bulk ferment, no shaping, just a batter that comes together in minutes and a short rest before it hits the iron. The oil in the batter does double duty too, it keeps the inside tender and means you can skip greasing the waffle iron entirely. Cooked hot and crispy, these hold up beautifully in the freezer for busy mornings.
Why You’ll Love It
- Ready in about an hour, no long fermentation to plan around
- A great use for active starter when you’re not ready to feed it again
- Crispy on the outside, tender in the middle
- No need to grease the waffle iron, the batter has enough oil built in
- Freezes well and crisps right back up in the toaster
Ingredients & Equipment
Volume measurements are included for convenience, but they’re approximate – a kitchen scale will always get you a more consistent batter.
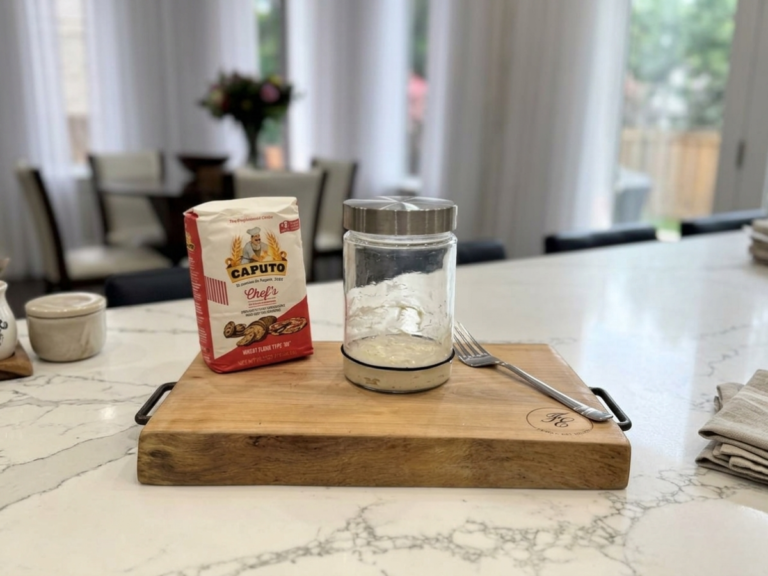
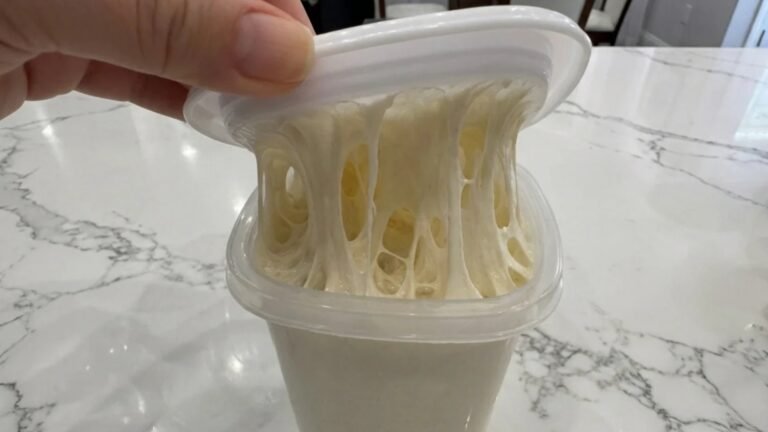
- Active sourdough starter (227 g): this recipe wants active starter, not discard
- Greek yogurt (60 g): adds richness and a little tang, paired with the milk below, or swap both for the buttermilk option
- Milk (60 g): loosens the batter alongside the yogurt
- Buttermilk (120 g), as a substitute: use this in place of the yogurt and milk together if that’s easier
- Avocado oil (85 g): the go-to oil for this batter – it’s also what lets you skip greasing the waffle iron
- Large egg (1): mixed in with the other wet ingredients
- Granulated sugar (2 Tbsp): just enough for a hint of sweetness
- Vanilla extract (1 Tbsp): mixed in with the wet ingredients
- Tapioca flour (50 g): cornstarch works as a substitute if that’s what you have
- Baking powder (½ tsp): part of the dry mix
- Baking soda (¼ tsp): also part of the dry mix
- Fine salt (1 tsp): rounds out the dry ingredients
Equipment
- Kitchen scale: non-negotiable for this one – weighing keeps the batter consistent every time
- Mixing bowl: for combining everything
- Whisk: good for the initial mixing of the wet ingredients and starter
- Large spoon or ladle: for portioning the batter into the waffle iron
- Belgian waffle maker: yield and cook time will vary depending on what you have
Sample Schedule
Path A: Cook the Same Day
- Whisk the starter with the yogurt, milk, oil, egg, sugar, and vanilla until the starter dissolves
- Gently mix in the tapioca flour, baking powder, baking soda, and salt, just until combined
- Let the batter rest at room temperature, covered, for 30 minutes to 1 hour
- Preheat the waffle iron to its highest setting
- Cook the waffles, watching your own iron’s timing
Path B: Make the Batter Ahead
- Mix the full batter as above
- Cover and refrigerate overnight
- The next morning, preheat the waffle iron and cook straight from the fridge
Sourdough Waffles
Method
- Combine the starter and wet ingredients. In a mixing bowl, whisk together the active starter, Greek yogurt, milk (or buttermilk if you’re using that instead), avocado oil, egg, sugar, and vanilla extract. Mix gently until the starter is fully dissolved into the batter.
- Add the dry ingredients. Add the tapioca flour, baking powder, baking soda, and salt. Mix just until everything is incorporated – this batter doesn’t want a heavy hand.
- Rest the batter. Cover the bowl and let the batter rest on the counter for at least 30 minutes, up to an hour. If you’d rather make it ahead, cover it and refrigerate overnight instead, then cook straight from the fridge the next morning.
- Preheat the waffle iron. Preheat your waffle iron to its highest setting. Thanks to the oil already in the batter, there’s no need to grease the plates.
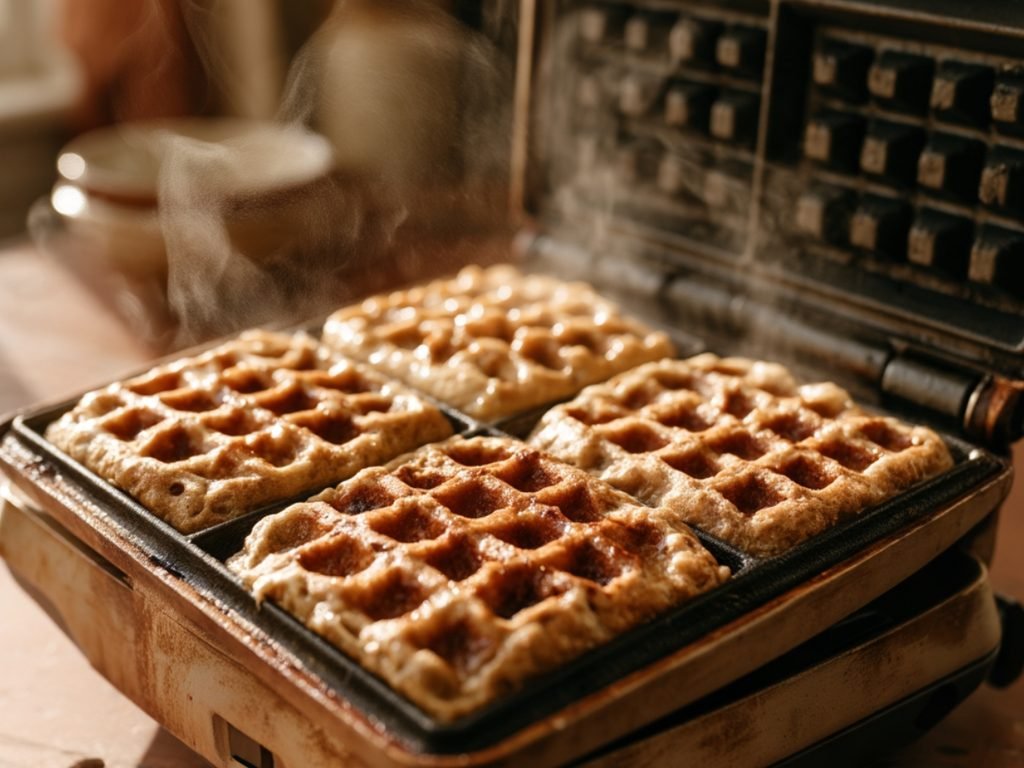
- Cook the waffles. Ladle batter onto the iron, covering the surface without overfilling it, the batter expands as it cooks, and too much will push out past the edges. This batch makes about 4 Belgian waffles, though your count will depend on the size of your iron. Cook for about 4 minutes each for a really crispy result, adjusting to your own machine and how crisp you like them.
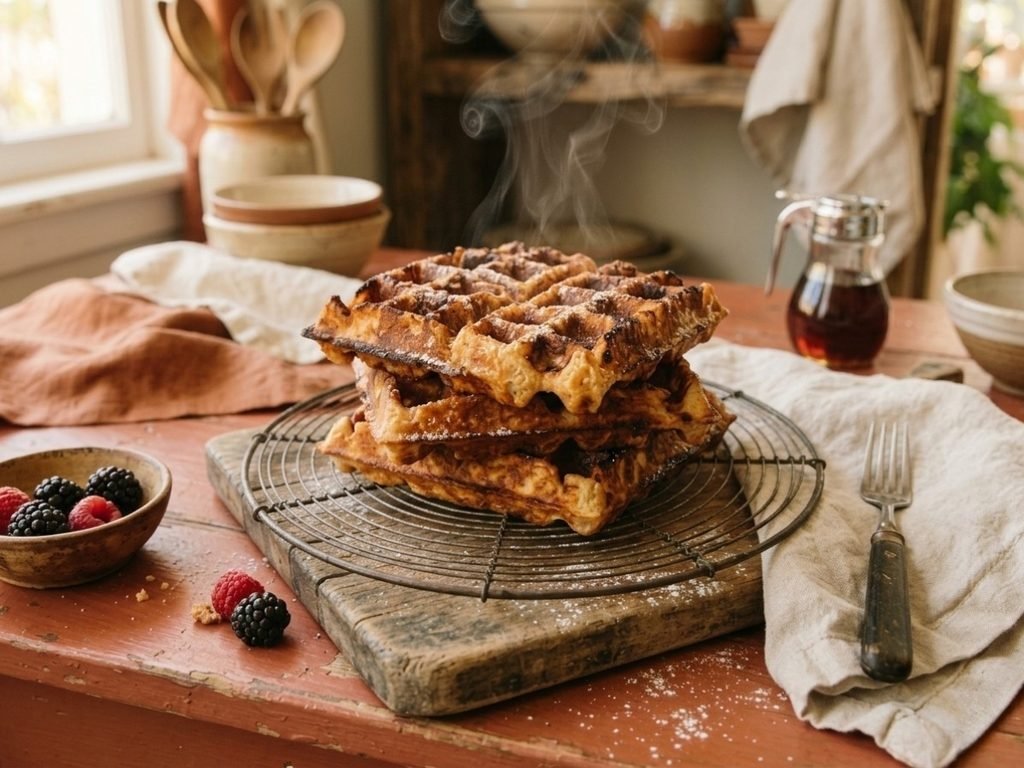
- Cool and store. Move finished waffles to a cooling rack so they stay crisp instead of steaming on a plate. From there, eat them right away or set them up for the freezer.
Notes
Save This Recipe
Get it emailed to you now, plus new recipes as they go up.
Your email is safe with me. I’ll send this recipe straight over. No spam, ever—and you can unsubscribe anytime.
How to Make It
1Combine the starter and wet ingredients. In a mixing bowl, whisk together the active starter, Greek yogurt, milk (or buttermilk if you’re using that instead), avocado oil, egg, sugar, and vanilla extract. Mix gently until the starter is fully dissolved into the batter.
2Add the dry ingredients. Add the tapioca flour, baking powder, baking soda, and salt. Mix just until everything is incorporated – this batter doesn’t want a heavy hand.
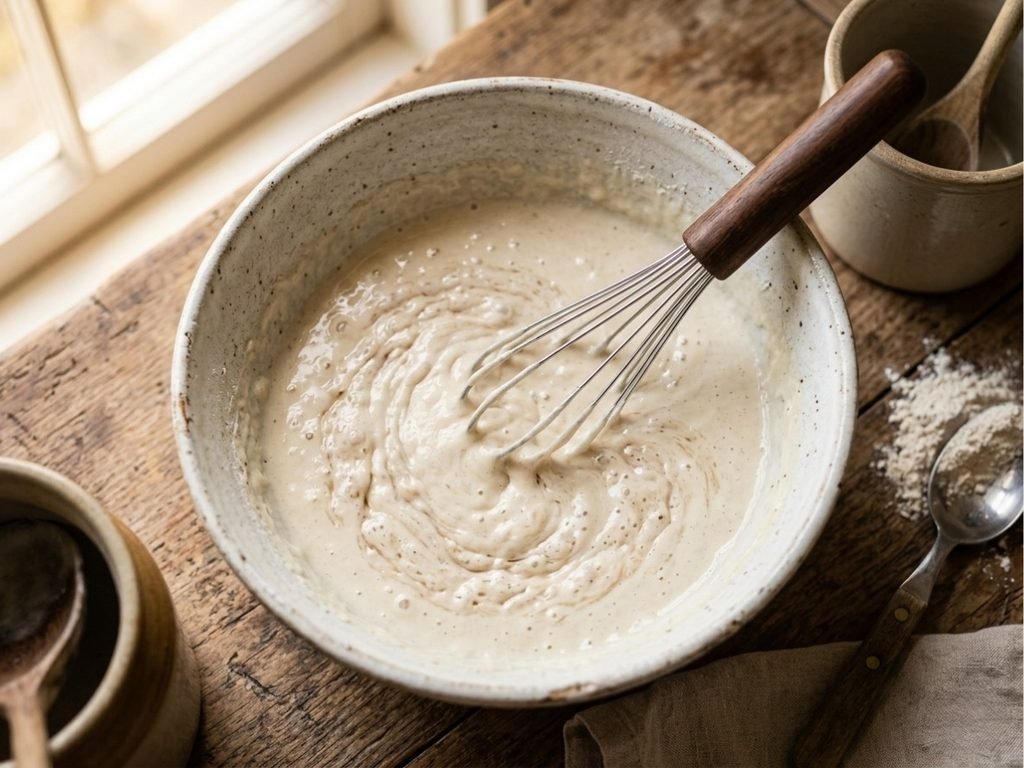
3Rest the batter. Cover the bowl and let the batter rest on the counter for at least 30 minutes, up to an hour. If you’d rather make it ahead, cover it and refrigerate overnight instead, then cook straight from the fridge the next morning.
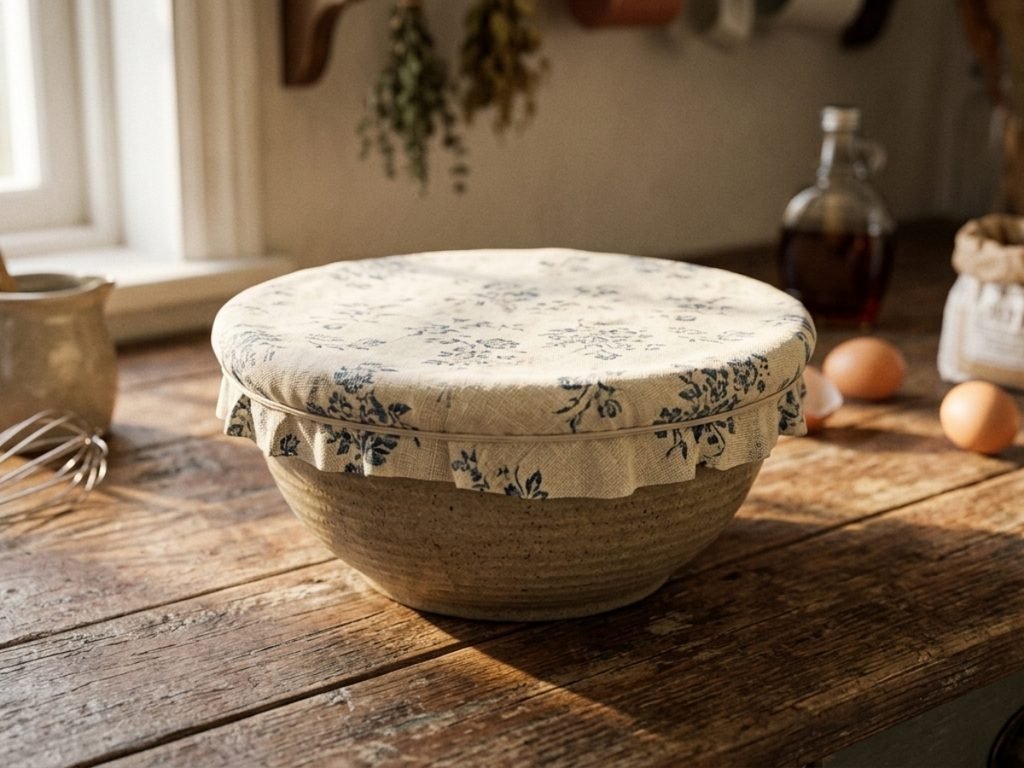
4Preheat the waffle iron. Preheat your waffle iron to its highest setting. Thanks to the oil already in the batter, there’s no need to grease the plates.
5Cook the waffles. Ladle batter onto the iron, covering the surface without overfilling it, the batter expands as it cooks, and too much will push out past the edges. This batch makes about 4 Belgian waffles, though your count will depend on the size of your iron. Cook for about 4 minutes each for a really crispy result, adjusting to your own machine and how crisp you like them.
6Cool and store. Move finished waffles to a cooling rack so they stay crisp instead of steaming on a plate. From there, eat them right away or set them up for the freezer.
Tips & Troubleshooting
- No yogurt and milk on hand: 120 grams of buttermilk replaces both in one step.
- No tapioca flour: cornstarch is a fine substitute.
- Batter escaping the iron: you’re using too much per waffle, ease up and let the batter cover the plate without overfilling it.
- Cook time varies by machine: use the 4-minute, highest-heat setting here as a starting point, not a fixed rule, every waffle iron runs differently.
- Doubling the batch: this recipe scales up well – make a double or triple batch specifically to stock the freezer.
How to Store
To store: best eaten fresh and hot, straight off the cooling rack.
To freeze (my real recommendation): let the waffles cool completely on a rack first. Layer them with parchment paper between each one, pack them into a freezer bag, and freeze. Reheat straight from frozen in a toaster or toaster oven, they crisp right back up.
Nutrition
Per waffle, based on a 4-waffle batch. Estimated from the ingredients used – provided for convenience and not a substitute for a precise calculation.
400
Calories
40g
Carbs
7g
Protein
24g
Fat
1g
Fiber
740mg
Sodium
Desi’s Notes
I use Greek yogurt here, 60 grams alongside 60 grams of milk. If you don’t have both on hand, 120 grams of buttermilk covers the same job in one ingredient.
Go gentle when you mix. You want the starter fully worked into the batter, but overmixing will toughen these up, stop as soon as everything comes together.
My waffle iron is a Bella Belgian maker and I run it on its highest setting, about 4 minutes a waffle, since I like mine really crispy. Your timing will depend entirely on your own iron, so treat that number as a starting point, not a rule.
Before You Bake
Scaling this recipe up or down? Run your numbers through the Sourdough Calculator. And if you want a printable reference for troubleshooting or timing, browse all six Printable Quicksheets.
Knead to Know?
New recipes, baking tips, and sourdough troubleshooting — delivered before your starter even finishes its next rise.
Get the latest insights, no spam — just new recipes and baking tips. Unsubscribe anytime. See our Privacy Policy.

Tried this recipe? Leave a star rating below — it takes 10 seconds and helps other bakers decide what to make next.
Baked this recipe your way? Share it in Community Bakes and inspire other readers.