
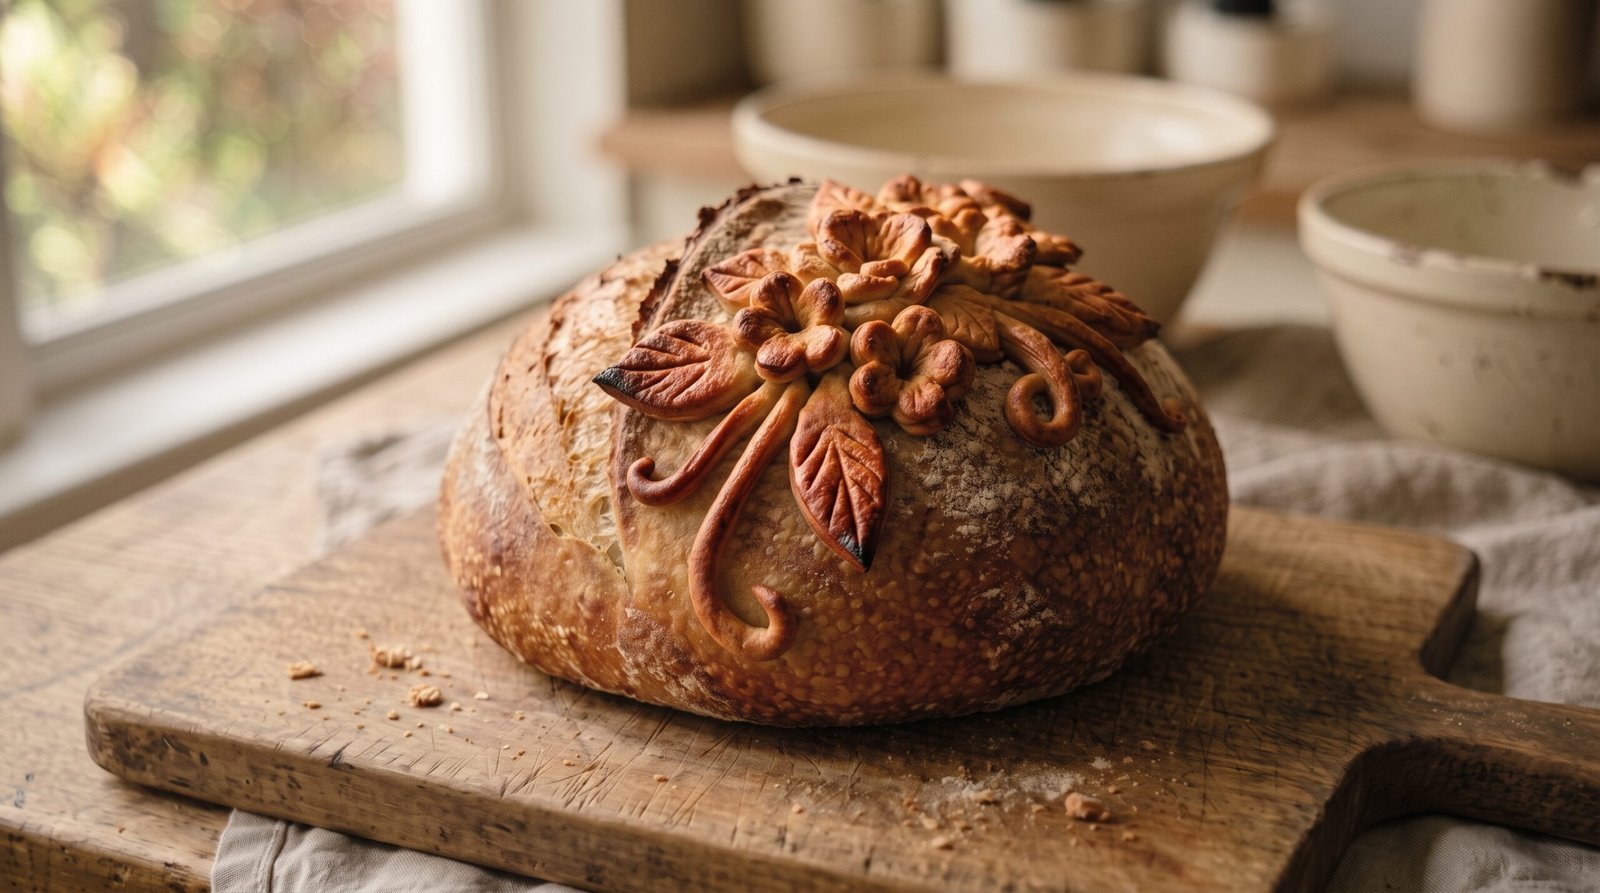
Dough Appliqué Flower Bouquet Sourdough Loaf
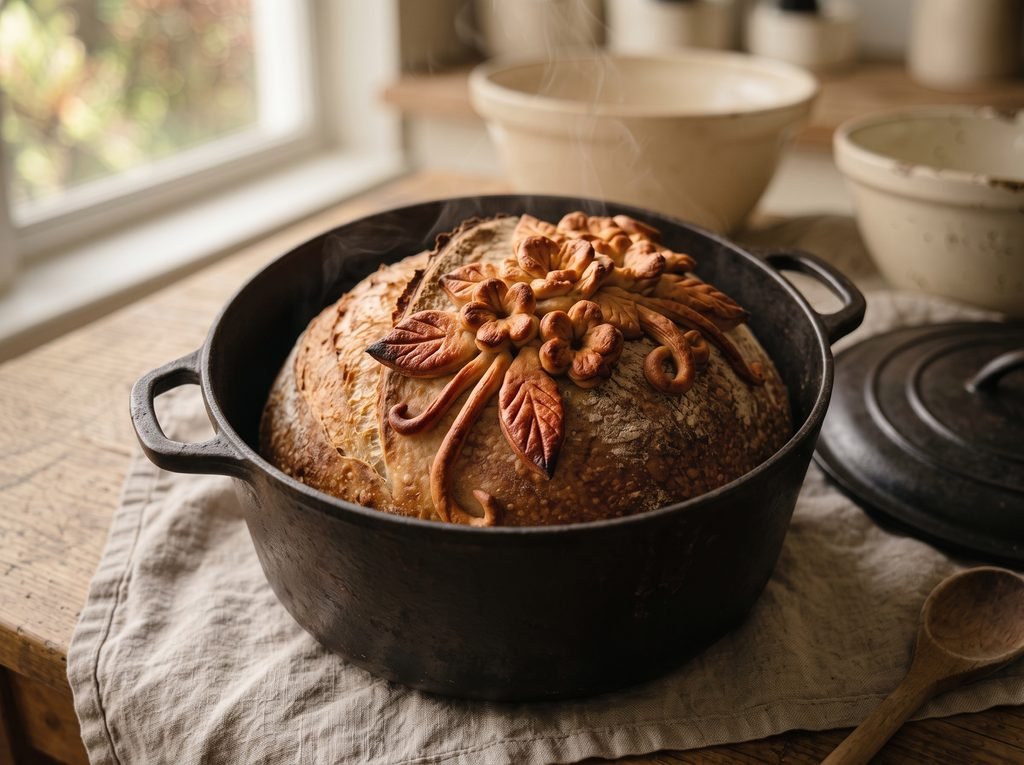
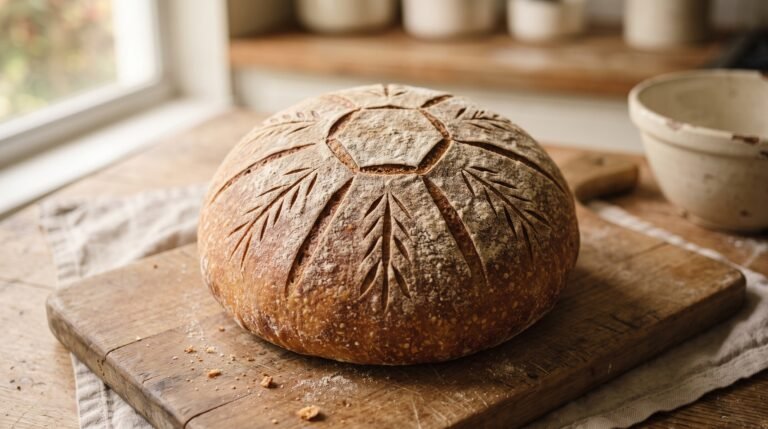
Dough appliqué is the sculptural cousin of painted sourdough – instead of pigment, you’re working with small hand-cut pieces of dough itself, pressed onto the loaf’s surface to build flowers, leaves, and vines that bake right into the crust.
It takes more patience than the painting technique, but nothing here requires special skill – just a sharp paring knife, a little cold dough, and a willingness to keep the arrangement simpler than you think it needs to be.
Why You’ll Love It
- A genuinely sculptural technique – dough flowers and leaves, not just surface pigment
- Built from the same dough as the loaf itself, so it bakes into one cohesive crust
- A great showpiece for a holiday table or a gift loaf
- No specialty tools – a paring knife and a pastry brush do the whole job
- A different sourdough art technique from painting, for a genuinely varied skillset
Ingredients
Volume measurements are included for convenience, but they’re approximate – for the most consistent results, weigh your ingredients on a kitchen scale, especially the flour. This recipe makes enough dough for both the loaf and its appliqué decorations.
- Bread flour (500 g / 4⅛ cups)
- Whole wheat flour (50 g / ⅓ cup + 1 Tbsp)
- Water, room temperature (400 g / 1⅔ cups)
- Active sourdough starter (110 g / ⅓ cup + 2 Tbsp)
- Fine sea salt (11 g / 2 tsp)
Equipment
- Kitchen scale
- Dutch oven, 5-6 quart
- Banneton (proofing basket) with cloth liner
- Small sharp paring knife, for cutting the dough shapes
- Small pastry brush, for the water “glue”
- Small piece of foil (optional, for shielding the decorations if they brown too fast)
Sample Schedule (2-Day)
Day 1
- Mix and autolyse 30 minutes
- Add starter and salt; knead 8-10 minutes
- Bulk ferment 4 hours with 3 sets of folds
- Portion off dough for the appliqué and refrigerate it
- Shape the loaf, place in the banneton, and refrigerate both overnight
Day 2
- Preheat the oven with the Dutch oven inside
- Cut the dough flowers, leaves, and vines
- Build the bouquet on the loaf and chill briefly
- Score and bake covered, then uncovered
- Cool at least 1 hour before slicing
Dough Appliqué Flower Bouquet Sourdough Loaf
Method
- In a large bowl, mix the bread flour, whole wheat flour, and water together by hand just until no dry flour remains. Cover and rest (autolyse) for 30 minutes.
- Add the starter and salt. Mix and knead until smooth and elastic, 8–10 minutes by hand or 6–7 minutes with a stand mixer.
- Cover and bulk ferment at room temperature for 4 hours, with 3 sets of stretch-and-folds in the first 2 hours, until puffy and about 50% risen.
- Cut off about 120 g of dough and wrap it tightly in plastic — this piece is for the appliqué decorations and needs to stay cold so it doesn’t overproof. Refrigerate it immediately.
- Shape the remaining dough into a tight round. Place seam-side up in a well-floured banneton, cover, and refrigerate both the loaf and the reserved dough overnight (12–15 hours).
- The next day, preheat the oven to 475°F (245°C) with the Dutch oven inside for at least 30 minutes.
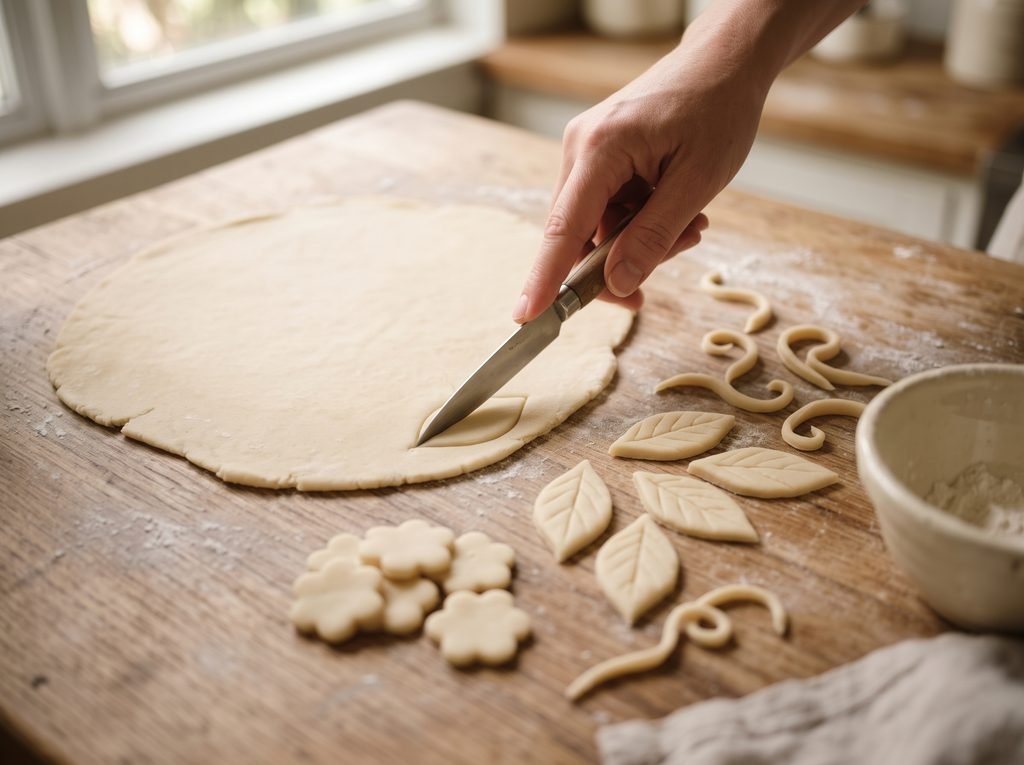
- On a lightly floured surface, roll the cold reserved dough out thin, about ⅛ inch. Using a paring knife, cut several petal shapes (small teardrops or ovals), a few leaf shapes, and 2–3 thin strips for stems or vines.
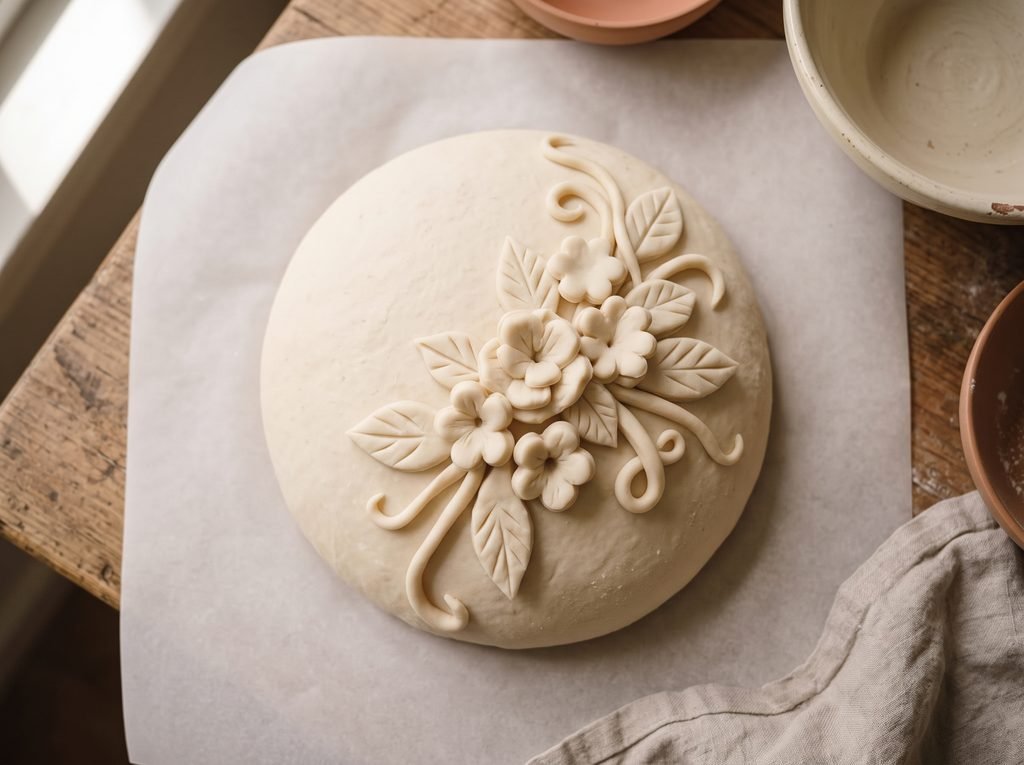
- Turn the main loaf out onto parchment paper. Lightly dampen the back of each dough piece with a wet pastry brush and press onto the surface of the loaf, building a bouquet: curving vine strips first, then leaves along them, then layered petals clustered at the top to form flowers.
- Chill the decorated loaf, uncovered, for 10–15 minutes to firm up the appliqué pieces before baking.
- Score any open space around the design as needed to let the loaf expand evenly, then carefully lower the dough (on its parchment) into the hot Dutch oven, cover, and bake for 20 minutes.
- Remove the lid and bake another 20–25 minutes, until deeply golden. If the decorations are browning noticeably faster than the rest of the crust, shield them loosely with a small piece of foil for the last few minutes.
- Cool on a wire rack at least 1 hour before slicing.
Notes
Save This Recipe
Get it emailed to you now, plus new recipes as they go up.
Your email is safe with me. I’ll send this recipe straight over. No spam, ever—and you can unsubscribe anytime.
How to Make It
1Mix and autolyse. In a large bowl, mix the bread flour, whole wheat flour, and water together by hand just until no dry flour remains. Cover and rest (autolyse) for 30 minutes.
2Add starter and salt. Add the starter and salt. Mix and knead until smooth and elastic, 8-10 minutes by hand or 6-7 minutes with a stand mixer.
3Bulk ferment. Cover and bulk ferment at room temperature for 4 hours, with 3 sets of stretch-and-folds in the first 2 hours, until puffy and about 50% risen.
4Set aside dough for the appliqué. Cut off about 120 g of dough and wrap it tightly in plastic – this piece is for the appliqué decorations and needs to stay cold so it doesn’t overproof. Refrigerate it immediately.
5Shape and refrigerate. Shape the remaining dough into a tight round. Place seam-side up in a well-floured banneton, cover, and refrigerate both the loaf and the reserved dough overnight (12-15 hours).
6Preheat. The next day, preheat the oven to 475°F (245°C) with the Dutch oven inside for at least 30 minutes.
7Cut the shapes. On a lightly floured surface, roll the cold reserved dough out thin, about ⅛ inch. Using a paring knife, cut several petal shapes (small teardrops or ovals), a few leaf shapes, and 2-3 thin strips for stems or vines.
8Build the bouquet. Turn the main loaf out onto parchment paper. Lightly dampen the back of each dough piece with a wet pastry brush and press onto the surface of the loaf, building a bouquet: curving vine strips first, then leaves along them, then layered petals clustered at the top to form flowers.
9Chill briefly. Chill the decorated loaf, uncovered, for 10-15 minutes to firm up the appliqué pieces before baking.
10Score and bake, covered. Score any open space around the design as needed to let the loaf expand evenly, then carefully lower the dough (on its parchment) into the hot Dutch oven, cover, and bake for 20 minutes.
11Bake, uncovered. Remove the lid and bake another 20-25 minutes, until deeply golden. If the decorations are browning noticeably faster than the rest of the crust, shield them loosely with a small piece of foil for the last few minutes.
12Cool. Cool on a wire rack at least 1 hour before slicing.
Tips & Troubleshooting
- Fewer pieces, better placement: a dense cluster of appliqué pieces is more likely to slide or fuse into a blob as the loaf expands – a simpler arrangement holds its shape much better.
- Don’t skip the chill: warm appliqué pieces are soft and prone to slumping in the oven; 10-15 minutes in the cold firms them up enough to survive the oven spring.
- Use water, not just pressure: dough doesn’t reliably stick to dough once either piece has started to form a skin – a light damp brush under each piece is what actually holds everything together.
- Watch for uneven browning: thin appliqué pieces can brown faster than the rest of the crust – a small foil shield over the design for the last few minutes of baking prevents scorching.
- New to shaping and scoring? It’s worth reading Why Did My Sourdough Deflate After Scoring? before your first attempt, since this loaf still needs real scoring around the decorations.
How to Store
To store: in a paper bag or bread box at room temperature up to 4 days.
To freeze: slice first, then freeze in an airtight bag up to 3 months; toast slices straight from frozen.
Nutrition
Per slice, based on 12 slices per loaf. Estimated from the ingredients used – provided for convenience and not a substitute for a precise calculation.
140
Calories
27g
Carbs
5g
Protein
1g
Fat
1g
Fiber
190mg
Sodium
Desi’s Notes
This one takes patience more than skill. My first bouquet loaf had way too many pieces crammed together, and half of them slid off or fused into a blob as the dough expanded in the oven. Fewer, more deliberately placed pieces hold their shape far better than a dense arrangement.
Chilling the decorated loaf for those last 10-15 minutes before it bakes isn’t optional in my book – warm appliqué pieces are soft and prone to slumping, and a few minutes in the cold firms them up enough to survive the oven spring.
Don’t skip the water “glue.” Dough doesn’t stick to dough on its own, especially once both pieces have a bit of a skin from sitting out – a light damp brush underneath each piece is what actually holds the bouquet together.
Before You Bake
Scaling this recipe up or down? Run your numbers through the Sourdough Calculator. And if you want a printable reference for troubleshooting your crumb and crust, grab the Crumb & Crust Diagnostic Quicksheet.
Knead to Know?
New recipes, baking tips, and sourdough troubleshooting — delivered before your starter even finishes its next rise.
Get the latest insights, no spam — just new recipes and baking tips. Unsubscribe anytime. See our Privacy Policy.
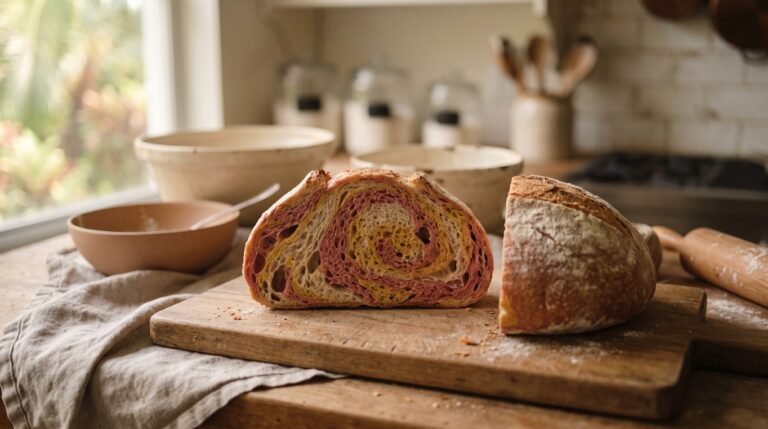
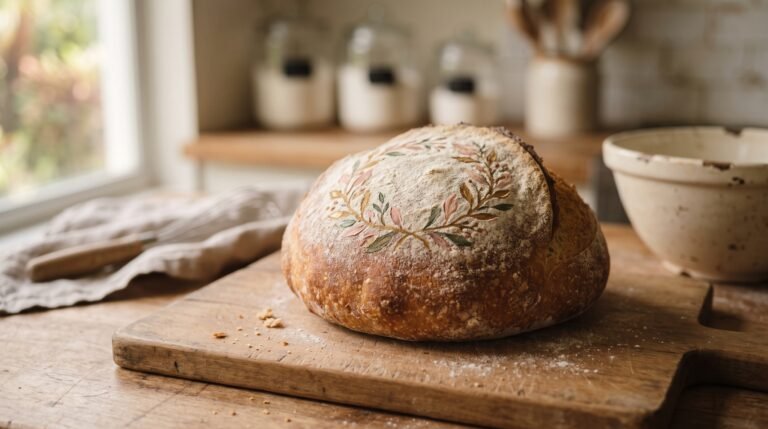
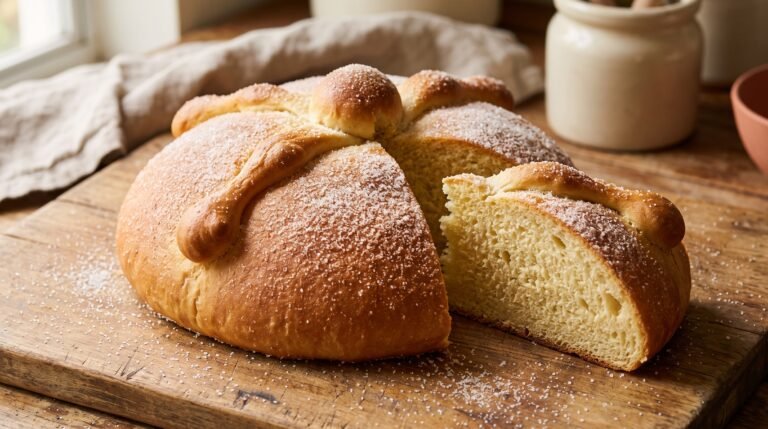

Tried this recipe? Leave a star rating below — it takes 10 seconds and helps other bakers decide what to make next.
Baked this recipe your way? Share it in Community Bakes and inspire other readers.