
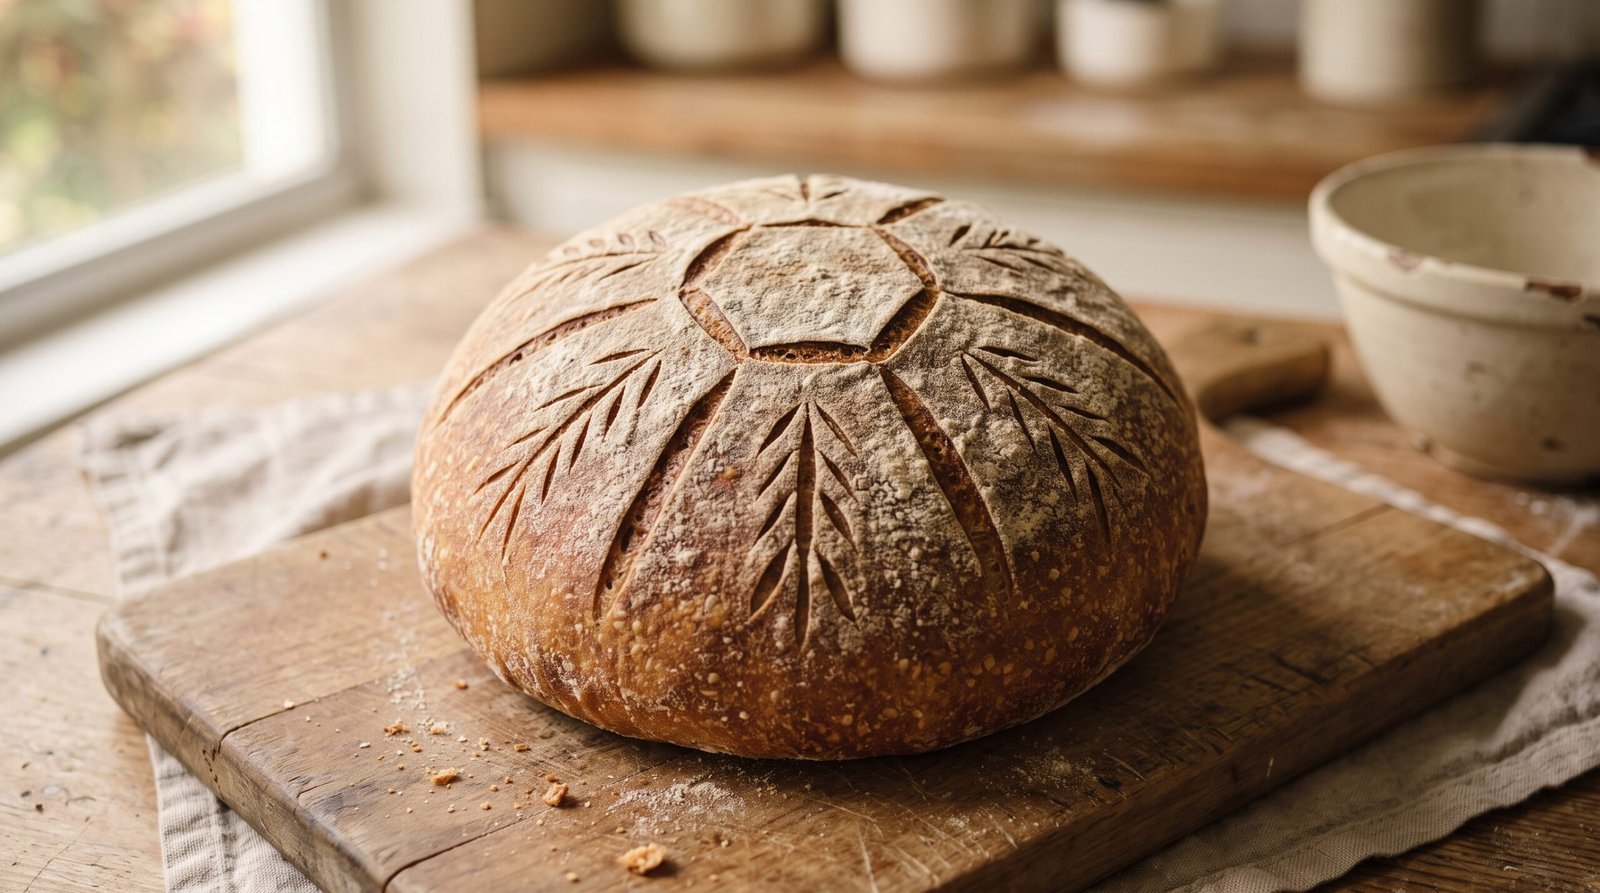
Snowflake Scored Sourdough Boule
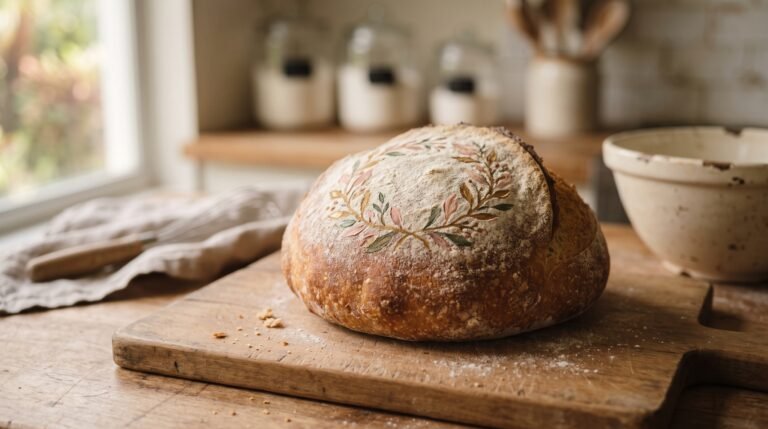
This one leans entirely on the lame – no paint, no dough pieces to cut and press, just a geometric pattern of deliberate cuts that blooms into a lacy, frost-like design as the loaf bakes. It’s the most purely technical piece of sourdough art on the site, and a genuinely satisfying one to get right.
Underneath the pattern, it’s the same reliable lean boule as the rest of the Sourdough Art lineup – the technique is entirely in how you score it.
Why You’ll Love It
- A purely technique-driven piece of sourdough art – no extra ingredients, just scoring
- A genuinely seasonal design as the weather cools down
- Teaches a real principle (a hidden deep vent cut under a decorative pattern) you can reuse on other loaves
- The same reliable lean dough as the rest of the site’s hearth loaves
- A good next step after you’ve tried a simple single-slash score
Ingredients
Volume measurements are included for convenience, but they’re approximate – for the most consistent results, weigh your ingredients on a kitchen scale, especially the flour.
- Bread flour (450 g / 3¾ cups)
- Whole wheat flour (50 g / ⅓ cup + 1 Tbsp)
- Water, room temperature (365 g / 1½ cups)
- Active sourdough starter (100 g / ⅓ cup + 1 Tbsp)
- Fine sea salt (10 g / 1¾ tsp)
Equipment
- Kitchen scale
- Dutch oven, 5-6 quart
- Banneton (proofing basket) with cloth liner
- Lame or a very sharp, thin blade
- Bench scraper
Sample Schedule (2-Day)
Day 1
- Mix and autolyse 30 minutes
- Add starter and salt; knead 8-10 minutes
- Bulk ferment 4 hours with 3 sets of folds
- Shape into a round
- Place in the banneton, cover, and refrigerate overnight
Day 2
- Preheat the oven with the Dutch oven inside
- Flour the surface and score the snowflake pattern
- Bake covered, then uncovered
- Cool at least 1 hour before slicing
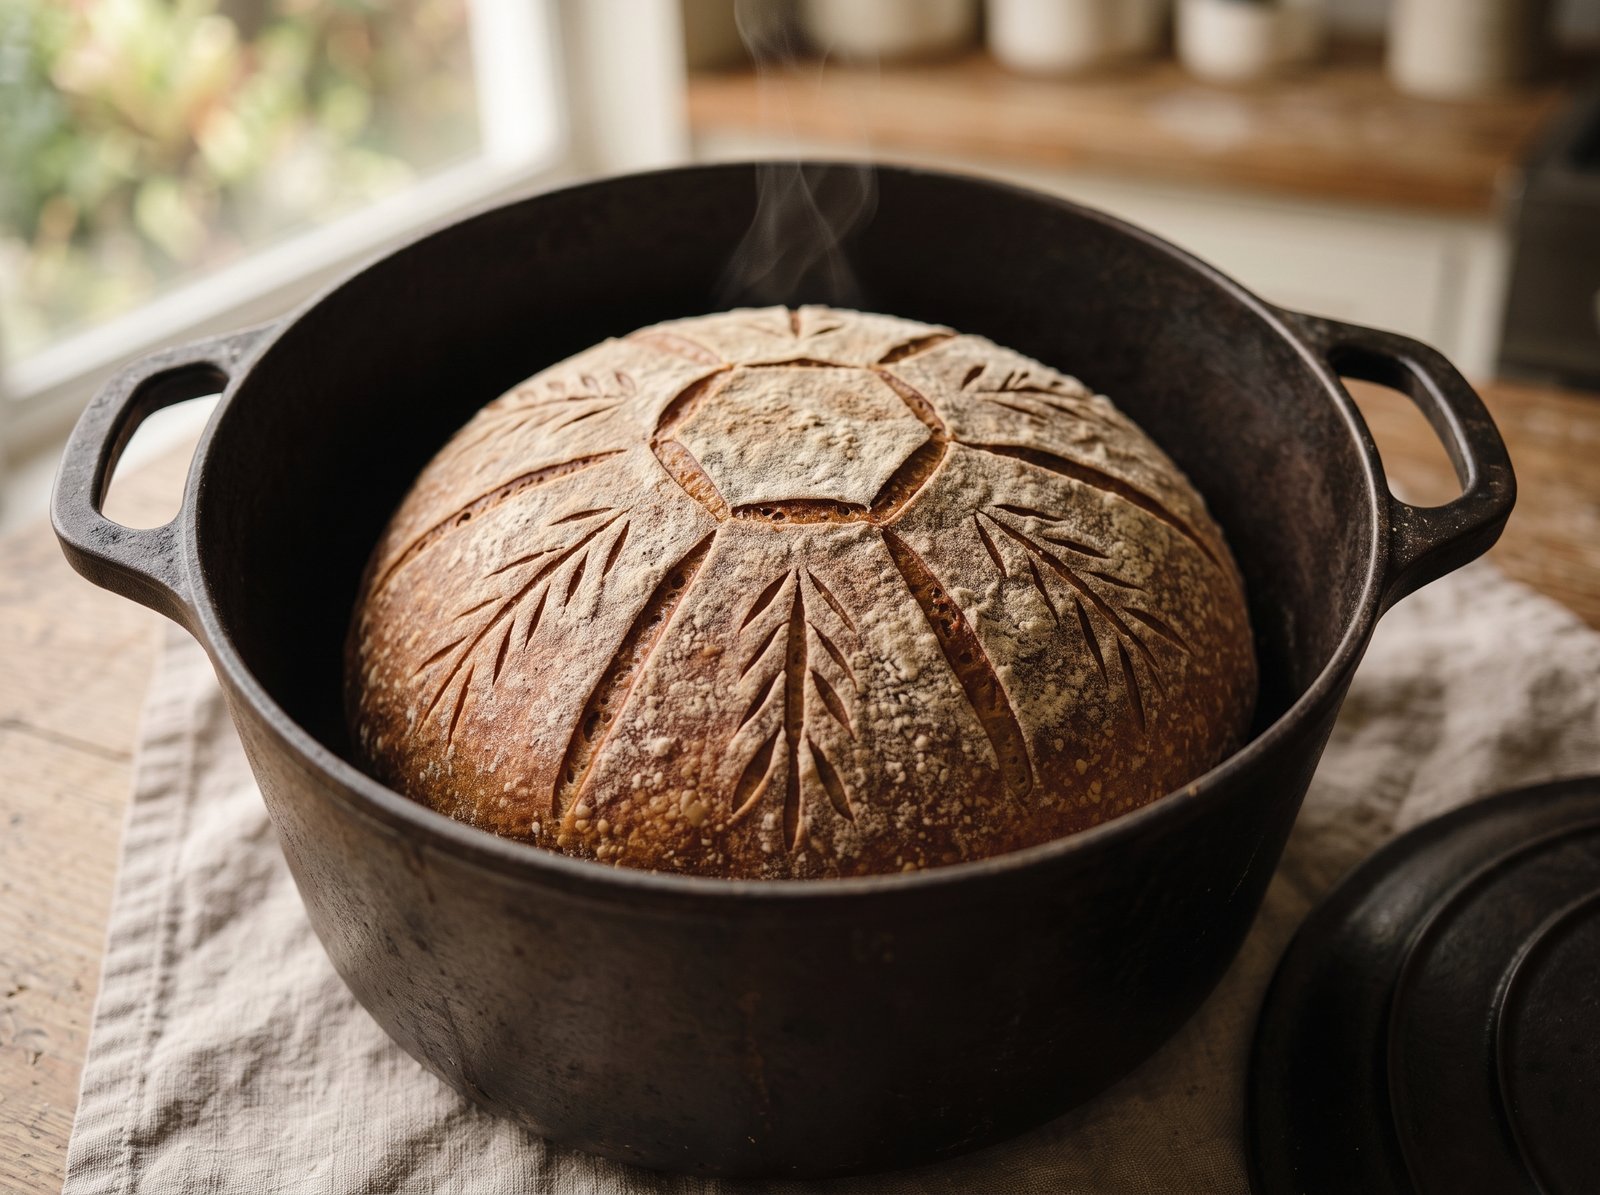
Snowflake Scored Sourdough Boule
Method
- In a large bowl, mix the bread flour, whole wheat flour, and water together by hand just until no dry flour remains. Cover and rest (autolyse) for 30 minutes.
- Add the starter and salt. Mix and knead until smooth and elastic, 8-10 minutes by hand or 6-7 minutes with a stand mixer.
- Cover and bulk ferment at room temperature for 4 hours, with 3 sets of stretch-and-folds in the first 2 hours, until puffy and about 50% risen.
- Turn the dough out and shape into a tight round. Place seam-side up in a well-floured banneton, cover, and refrigerate overnight (12-15 hours).
- The next day, preheat the oven to 475°F (245°C) with the Dutch oven inside for at least 30 minutes.
- Turn the cold dough out onto parchment paper and dust the surface lightly with flour so the scoring lines will show up clearly.
- Using the lame, score a small hexagon, about 2 inches across, in the center of the loaf, cutting about ¼ inch deep.
- From the middle of each side of the hexagon, score a straight line radiating outward toward the edge of the loaf, each about ¼ inch deep.
- Partway along each radiating line, add several short diagonal branch cuts angling off to either side, like the arms of a snowflake, to build a lacy, frost-like pattern.
- From each of the 6 corners of the hexagon, extend radiating lines further toward the edge and score it about ½ inch deep – this deeper cut gives the loaf a reliable vent for the oven spring, hidden within the pattern.
- Carefully lower the dough (on its parchment) into the hot Dutch oven, cover, and bake for 20 minutes.
- Remove the lid and bake another 20-25 minutes, until deeply golden and the pattern has bloomed open.
- Cool on a wire rack at least 1 hour before slicing.
Notes
Save This Recipe
Get it emailed to you now, plus new recipes as they go up.
Your email is safe with me. I’ll send this recipe straight over. No spam, ever—and you can unsubscribe anytime.
How to Make It
1Mix and autolyse. In a large bowl, mix the bread flour, whole wheat flour, and water together by hand just until no dry flour remains. Cover and rest (autolyse) for 30 minutes.
2Add starter and salt. Add the starter and salt. Mix and knead until smooth and elastic, 8-10 minutes by hand or 6-7 minutes with a stand mixer.
3Bulk ferment. Cover and bulk ferment at room temperature for 4 hours, with 3 sets of stretch-and-folds in the first 2 hours, until puffy and about 50% risen.
4Shape and refrigerate. Turn the dough out and shape into a tight round. Place seam-side up in a well-floured banneton, cover, and refrigerate overnight (12-15 hours).
5Preheat. The next day, preheat the oven to 475°F (245°C) with the Dutch oven inside for at least 30 minutes.
6Flour the surface. Turn the cold dough out onto parchment paper and dust the surface lightly with flour so the scoring lines will show up clearly.
7Score the hexagon. Using the lame, score a small hexagon, about 2 inches across, in the center of the loaf, cutting about ¼ inch deep.
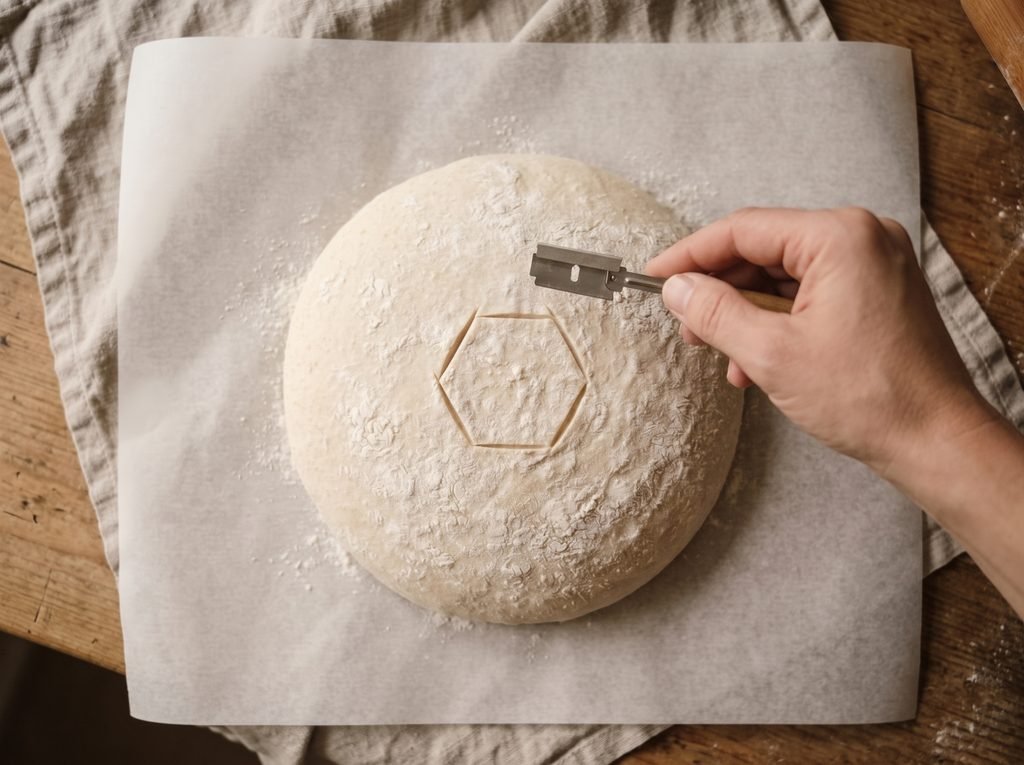
8Radiate the lines. From the middle of each side of the hexagon, score a straight line radiating outward toward the edge of the loaf, each about ¼ inch deep.
9Add the branch cuts. Partway along each radiating line, add several short diagonal branch cuts angling off to either side, like the arms of a snowflake, to build a lacy, frost-like pattern.
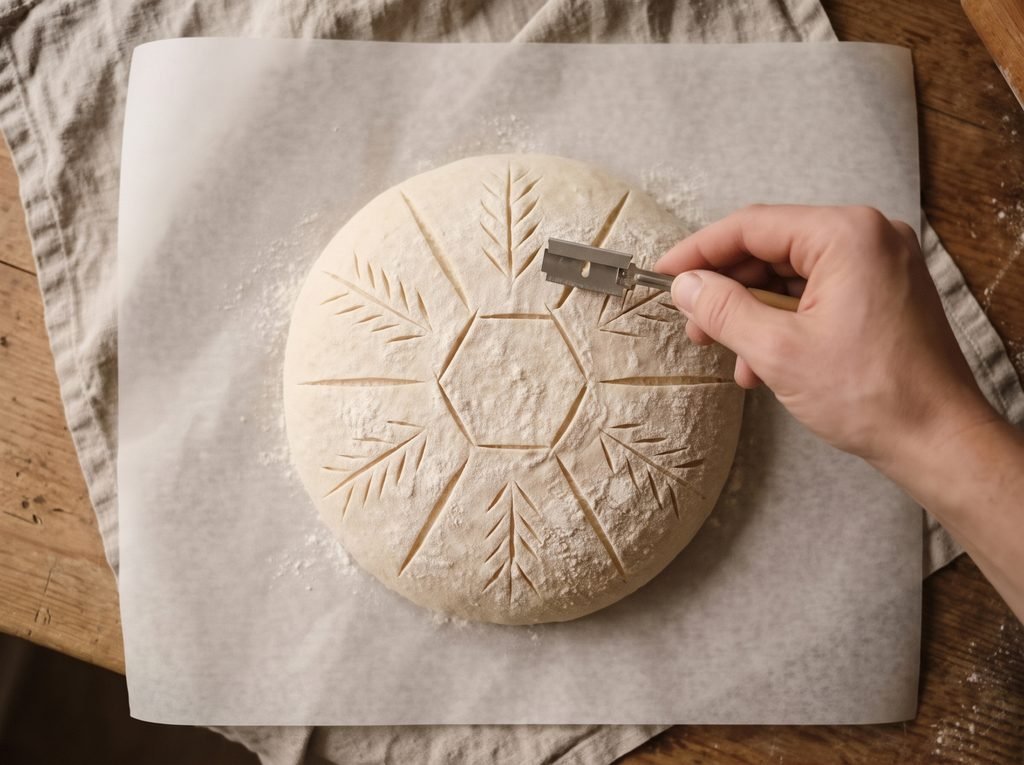
10Cut the vent. From each of the 6 corners of the hexagon, extend radiating lines further toward the edge and score it about ½ inch deep – this deeper cut gives the loaf a reliable vent for the oven spring, hidden within the pattern.
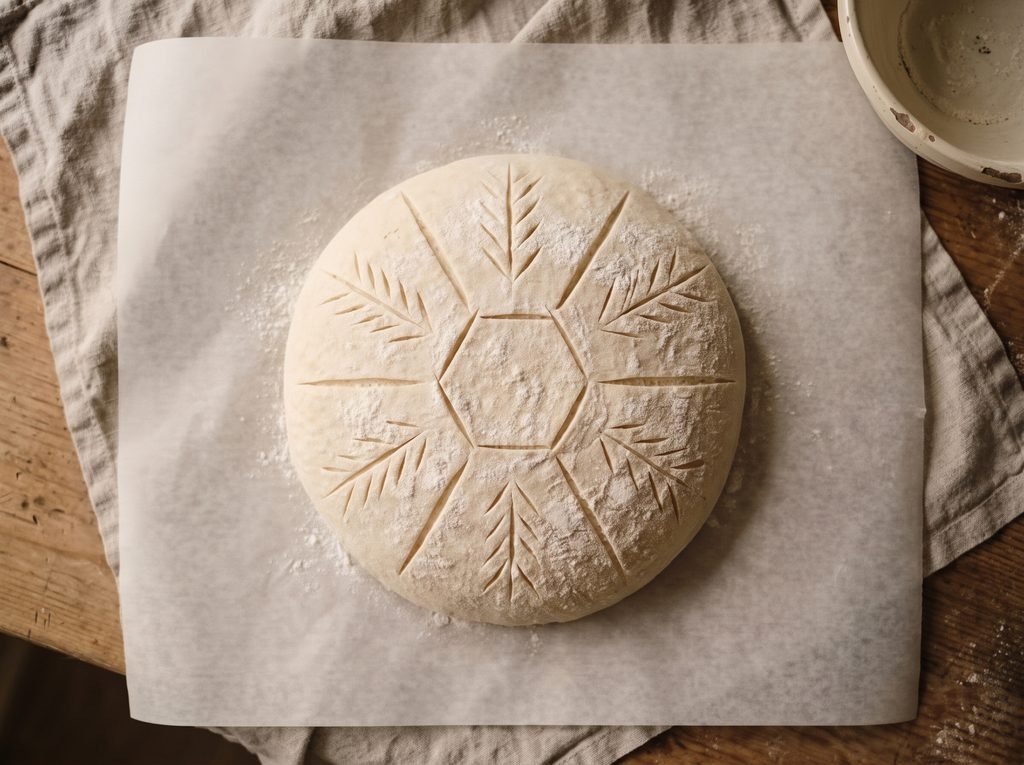
11Bake, covered. Carefully lower the dough (on its parchment) into the hot Dutch oven, cover, and bake for 20 minutes.
12Bake, uncovered. Remove the lid and bake another 20-25 minutes, until deeply golden and the pattern has bloomed open.
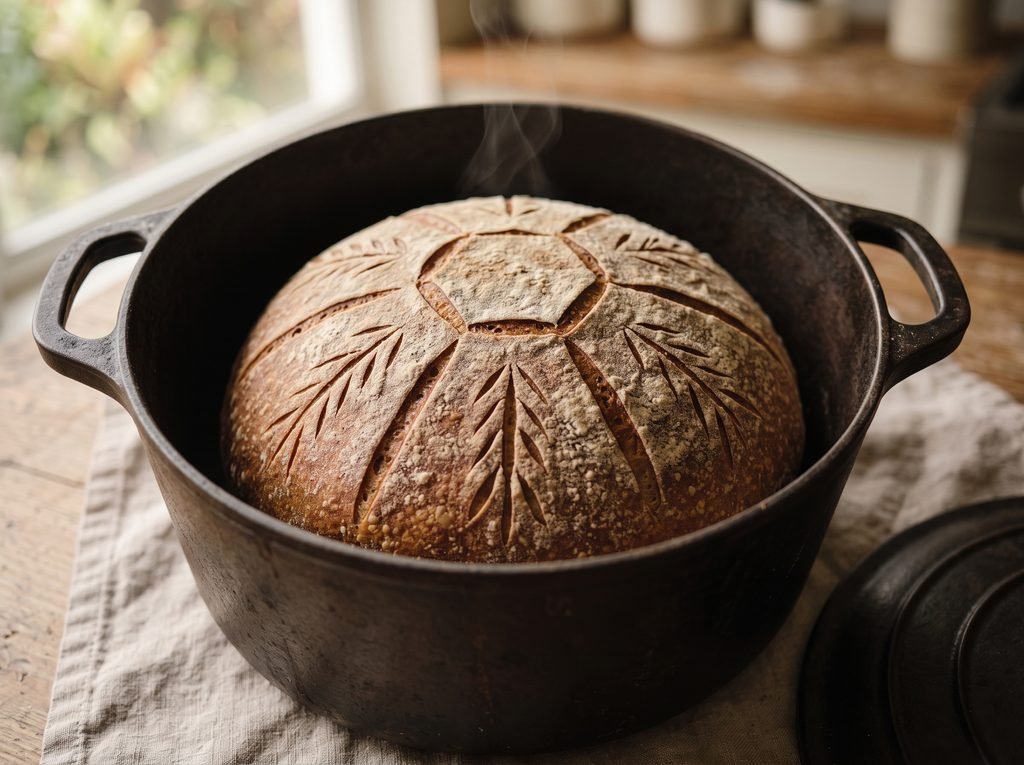
13Cool. Cool on a wire rack at least 1 hour before slicing.
Tips & Troubleshooting
- Always include one deeper cut: a pattern made entirely of shallow decorative lines has nowhere reliable to vent – the hidden deeper score is what keeps the loaf from blowing out somewhere unplanned. More on this in Why Did My Sourdough Deflate After Scoring?
- Chill your lame hand: cold dough straight from the fridge holds a crisp line far better than dough that’s warmed up – score it straight out of the refrigerator.
- Go slow on the branch cuts: a hesitant, shaky line reads as messy once it blooms in the oven; commit to each cut in one confident motion.
- Keep the hexagon small: a center that’s too large leaves less room for the radiating lines and branches to read clearly once the loaf has expanded.
- Practice on paper first: sketching the pattern on a piece of paper before you pick up the lame helps you commit the sequence to memory.
How to Store
To store: in a paper bag or bread box at room temperature up to 4 days.
To freeze: slice first, then freeze in an airtight bag up to 3 months; toast slices straight from frozen.
Nutrition
Per slice, based on 12 slices per loaf. Estimated from the ingredients used – provided for convenience and not a substitute for a precise calculation.
140
Calories
27g
Carbs
5g
Protein
1g
Fat
1g
Fiber
190mg
Sodium
Desi’s Notes
Scoring a design like this is really just scoring with intention instead of one confident slash – the dough doesn’t care that the pattern is more complicated, it just needs somewhere reliable to expand.
That’s why there’s a deeper vent cut tucked into this design and not just decorative lines. A loaf scored only with shallow, pretty cuts and nothing deep enough to actually vent steam is how you end up with a blowout somewhere you didn’t plan for.
Go slower than feels necessary on the branch cuts. A hesitant, shaky line reads as messy once it blooms in the oven; a confident, unhurried one reads as lace.
Before You Bake
Scaling this recipe up or down? Run your numbers through the Sourdough Calculator. And if you want a printable reference for troubleshooting your crumb and crust, grab the Crumb & Crust Diagnostic Quicksheet.
Knead to Know?
New recipes, baking tips, and sourdough troubleshooting — delivered before your starter even finishes its next rise.
Get the latest insights, no spam — just new recipes and baking tips. Unsubscribe anytime. See our Privacy Policy.



Tried this recipe? Leave a star rating below — it takes 10 seconds and helps other bakers decide what to make next.
Baked this recipe your way? Share it in Community Bakes and inspire other readers.