
Sourdough Starter From Scratch
Two ingredients. No packet of commercial yeast, no starter culture ordered online, nothing shipped to your door. Every sourdough starter alive today, including the one you’re about to build, is just flour and water left alone long enough for the wild yeast and bacteria already living in that flour to wake up and get to work. This is the exact process I used to build mine in a hot, humid South Florida kitchen, and it’s built around watching your starter’s behavior instead of counting days on a calendar.
Why You’ll Love It
- Just two ingredients — flour and water, nothing else
- No commercial yeast, ever — wild yeast and bacteria already in your flour do all the work
- Built and tested in a hot, humid South Florida kitchen, not against one
- One rule that matters more than the calendar: watch the bubbles, not the day count
- Feeds straight into the Plain Sourdough Loaf and every other recipe on this site
Ingredients & Equipment
Heads up: Some of the links below are affiliate links. As an Amazon Associate, I earn from qualifying purchases. This means if you click and make a purchase, I may earn a small commission at no extra cost to you.
Volume measurements are included for convenience, but they’re approximate — a kitchen scale will always get you a more consistent starter, especially since you’ll be repeating these ratios daily.
- High protein flour: I’m using Caputo Chef 00 flour, but use for your starter whatever flour you’re planning to bake with. It’s not mandatory, but it’s recommended.
- Filtered water, lukewarm: skip the tap. Chlorine in tap water can work against the wild yeast and bacteria you’re trying to grow, so use filtered or drinking water instead.
- Kitchen scale: not optional here. You’ll be measuring the same small amounts daily, and a scale keeps every feeding consistent.
- A clean glass jar (pint-sized works well): holds and shows off your starter as it grows. Glass also makes it easy to see the bubbles working through the sides.
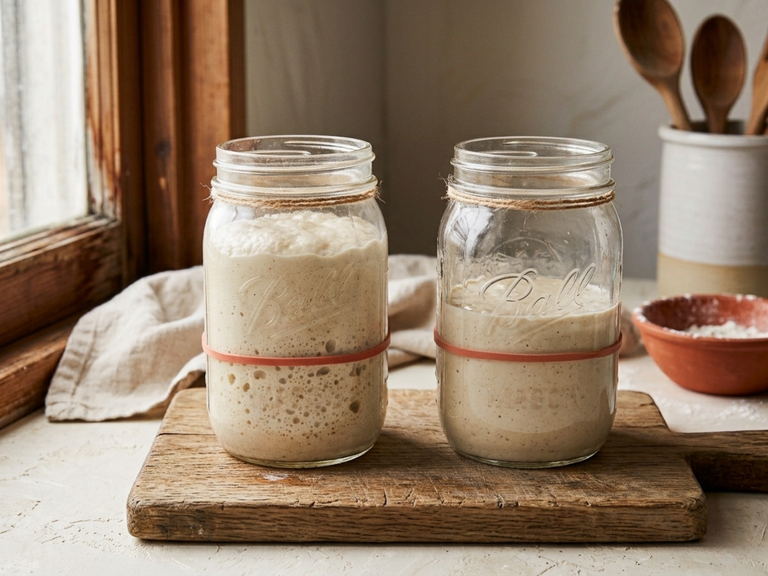
- A rubber band: wrap it around the jar at the starter’s current level after each feeding, so you can actually see how much it’s risen instead of guessing.
- A loose-fitting lid, plastic cap, or plastic bag: covers the jar without sealing it shut. A hardworking starter produces real gas pressure, and a jar sealed too tight can crack.
- A spoon or small spatula: for mixing. Nothing fancy needed.
Sample Schedule (Day 1 Through Ready)
Day 1
- Mix 100 g lukewarm filtered water with 100 g flour into a shaggy, thick batter
- Cover loosely and leave undisturbed on the counter for 24 hours
- Wrap a rubber band around the jar at the starter’s current level
Day 2
- Discard all but 50 g of the mixture
- Feed with 50 g water and 50 g flour, mix well
- Cover loosely, reset the rubber band, and leave for 24 hours
- Don’t expect visible activity yet — this is normal
Day 3
- Repeat the discard and feed: 50 g starter, 50 g water, 50 g flour
- In a warm kitchen, this is often the first day you’ll see real movement
- Reset the rubber band so you can track the rise
Day 4
- Repeat the same discard and feed
- Some starters may show their first real doubling around this point
- Keep watching bubbles, not just height
Day 5 and Beyond (repeat as needed)
- Continue the same daily discard and feed: 50 g starter, 50 g water, 50 g flour
- Keep going until the starter rises strongly and shows active bubbles for 3 consecutive days
- This can take anywhere from a few more days to two weeks depending on your kitchen and flour
- Ready to Bake
- Once you have three strong, bubbly, consecutive rises, your starter is ready
- Follow my Plain Sourdough Loaf recipe for your first loaf, or use any recipe you like. If you follow mine, you’ll use 120 g of your starter
- Feed the rest again, or refrigerate it for later (see How to Store)
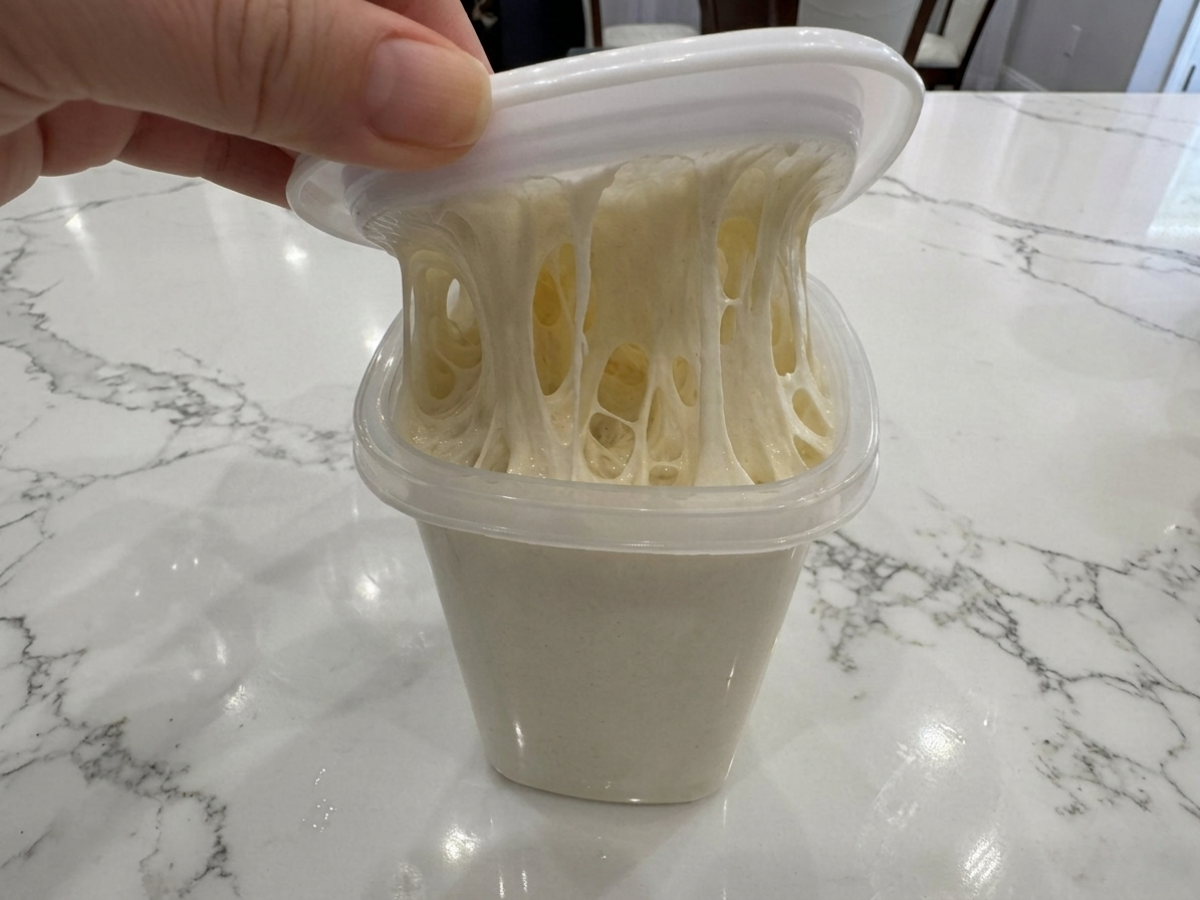
Sourdough Starter From Scratch
Ingredients
Heads up: Some of the links below are affiliate links. As an Amazon Associate, I earn from qualifying purchases. This means if you click and make a purchase, I may earn a small commission at no extra cost to you.
Equipment
Method
- Day 1: Mix 100 g lukewarm filtered water with 100 g flour into a thick, shaggy batter. Cover loosely and rest 24 hours.
- Day 2: Discard all but 50 g. Feed with 50 g water and 50 g flour, mix well, cover loosely.
- Days 3–4: Repeat the same discard and feed daily. Watch for first activity around Day 3 and first real rise around Day 4, though this can vary depending on the temperature, humidity, and flour in your kitchen.
- Day 5 on: Keep repeating the daily discard and feed until the starter rises strongly and holds active bubbles for 3 consecutive days.
- Once ready, use a portion of it for your first bake. Feed or refrigerate what’s left.
Notes
Save This Recipe
Get it emailed to you now, plus new recipes as they go up.
Your email is safe with me. I’ll send this recipe straight over. No spam, ever—and you can unsubscribe anytime.
How to Make It
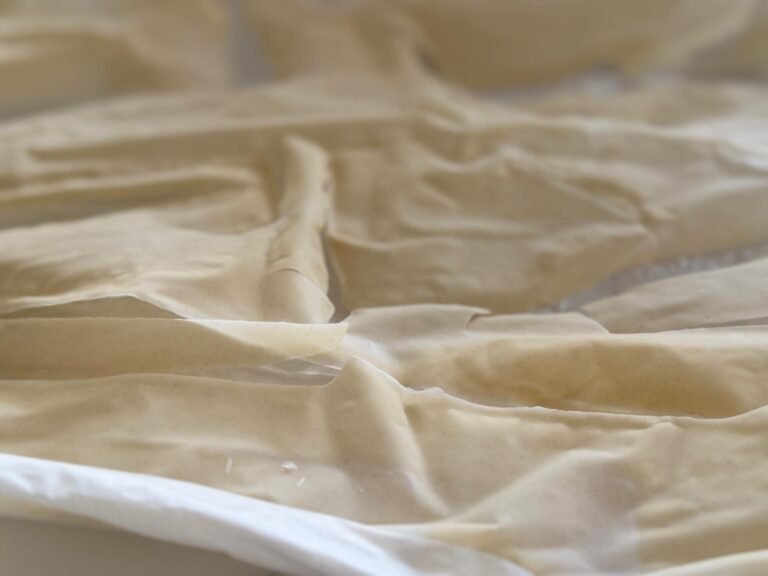
1Mix your Day 1 feeding. In a clean jar, combine 100 g (¾ cup + 1 Tbsp + 1 tsp) lukewarm filtered water with 100 g (¾ cup + 1 Tbsp + 1 tsp) flour. Mix well until you get a thick, shaggy consistency, closer to pancake batter than dough. Cover the jar loosely with its lid, a plastic bag, or plastic wrap, and wrap a rubber band around the outside at the current level.
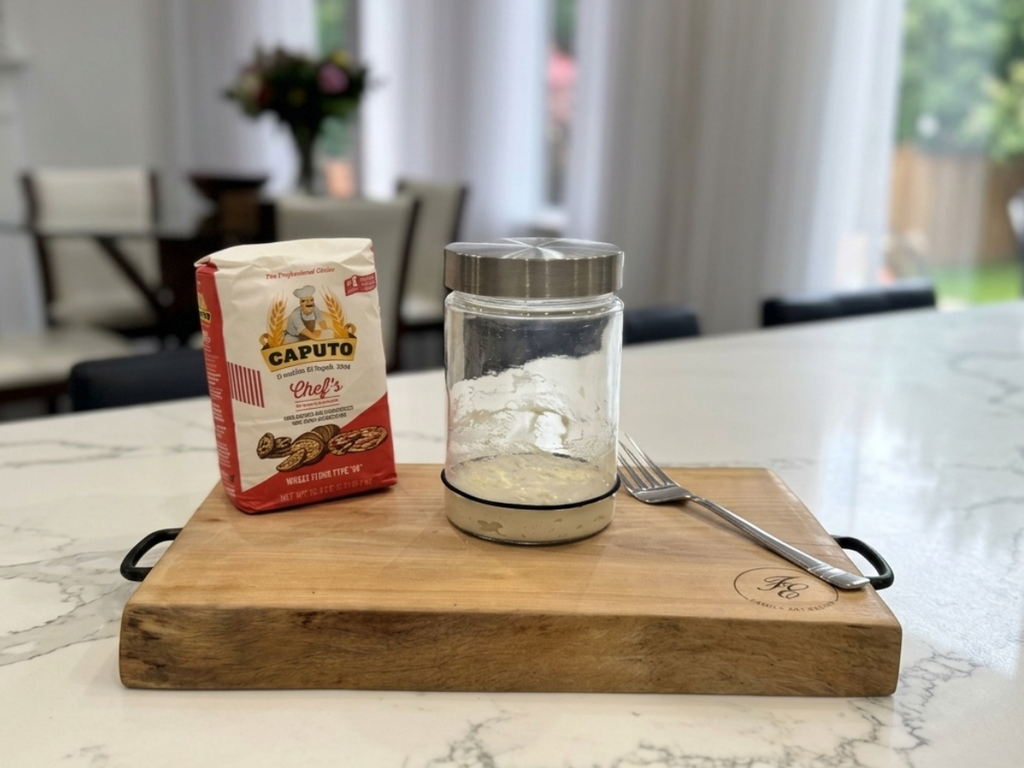
2Rest, undisturbed, for 24 hours. Leave the jar on the counter for a full 24 hours. You don’t need to stir it, check it, or do anything else. This first day is just giving the flour and water time to start working together and letting the wild yeast and bacteria naturally present in the flour begin to activate. Don’t expect to visually see any movement yet. All of the work is behind the scenes now.
3Discard and feed on Day 2. Discard all but 50 g of what you mixed on Day 1. That discard isn’t usable in discard recipes yet, since the starter hasn’t activated. To the 50 g that’s left, add 50 g (3 Tbsp + 1 tsp) water and 50 g (6 Tbsp + 2 tsp) flour. Mix well, cover loosely again, reset your rubber band at the new level, and leave it on the counter for another 24 hours.
4Repeat daily through Day 4. Repeat the same discard-and-feed process on Day 3 and Day 4: discard down to 50 g, then add 50 g water and 50 g flour. Depending on your kitchen’s temperature and humidity, you may start to see your first real activity around Day 3. In my kitchen, which runs 78 to 80 degrees with around 60 percent humidity, my starter doubled outright on Day 4.
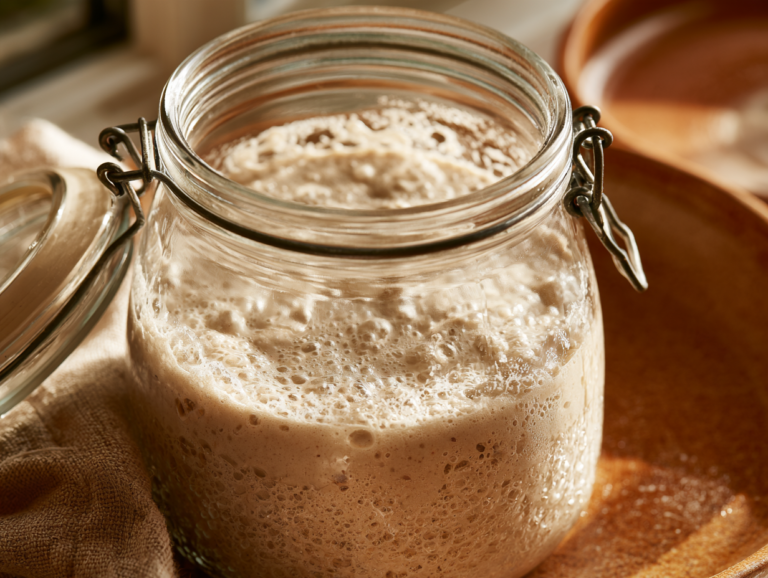
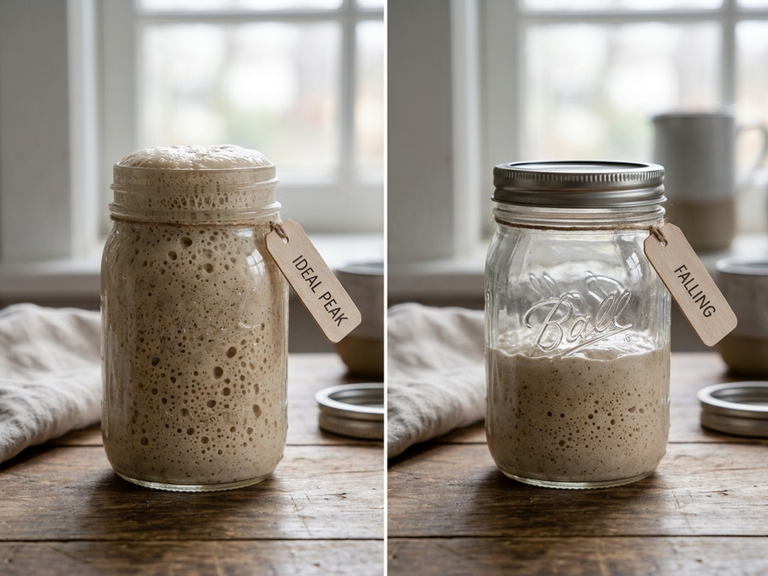
5Watch for the first real rise. Once your starter starts moving, you’ll notice it rising against the rubber band, along with small bubbles forming on top and visible through the sides of the jar. This is a good sign, but it’s not your finish line yet. A single strong rise doesn’t mean your starter is ready to bake with.
6Repeat until it holds for 3 days straight. Continue the same daily discard and feed: 50 g starter, 50 g water, 50 g flour, mixed well and covered loosely each time. Keep going until you get three consecutive days where the starter rises strongly, doubling or more, and shows active bubbles throughout, not just on the surface. This is the real marker of readiness, not the calendar. It took my starter six days total. Depending on your kitchen and your flour, yours might take closer to a week, or up to two.
7Bake with it. Once your starter has held a strong, bubbly rise for three days in a row, it’s ready. At this point you’ll have about 150 g of active starter (50 g starter plus 50 g water plus 50 g flour from your last feeding). You can use my Plain Sourdough Loaf recipe to make your first loaf (it requires 120 g of starter), or any other recipe you like. Just make sure there’s some starter left in your jar.
8Handle what’s left over. You’ll have about 30 g of starter remaining after baking (if you used my Plain Sourdough Loaf recipe). Feed it again if you’ll be baking again soon, or move it straight to the fridge, covered, if you need a break. For a full walkthrough on keeping an established starter alive, check out my guide to maintaining a sourdough starter. Either way, don’t toss it. It’s already done the hard part.
Tips & Troubleshooting
- Hot, humid kitchens: this timeline was built in South Florida, so if your kitchen runs warm, expect to see activity earlier than day-by-day tutorials written for cooler climates suggest.
- A sluggish starter: if you’re past day four with no real movement, don’t panic. Keep discarding and feeding on schedule. Cooler kitchens and different flours both slow things down, and that’s normal, not a failure.
- Loosely covered, always: never screw a lid down tight on an actively fermenting starter. The gas has to go somewhere, and a sealed jar can crack.
- Early discard isn’t discard-recipe material: the flour and water you remove in the first few days hasn’t gone through activation yet, so save your discard recipes for once your starter is established and you’re feeding it regularly.
- Watch behavior, not the calendar: the day count in this schedule is what happened in my kitchen. Your own starter’s bubbles and rise are the only signal that actually matters.
How to Store
To keep baking with it: feed it again using the same 1:1:1 ratio, or scale up to a 1:5:5 or 1:10:10 ratio if you need more starter for a bigger batch or bake. I’ll walk through scaling ratios in more detail in the maintenance article.
To pause it: cover the jar (the same one you mixed it in works fine) and move it straight to the fridge. It’ll likely keep rising slowly even in there, so leave room and keep it covered to stop it from drying out or picking up anything from the rest of your fridge. When you’re ready to bake again, check out how to bring an established starter back to life in How to Maintain (and Revive) Your Starter, the next piece in this Starter 101 series.
Nutrition
Not applicable. This is a raw, fermented starter culture, not a finished baked good.
Desi’s Notes
People ask me why I keep telling them to ignore the day count on most starter tutorials. It’s because my kitchen runs hot, usually 78 to 80 degrees with humidity sitting around 60 percent, and that changes everything about the timeline. My starter showed its first real activity on day three and doubled outright on day four. Yours might move faster or slower depending on your kitchen, your flour, even the time of year.
The number that actually matters isn’t which day you’re on. It’s getting three consecutive days where your starter rises strongly and shows active bubbles all the way through, not just on top. That’s the real sign it’s ready to bake with. For me that landed around day six. For you it might take a week, or closer to two.
I feed this starter with Caputo Chef 00 flour, the same flour I bake the loaves with, so the starter and the dough it eventually goes into are already used to each other. And keep your jar’s lid loose rather than sealed tight. A starter working hard produces a lot of gas, and I’ve heard from more than one baker whose sealed jar cracked from the pressure.
Before You Bake
Track your starter’s feedings with the free Starter Feeding & Discard Log. And once you’re ready to bake, run your numbers through the Sourdough Calculator.
Knead to Know?
New recipes, baking tips, and sourdough troubleshooting — delivered before your starter even finishes its next rise.
Get the latest insights, no spam — just new recipes and baking tips. Unsubscribe anytime. See our Privacy Policy.
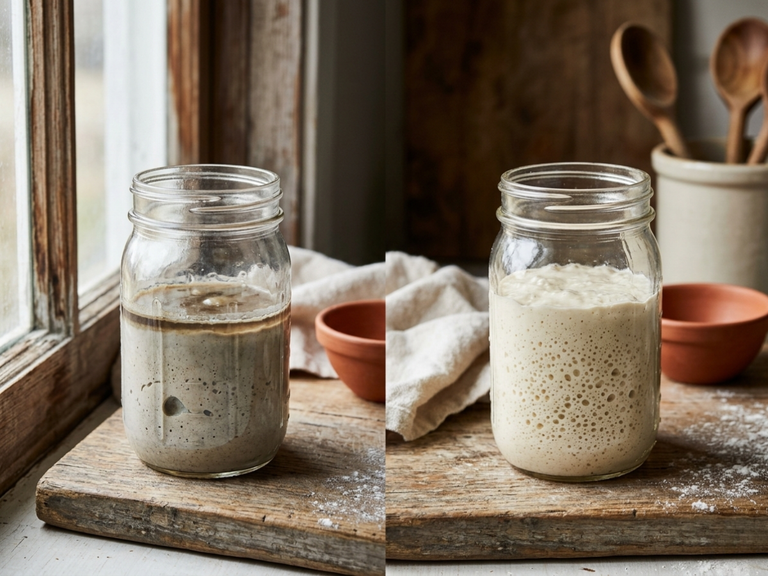
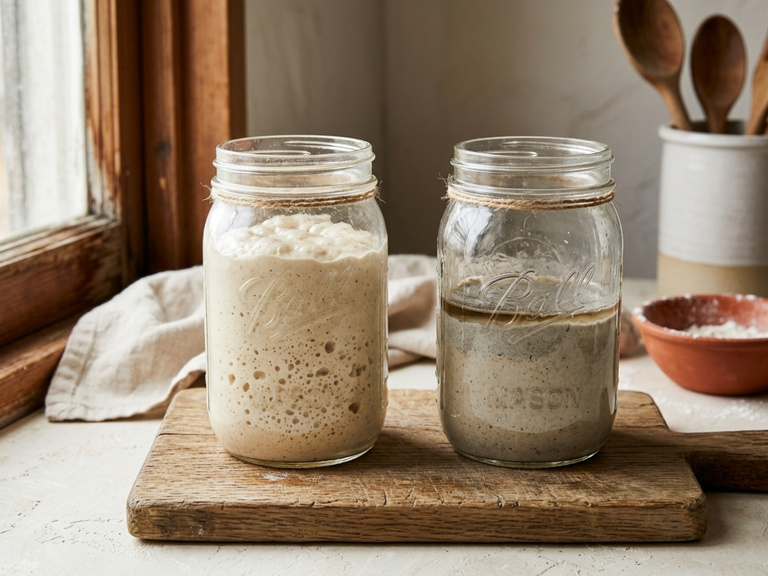
Tried this recipe? Leave a star rating below — it takes 10 seconds and helps other bakers decide what to make next.
Baked this recipe your way? Share it in Community Bakes and inspire other readers.