Lesson #3: The Sourdough Gear You Actually Need (and What You Can Skip)
You don’t need a whole new kitchen. You need one non-negotiable and a handful of workarounds.
The second someone says sourdough, it starts to sound like a whole new kitchen setup. It isn’t. Most of what you need, you already own, and most of the rest has a free workaround. Here’s the honest breakdown of what’s actually worth buying versus what you can fake.
A Quick Note Before You Shop
Everything linked below is just what I personally use and like. If you already own something similar, or you’d rather buy a different brand, go with what you’ve got or what you prefer. None of this specific brand gear is required to make good bread, it just makes the process a little easier.
Heads up: some of the links below are affiliate links. As an Amazon Associate, I earn from qualifying purchases, at no extra cost to you. I only link things I actually use in my own kitchen.
The One Non-Negotiable
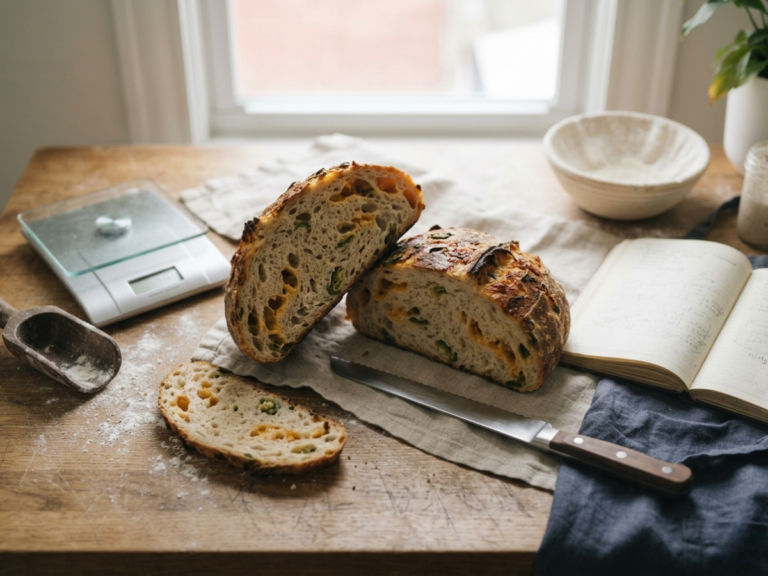
A digital kitchen scale. Sourdough is a weight-based, not a volume-based, hobby, and eyeballing this one is how loaves go sideways. This is the one item on this list I won’t talk you out of.
🛒 Worth Buying
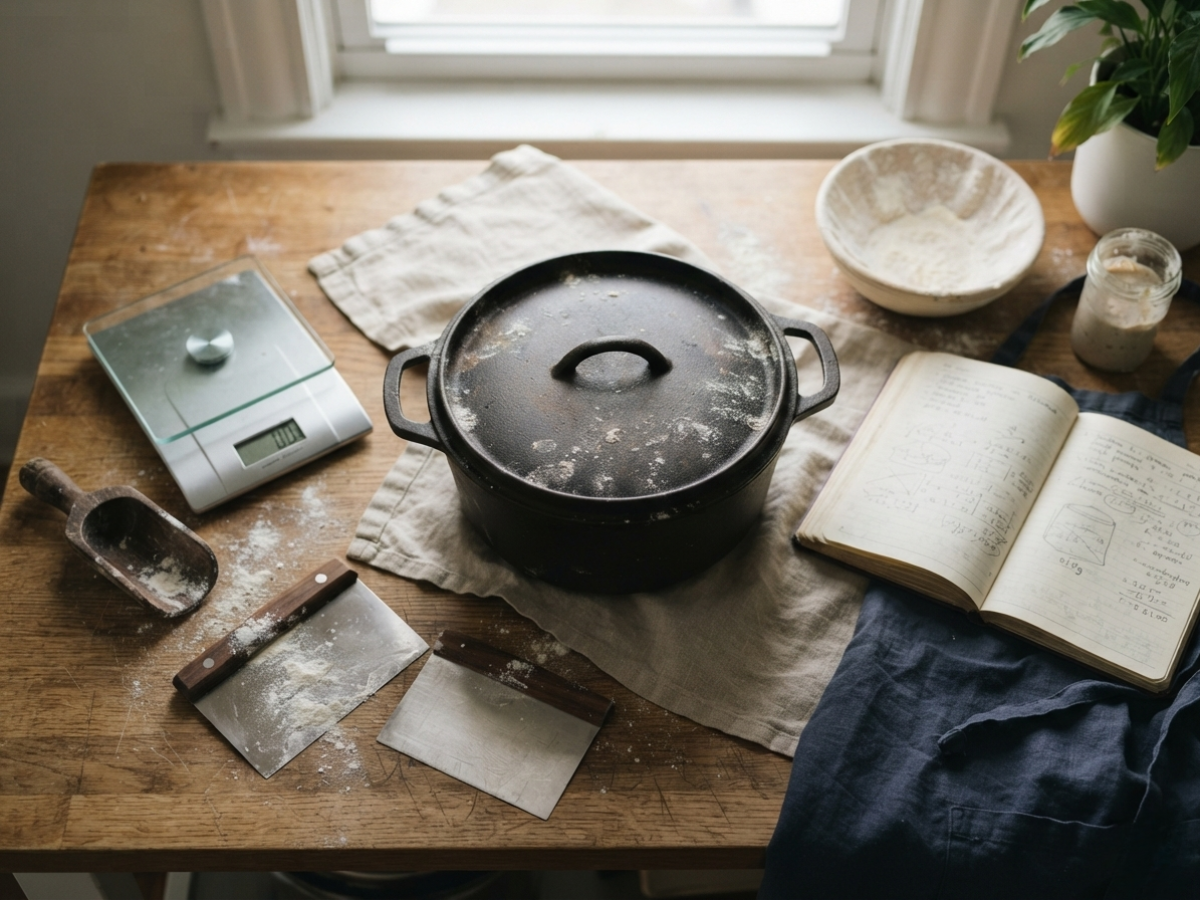
A Digital Kitchen Scale
Non-negotiable, covered above. Look for one that measures in grams, holds at least 5 kg, and has a tare function. You don’t need anything fancy here.
Digital Kitchen Scale (1g precision)
Baking by weight is the single biggest upgrade for consistent results — this is the one on my counter.
A Dutch Oven, or Any Heavy-Lidded Pot
This is what gives you that bakery-style crust, because it traps steam around the loaf while it bakes. It doesn’t have to be a name brand. Any heavy, oven-safe pot with a tight-fitting lid that can handle high heat will do the job.
5.5-Qt Enameled Dutch Oven
What I bake every loaf in — the tight lid traps steam for a crackly crust with zero fuss.
🧰 Nice to Have (Use What You Already Own)
🥣 A Mixing Bowl — glass or plastic, either works fine. Just make sure it’s big enough to comfortably hold the dough once it rises, you don’t want it climbing over the sides mid-ferment.
🌀 A Danish Dough Whisk — handy for bringing a shaggy dough together without it clumping all over a spoon. A regular wooden spoon can do the same job just fine, this is purely a convenience upgrade.
🚿 A Shower Cap — you don’t need an expensive one. A plain, cheap shower cap does the job and can be reused as long as it’s clean. I only use mine to cover the dough while it’s fermenting out on the counter, before it goes into the proofing basket. Once the dough’s in the basket and headed to the fridge, skip the shower cap, that stage needs something breathable so moisture doesn’t get trapped and collect on the dough.
🔪 A Bench Scraper — not a must-have. It helps with dividing and handling sticky dough, and it’s usually under ten dollars, but you can absolutely bake without one.
🧺 A Proofing Basket (Banneton) — you don’t need to buy one of these. Grab a bread basket you already have lying around the kitchen, line it with a kitchen towel (not a fluffy one, a plain, tightly woven one works best so it doesn’t stick), and that does the exact same job of holding your dough’s shape while it rests.
🧵 A Proofing Basket Liner — if you do end up buying an actual banneton, a liner keeps the dough from sticking, but you’ll still need to flour it first, it’s not a flour-free fix like it’s sometimes made out to be. The one that comes with the banneton I use as a true liner, but I also have these single use ones and those I use as a cover, laid over the top of the dough once it’s sitting in the basket.
📄 Parchment Paper — you most likely already have a roll of this in your kitchen. It makes transferring dough into a hot Dutch oven far less stressful and saves you a stuck-loaf disaster. I like the pre-cut sheets since they’re ready to go, but that’s purely a convenience, they work no differently than whatever parchment paper you’ve already got at home.
🌾 A Flour Sifter — handy for dusting flour evenly over your work surface or the top of your loaf. Not necessary, sprinkling flour straight from your hand or through a small strainer works just fine.
✂️ A Bread Lame — this is just for scoring the top of your loaf before baking. A sharp paring knife or even a clean razor blade held at an angle works just as well.
⚙️ A Stand Mixer — to this day, I still mix my bread dough entirely by hand. I use my stand mixer for things like bagels and cookies, but for sourdough bread, it’s genuinely not needed. If you don’t have one, you’re not missing a step, hand-mixing is part of the process.
🌡️ Optional, If You Want to Get Precise
- An instant-read thermometer, for checking dough or water temperature if your bakes have been inconsistent
Desi’s Note
I baked my first dozen loaves with a mixing bowl, a kitchen scale, and a wooden spoon. The gear makes it easier. It doesn’t make the bread. Start with what you have, and only add to it once you know what you actually reach for.
More Resources
Looking for a printable reference? Browse all six Printable Quicksheets, or dial in your own numbers with the Sourdough Calculator.
Want the full rundown before you buy anything? The Sourdough Equipment Guide walks through everything on this list in one place.
Knead to Know?
New recipes, baking tips, and sourdough troubleshooting — delivered before your starter even finishes its next rise.
Get the latest insights, no spam — just new recipes and baking tips. Unsubscribe anytime. See our Privacy Policy.