Plain Sourdough Loaf
Four ingredients. No shortcuts, no dough conditioners, nothing to hide behind. This is the loaf I make almost every week, and it’s built around a hot, humid kitchen instead of fighting one. If you’ve been frustrated by recipes written for a colder, drier climate that just don’t behave the same way down here, this one’s for you.
Why You’ll Love It
- Just four ingredients — flour, water, salt, and starter, nothing else
- Timing is built for hot, humid kitchens, not written against them
- An overnight cold proof means you decide exactly when it goes in the oven
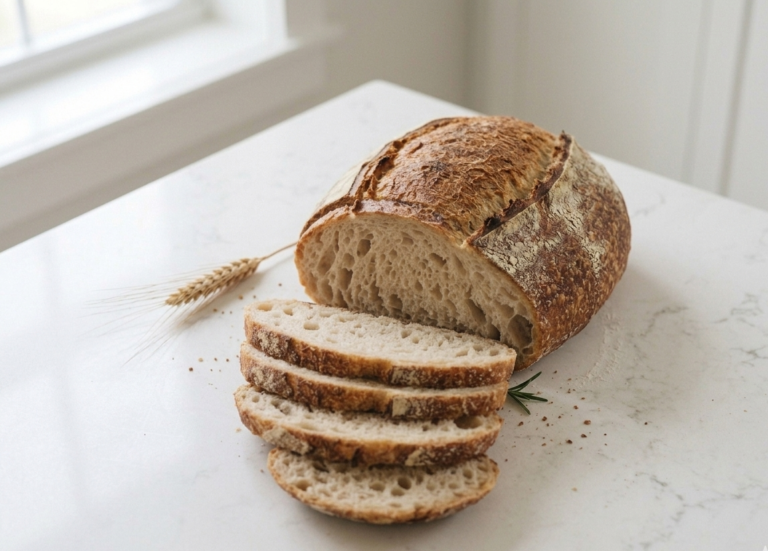
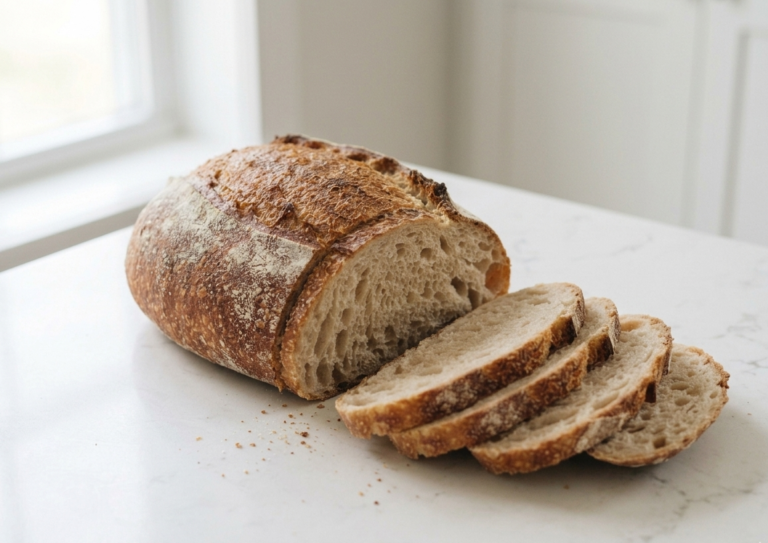
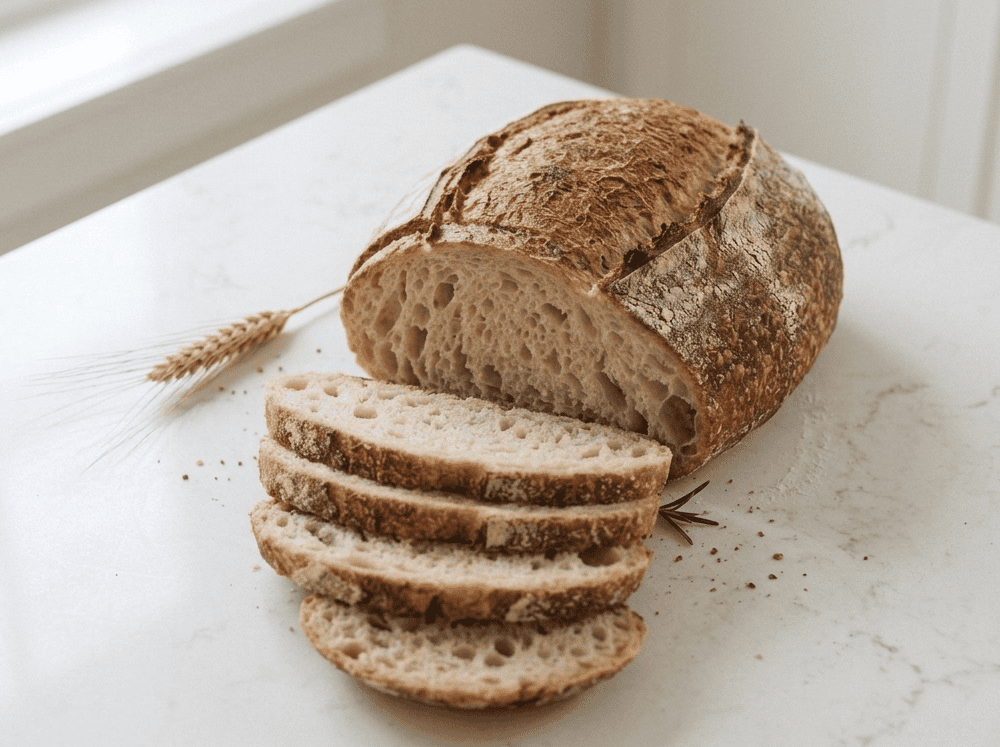
- A crisp, blistered crust with a soft, open crumb
- No stand mixer required — just your hands and a little patience
Ingredients & Equipment
Volume measurements are included for convenience, but they’re approximate — a kitchen scale will always get you a more consistent loaf, especially for the flour.
Heads up: Some of the links below are affiliate links. As an Amazon Associate, I earn from qualifying purchases. This means if you click and make a purchase, I may earn a small commission at no extra cost to you.
- Caputo Chef 00 flour (525 g / 4⅜ cups): a very fine Italian flour that gives this loaf its soft, light crumb. These measurements are tuned to this specific flour — a different flour will change how much water it wants.
- Filtered water (375 g / 1½ cups + 1 Tbsp), lukewarm: skip the tap. Chlorine in tap water can work against your fermentation, so use filtered or drinking water instead.
- Active sourdough starter (120 g / ½ cup): it needs to be bubbly and active before you mix. Room temperature or straight out of the fridge has proven to work the same, as long as the starter is active and strong.
- Fine sea salt (11 g / about 2 teaspoons): added after the first half of the flour, not before — salt added too early can slow fermentation down. Salt volume varies by brand, so weighing is worth it here.
- Kitchen scale: highly, highly recommended. Baking is a science after all, and precision is what makes this recipe repeatable.
- Banneton (proofing basket) with a cloth liner: holds the dough’s shape through the final rise, and the cloth liner keeps it from sticking.
- Dutch oven: traps steam and heat like a professional bread oven, which is what gives you that crisp, blistered crust.
- Lame or a very sharp, thin blade: needed for a clean 45-degree score, so the loaf expands where you want it to instead of tearing randomly.
- Shower cap or a reusable bowl cover: an easy, reusable way to keep the dough from drying out while it rests.
- Parchment paper: makes transferring the dough into a screaming hot Dutch oven safe and mess-free.
- Ice cubes (about 4): tucked under the parchment paper to create steam, which helps the crust develop and the loaf rise.
Sample Schedule (2-Day)
Day 1
- Mix the dough (about 20 minutes hands-on)
- Rest 30–40 minutes
- Stretch and fold, rest 30 minutes — repeat for a total of 4 rounds
- Bulk ferment 2–3 hours at room temperature, until risen about 50%
- Shape and place in the banneton
- Refrigerate overnight
Day 2
- Preheat oven with Dutch oven inside to 475°F (30 minutes)
- Score and bake covered, 30 minutes
- Bake uncovered, 10 minutes
- Finish on a baking sheet, open, about 5 minutes (longer for a darker crust)
- Cool at least 1 hour, ideally 3, before slicing
Plain Sourdough Loaf
Ingredients
Heads up: Some of the links below are affiliate links. As an Amazon Associate, I earn from qualifying purchases. This means if you click and make a purchase, I may earn a small commission at no extra cost to you.
Equipment
Method
- Mix 375 g (1½ cups + 1 Tbsp) lukewarm filtered water with 120 g (½ cup) active starter until dissolved.
- Mix in 250 g (2 cups) flour. Add 11 g (about 2 tsp) salt, mix. Add remaining 275 g (2¼ cups) flour and mix until combined into a sticky, shaggy dough.
- Cover and rest 30–40 minutes.
- Stretch and fold, rest 30 minutes. Repeat for a total of 4 rounds.
- Bulk ferment 2–3 hours at room temperature, until risen about 50% (not doubled).
- Turn dough onto a floured surface, pre-shape, then shape into a tight loaf.
- Place seam-side up in a floured banneton, cover, and refrigerate overnight.
- Preheat oven with a Dutch oven inside to 475°F for 30 minutes.
- Turn the dough onto parchment, score at a 45° angle, transfer to the Dutch oven, then add 4 ice cubes under the parchment paper
- Bake covered 30 minutes, then uncovered 10 minutes.
- Move to a baking sheet and bake open 5 minutes more for a lighter crust (longer for darker).
- Cool on a rack at least 1 hour, ideally 3, before slicing.
Notes
Save This Recipe
Get it emailed to you now, plus new recipes as they go up.
Your email is safe with me. I’ll send this recipe straight over. No spam, ever—and you can unsubscribe anytime.
How to Make It
- Mix the water and starter. In a large bowl, add 375 g (1½ cups + 1 Tbsp) lukewarm filtered water — not straight from the tap, since the chlorine can work against your fermentation. Add 120 g (½ cup) of active, bubbly sourdough starter and whisk or stir until the starter is fully dissolved into the water.
- Add the flour and salt in stages. Add about 250 g (2 cups) of flour, roughly half, to the bowl and mix well. Measure out 11 g (about 2 teaspoons) of salt and add it in, mixing again. Then add the remaining 275 g (2¼ cups) of flour on top and mix everything together until fully combined. Adding the salt after the first half of the flour protects the fermentation, since salt added too early can slow it down. You’ll end up with a very sticky, shaggy mixture — that’s exactly right.
- Rest. Cover the bowl — a shower cap works great, or use a lid if your bowl has one — and set it aside on the counter for 30 to 40 minutes.
- First stretch and fold. Grab the dough where it meets the side of the bowl, pull it up gently, and fold it toward the center. Work your way around the bowl, folding in each side once or twice as you rotate it. Cover again and rest for another 30 minutes.
- Repeat three more times. Repeat the stretch-and-fold process for a total of four rounds, resting 30 minutes between each. By the last fold, the dough should look noticeably smoother and less sticky, with small bubbles forming on top.
- Bulk ferment. Cover the dough and let it ferment on the counter until it’s risen by about 50%. In a hot, humid climate like South Florida, this usually takes 2 to 3 hours. Resist the urge to wait for it to double — that’s how you end up with an over-fermented dough and oversized holes in the finished loaf.
- Turn the dough out. Once the dough has risen enough, loosen it from the edges of the bowl with your fingers. Flour your counter, then flip the bowl over and let the dough fall out onto the floured surface.
- Pre-shape and shape. Give the dough a light stretch, then fold the top edges in so they overlap slightly, and repeat once more, leaving a small seam to close at the bottom. Roll the dough into a loaf shape, then press it down, flip it, and roll it again — this builds surface tension and density, which is what gives you a strong oven spring. Cup the dough with both hands and drag it toward you to tighten the outside into a smooth, taut skin. Pinch the ends closed.
- Transfer to the banneton. Flour your banneton thoroughly so the dough won’t stick to the cloth. Pick up the dough with both hands and flip it into the banneton so the smooth side you just shaped ends up on the bottom of the basket. Pinch the seam on top closed, dust with more flour, and cover with a breathable cloth.
- Cold proof overnight. Place the banneton in the refrigerator and let the dough proof overnight. Take it out the next day right before you’re ready to bake.
- Preheat. Place your Dutch oven inside your oven and preheat to 475°F, letting the Dutch oven heat for at least 30 minutes before baking.
- Score and add steam. Lay a piece of parchment paper over the banneton, then flip the dough out onto it — the smooth bottom of the banneton becomes the top of your loaf. Score the top at a 45-degree angle with a lame or a very sharp blade; that angle is what gives you a clean, well-opened ear once it bakes. Carefully lift the bread by the parchment into the hot Dutch oven, tuck about 4 ice cubes under the parchment for steam, and close the lid.
- Bake. Bake covered for 30 minutes. Remove the lid and bake for another 10 minutes.
- Finish the crust. Carefully remove the Dutch oven from the oven and set it somewhere heatproof, like your stovetop. Place a baking sheet on an oven rack, then lift the bread out of the Dutch oven by the parchment — go slowly, since the loaf can slide on the parchment and everything is extremely hot. Set the bread on the baking sheet and bake uncovered for about 5 minutes, or longer if you like a darker crust.
- Cool completely. Move the bread to a cooling rack. It’s technically safe to slice after an hour, but give it at least 3 hours if you can — the crumb needs that time to fully set, or you’ll end up with a gummier slice.
Tips & Troubleshooting
- Hot, humid kitchens: this recipe was built in South Florida, so if your kitchen runs warm year-round, trust this timing over recipes written for cooler climates.
- Flour swaps: these measurements are tuned to Caputo Chef 00 flour. A different flour will change your hydration needs.
- Crust color: 5 minutes of open baking gives a lighter crust; leave it longer for something deeper and darker.
- Watch the rise, not the clock: stop bulk fermentation at about 50% risen, not doubled, especially in a warm kitchen.
How to Store
To store: in a bread bag, the loaf will be okay for a couple of days, but I strongly recommend leaving out enough to eat for two days and freezing the rest.
To freeze (my real recommendation): slice the loaf the same day you bake it, then freeze the slices. When you’re ready for a piece, thaw and warm it up — it tastes just as fresh as the day you baked it. There’s a health perk here too: bread that’s been frozen and thawed causes less of a blood sugar spike than fresh-baked bread does, so freezing isn’t just about convenience.
Nutrition
Per slice, based on 12 slices per loaf. Estimated from the ingredients used — provided for convenience and not a substitute for a precise calculation.
180
Calories
37g
Carbs
5g
Protein
1g
Fat
1g
Fiber
360mg
Sodium
Desi’s Notes
I get asked a lot why this loaf holds up so well in a hot kitchen when half the recipes out there fall apart the second the temperature climbs. It’s because I developed this one here, in South Florida, where dough moves fast whether you want it to or not.
The biggest thing I want you to unlearn: don’t wait for the dough to double during bulk fermentation. Every recipe out there tells you to. Here, we stop at about 50% risen. Go past that in this kind of heat and humidity and you’ll end up with oversized, uneven holes and a gummier crumb instead of the light, open one you’re after.
I use Caputo Chef 00 flour for this loaf specifically. It’s an incredibly fine Italian flour, and it’s what gives this bread its soft, light texture. Switch flours and expect to adjust your hydration — every flour absorbs water a little differently.
Knead to Know?
New recipes, baking tips, and sourdough troubleshooting — delivered before your starter even finishes its next rise.
Get the latest insights, no spam — just new recipes and baking tips. Unsubscribe anytime. See our Privacy Policy.