
How to Store Sourdough in a Humid Climate (and the Bread Knife That Doesn’t Crush It)
A loaf that lasts four days up north lasts two down here. What actually works for keeping a crust crisp and a crumb mold-free in wet air, why the freezer beats every bread box, and how to pick a knife that cuts the loaf instead of flattening it.
Some links on this page are affiliate links. As an Amazon Associate I earn from qualifying purchases. If you buy through a link I may earn a small commission at no extra cost to you. Full disclosureHere is the pattern every South Florida baker knows. The loaf comes out of the oven with a crust you can hear. By the next morning it is quiet and leathery. By the second evening it is soft all the way through, and on day three there is a green spot on the bottom. Nothing went wrong with the bake. Warm, humid air moves moisture into the crust and keeps the crumb at exactly the temperature mold likes. The fix is a different storage routine, not a better recipe, and most of it is free.
What Humidity Does to a Loaf
Two things happen at once. Staling (the crumb turning firm and dry-feeling) is a chemistry process that runs fastest at refrigerator temperature and slowest in the freezer, which is why “put it in the fridge” is the worst advice for bread anywhere. And moisture migration runs the other way in humid air: instead of the crust drying out, it absorbs water from the air and from the crumb and goes soft, while the surface stays damp enough for mold. Up north you fight dryness. Here you fight dampness and mold at the same time, which is why plastic bags, bread boxes and anything else that traps air around the loaf make things worse rather than better.
The Routine That Works: Day by Day
Day 0. Cool the loaf completely before anything touches it. That means two hours on a wire rack, not forty minutes. A loaf wrapped or bagged warm sweats, and a sweating loaf in a humid kitchen molds. Do not cut it early either. The crumb is still setting and the moisture that escapes from the cut face is what the rest of the loaf needed.
Day 1. Once cut, store it cut side down on a wooden board on the counter, nothing over it. The cut face seals itself, the crust stays as crisp as it is going to, and air moves around the rest.
The board that works in this climate
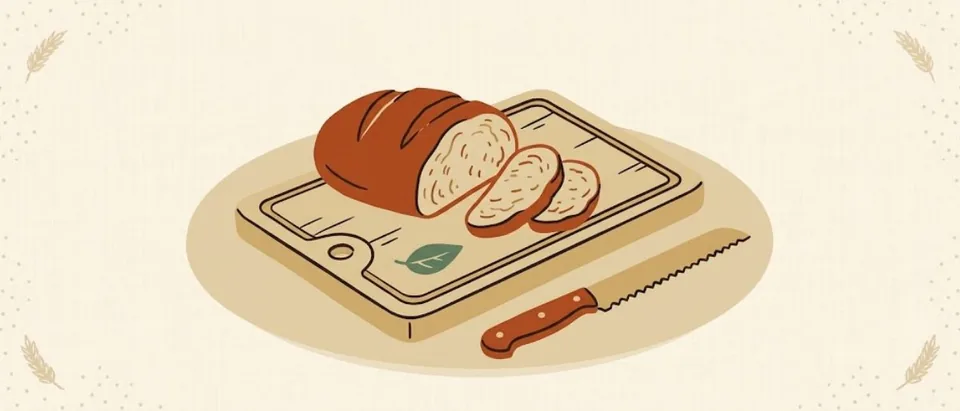
Cut side down, uncovered -- this is the board I actually use. A wood-look composite that won't warp or hold moisture the way real wood can, and it goes straight in the dishwasher between loaves.
Desi Recommends
Epicurean Kitchen Series Cutting Board
A non-toxic, dishwasher-safe board made in the USA. At 14.5 x 11.25 inches it holds a boule or batard for slicing without taking over the counter.
Bags and containers for storing bread and flour
Bread bags for the loaf and an airtight container for the flour, both useful when humidity is working against you.
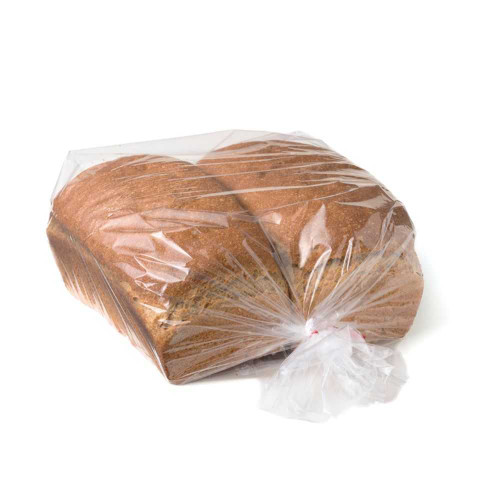
Double Bread Bags, Set of 100
A big pack of bags sized for bread loaves, handy for gifting, selling at a market or storing leftovers. A 100-count set will last most home bakers a long time.
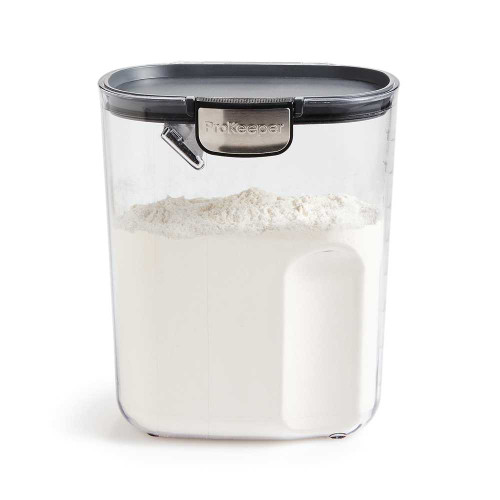
ProKeeper+ Flour Storage Container
An airtight container sized for a bag of flour, with a lid that seals out moisture and pantry pests. Handy when you buy flour in bulk or keep several kinds on hand for your starter.
Day 2. Move it into a paper bag, and put that paper bag inside a loose cotton or linen bread bag. The paper absorbs surface moisture. The cloth keeps dust off and slows drying without sealing. A clean tea towel wrapped loosely does the same job.
A linen bag for day 2
Loaf in a paper bag, paper bag in the linen. The cloth lets the crust breathe while the paper takes up surface moisture.

Linen Bread Bag (Drawstring)
A drawstring bag in 100% linen, sewn in Los Angeles. In a humid kitchen it handles day 2 storage: loaf in a paper bag, paper bag in the linen, so the crust breathes without drying out. Several sizes and colors.
After day 2. Slice the remainder, lay the slices in a freezer bag with the air pressed out, and freeze. Slices go straight from the freezer into the toaster or a 350 degree oven for a few minutes and come out better than a three-day-old counter loaf. A whole loaf can be frozen too, tightly wrapped in foil then bagged, and refreshed in a 350 oven for 15 to 20 minutes.
Check your freezer
Slices keep best in a freezer that holds 0 degrees F. A fridge and freezer thermometer takes the guesswork out, and it works in the refrigerator for dough too.
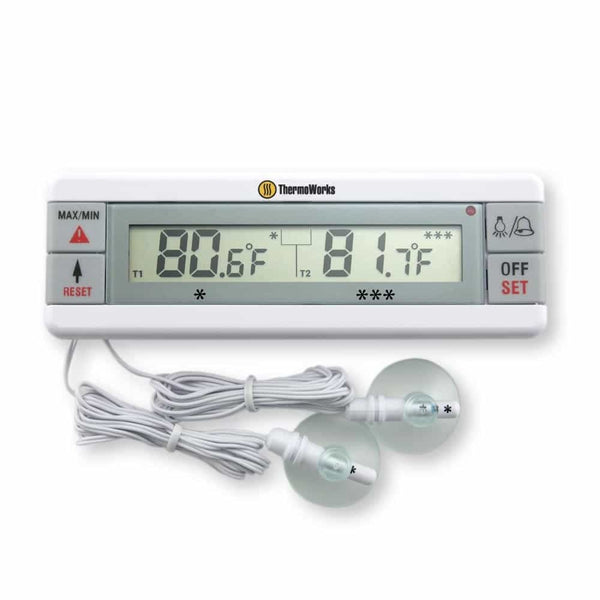
ThermoWorks Fridge/Freezer Thermometer
Two probes, one display: it tracks your fridge and freezer and sounds an alarm if either drifts out of the range you set. Handy for knowing what your fridge is really doing when dough retards overnight.
| Method | In a humid kitchen | Why |
|---|---|---|
| Cut side down on a board, uncovered | Best for day 1 | Air circulates, crust stays crisp, cut face seals |
| Paper bag inside a cloth bag | Best for day 2 | Paper wicks surface moisture, cloth breathes |
| Sliced and frozen | Best after day 2, and for any loaf you will not finish | Stops staling and mold completely; toasts straight from frozen |
| Plastic bag or zip bag on the counter | Avoid | Traps moisture against the crust; fastest route to mold |
| Bread box | Avoid in humid air | A humidity chamber with a lid; fine in Arizona, not here |
| Refrigerator | Avoid for whole loaves | Stales the crumb fastest; only delays mold by a day |
| Beeswax wrap | Okay for a half loaf for one day | Breathes a little more than plastic; still traps moisture after that |
Enriched and Soft Breads Are Different
Everything above is for crusty hearth loaves. Sandwich breads, milk bread, cinnamon rolls and anything with butter, milk or eggs in the dough have a soft crust you are not trying to protect, and they dry out rather than soften. Those go in a sealed bag or container at room temperature for two days, then the freezer. Sourdough enriched doughs keep a little longer than yeasted ones because the acidity slows mold, but in August, two days on the counter is still the limit.
Bringing a Soft Crust Back
A day-old loaf that has gone leathery is ten minutes from good again. Run the whole loaf briefly under the tap (yes, really), just enough to wet the crust, then put it straight into a 400 degree oven on the rack for 8 to 12 minutes. The water turns to steam, the crust re-crisps, and the crumb warms through. It works once. A loaf refreshed twice goes dry. For slices, the toaster does the same thing.
If You See Mold
Throw the loaf away. Bread is porous, and the visible spot is the fruiting end of threads that run well into the crumb, so cutting around it does not work the way it does on a hard cheese. If mold shows up in under 48 hours regularly, check the cooling step first (warm loaf bagged too soon), then the storage spot (next to the dishwasher, the sink or the coffee maker is a humid microclimate), then the board itself, which should be washed and fully dried between loaves. The longer post on why sourdough goes soft or moldy in humid climates covers the baking-side causes, including underbaking, which leaves extra moisture in the crumb for mold to use.
The Bread Knife
A crusty loaf with an open crumb asks two opposite things of a knife: get through a hard crust without pressing down, then glide through a soft interior without tearing it. A chef’s knife fails the first test and crushes the loaf. A cheap, short serrated knife with tiny teeth fails the second and shreds the crumb. What you want is a serrated blade at least 10 inches long (a standard boule is 8 to 9 inches across and you want to saw in long strokes, not short ones), with wide, pointed scallops rather than fine teeth. The pointed tips bite into the crust so you can start the cut with no downward pressure. The wide scallops then slice rather than saw through the crumb. A slight offset handle, where the blade sits lower than the grip, keeps your knuckles off the board on the last slice. Mercer, Victorinox and Tojiro all make versions in this shape that cost less than a Dutch oven lid. A serrated knife cannot be sharpened at home, so plan to replace it every few years rather than buying a very expensive one.
Left-handed bakers: most serrated knives are ground on one side only, and the standard grind is for a right hand. Pulled with the left hand, a right-ground serrated knife wanders toward the loaf and gives you a wedge. Several makers sell left-ground versions. It is worth asking before you buy, because the listing almost never says.
Technique matters as much as the blade. Let the loaf cool fully (a warm loaf compresses under any knife). Turn the loaf on its side so you are cutting through the crust at the thinnest point and the slice stands on the board as you go. Use the whole length of the blade in long, light strokes and let the teeth do the work. The moment you push down, the slice squashes. Cut only what you will eat and store the rest cut side down, as above.
More gear guides
The rest of the equipment series, one decision per guide.
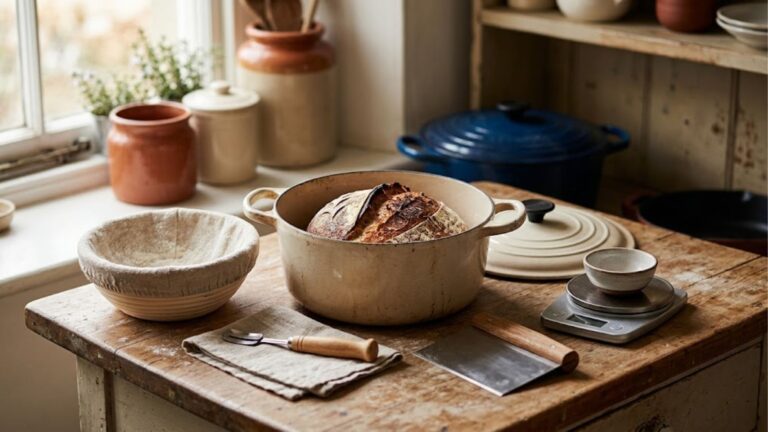
Sourdough Equipment Guide
The full tiered list: what to buy first, what to skip, and the Dutch oven size table.
Read the guide →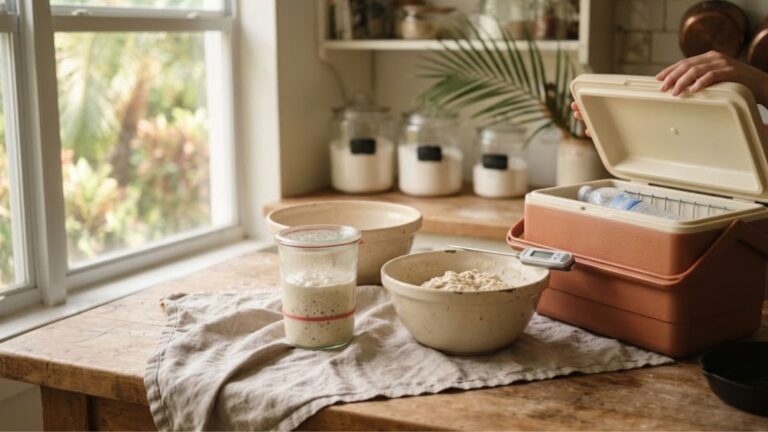
Sourdough in a Hot, Humid Kitchen
What changes when your kitchen is 79 degrees, and the gear that actually helps.
Read the guide →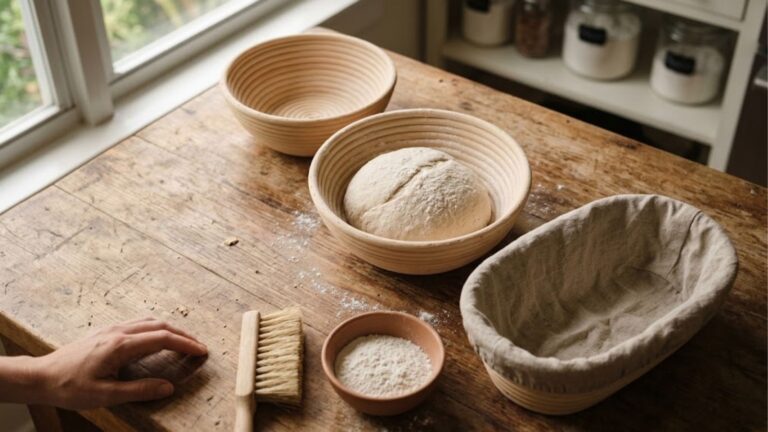
Banneton Sizing and Care
Size chart by dough weight, liners, and keeping mold out in wet air.
Read the guide →
Scoring Tools
UFO vs straight lames, left-handed options, and scoring sticky summer dough.
Read the guide →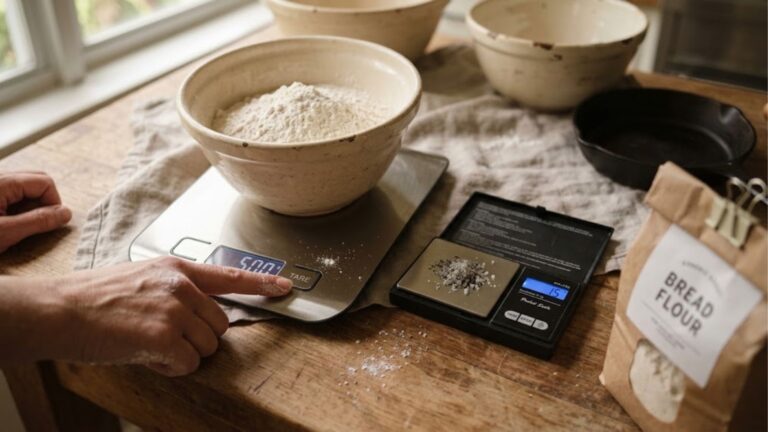
Kitchen Scales for Sourdough
The two-scale setup, the auto-off problem, and legal-for-trade scales for sellers.
Read the guide →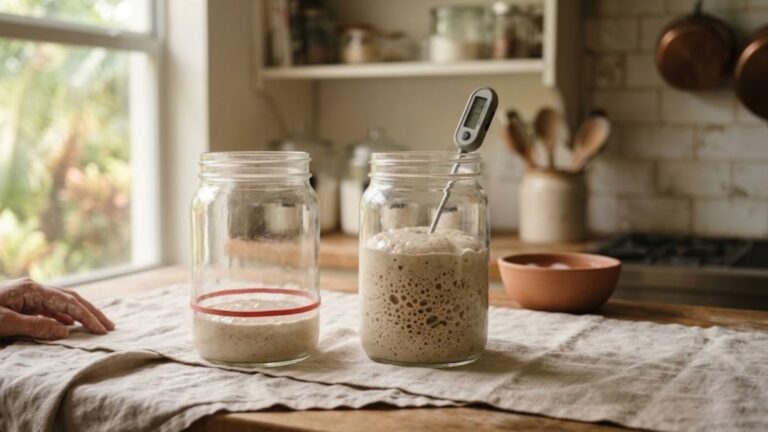
Starter Jars and Climate Control
The right jar, and why a Florida kitchen shops for cooling, not warming.
Read the guide →
Pizza Stone vs. Baking Steel
Which one actually belongs in your oven, tested side by side.
Read the guide →Keep Going
If the crumb is gummy or the loaf feels heavy before it ever reaches the board, that is a baking problem, not a storage one: gummy sourdough crumb and sourdough bottom burnt, inside raw cover it. The rest of the warm-climate toolkit is in Sourdough in a Hot, Humid Kitchen, and stale slices that are past toasting become sourdough bread pudding or panzanella, which is a better end than the bin.