

Hibiscus Rose Glazed Sugar Cookies
I found the idea for these at a Mexican bakery counter that had a pitcher of agua de jamaica next to a tray of the prettiest pink cookies I’d ever seen. The glaze is really the whole point. It’s floral and a little tart instead of just sweet, and it turns a plain cut-out cookie into something people ask about.
Why You’ll Love It
- A buttery, tender sugar cookie base that holds its shape when cut
- A vivid pink glaze made from real steeped hibiscus, not food coloring
- Rose water adds a floral note without turning the cookies into perfume
- No piping or decorating skill required, just a spoon and a steady hand
- A make-ahead dough that chills for up to two days, so you can bake on your own schedule
Ingredients
Volume measurements are included for convenience, but they’re approximate. For the most consistent results, weigh your ingredients on a kitchen scale, especially the flour.
Sugar Cookie Dough
- Unsalted butter, softened (225 g / 1 cup / 2 sticks): make sure it’s truly soft, not melty, for the best texture
- Granulated sugar (200 g / 1 cup): for sweetness and a tender, slightly crisp edge
- Egg, large (1): binds the dough
- Vanilla extract (5 g / 1 tsp): rounds out the flavor
- Almond extract (2 g / ½ tsp): ties into the floral glaze. Don’t skip it
- All-purpose flour (375 g / 3 cups): weigh it if you can for the most consistent dough
- Baking powder (5 g / 1 tsp): for a little lift
- Fine sea salt (3 g / ½ tsp): balances the sweetness
Hibiscus Rose Glaze
- Dried hibiscus flowers, or 2 hibiscus tea bags (8 g / 2 Tbsp): look for these in the tea aisle or a Latin market, often labeled flor de jamaica
- Boiling water (60 g / ¼ cup): for steeping
- Powdered sugar (180 g / 1½ cups): the base of the glaze
- Rose water (2 g / ½ tsp): start light. A little goes a long way
- Fine sea salt (1 pinch): keeps the glaze from tasting flat
Equipment
Gear guides: Sourdough Equipment Guide·Kitchen Scales·Banneton Sizing·Scoring Tools·Storing the Loaf·Pizza Stone vs. Baking Steel·Shop All Picks →
- Kitchen scale: for weighing ingredients, the most reliable way to get consistent results
- Stand mixer or hand mixer: for creaming the butter and sugar
- Rolling pin: for rolling the dough to an even thickness
- 2.5-inch round cookie cutter: or any cutter shape you like
- Baking sheets: at least two, to bake both batches without crowding
- Parchment paper: for easy release and cleanup
- Fine-mesh strainer: for straining the steeped hibiscus
Sample Schedule (Same Day)
Same Day
- Make the dough and chill for at least 1 hour
- Roll, cut, and bake the cookies in two batches (9-11 minutes each)
- Cool the cookies completely on a wire rack
- Steep the hibiscus and make the glaze
- Glaze the cookies and let the glaze set, about 20 minutes
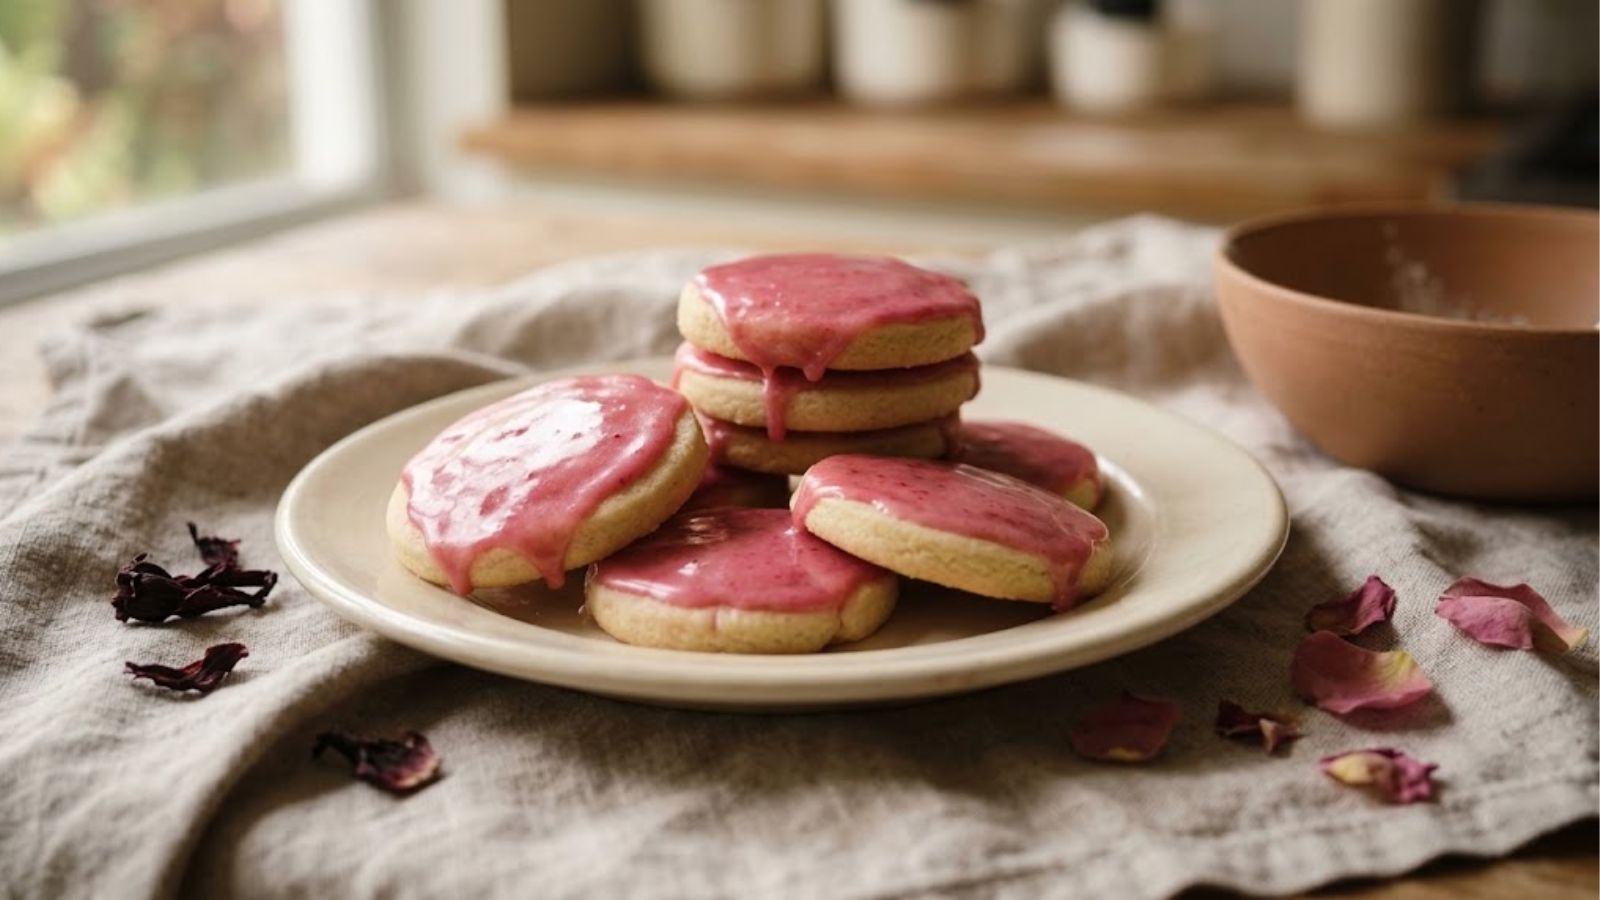
Hibiscus Rose Glazed Sugar Cookies
Method
- Cream the butter and sugar. In a stand mixer fitted with the paddle, beat the butter and granulated sugar on medium until pale and fluffy, about 2 minutes.
- Add the egg and extracts. Beat in the egg, vanilla, and almond extract until fully combined, scraping down the bowl as needed.
- Add the dry ingredients. Whisk the flour, baking powder, and salt together in a separate bowl, then add to the mixer on low speed, mixing just until the dough comes together with no dry streaks.
- Chill. Divide the dough in half, pat each half into a disk, wrap in plastic, and refrigerate for at least 1 hour (or up to 2 days). This keeps the cookies from spreading into puddles in the oven.
- Roll and cut. Preheat the oven to 350°F (175°C) and line two baking sheets with parchment. Roll one disk of dough to ¼-inch thickness on a lightly floured surface and cut into rounds with the cookie cutter. Transfer to the prepared sheets, spacing 2 inches apart.
- Bake. Bake for 9-11 minutes, until the edges are just barely set and the centers still look slightly underdone. These cookies firm up as they cool, and overbaking is the main way they lose their tenderness. Repeat with the second disk of dough.
- Cool completely. Let the cookies cool on the baking sheets for 5 minutes, then transfer to a wire rack to cool all the way before glazing.
- Steep the hibiscus. While the cookies cool, pour the boiling water over the dried hibiscus flowers and let steep for 10 minutes. Strain, pressing the flowers to extract all the ruby-colored liquid, and let cool to room temperature.
- Make the glaze. Whisk the powdered sugar with 2 tablespoons of the cooled hibiscus liquid, the rose water, and a pinch of salt until smooth and pourable. Add more hibiscus liquid, a teaspoon at a time, if the glaze is too thick to drizzle.
- Glaze and set. Spoon or drizzle the glaze over the cooled cookies and let sit at room temperature for about 20 minutes, until the glaze sets to a matte finish.
Notes
Save This Recipe
Get it emailed to you now, plus new recipes as they go up.
Your email is safe with me. I’ll send this recipe straight over. No spam, ever. You can unsubscribe anytime.
How to Make It
1Cream the butter and sugar. In a stand mixer fitted with the paddle, beat the butter and granulated sugar on medium until pale and fluffy, about 2 minutes. The mixture should look noticeably lighter in color and hold a soft swirl when you lift the paddle. Start with butter that dents under a finger but still feels cool, because greasy butter in a warm kitchen makes cookies spread.
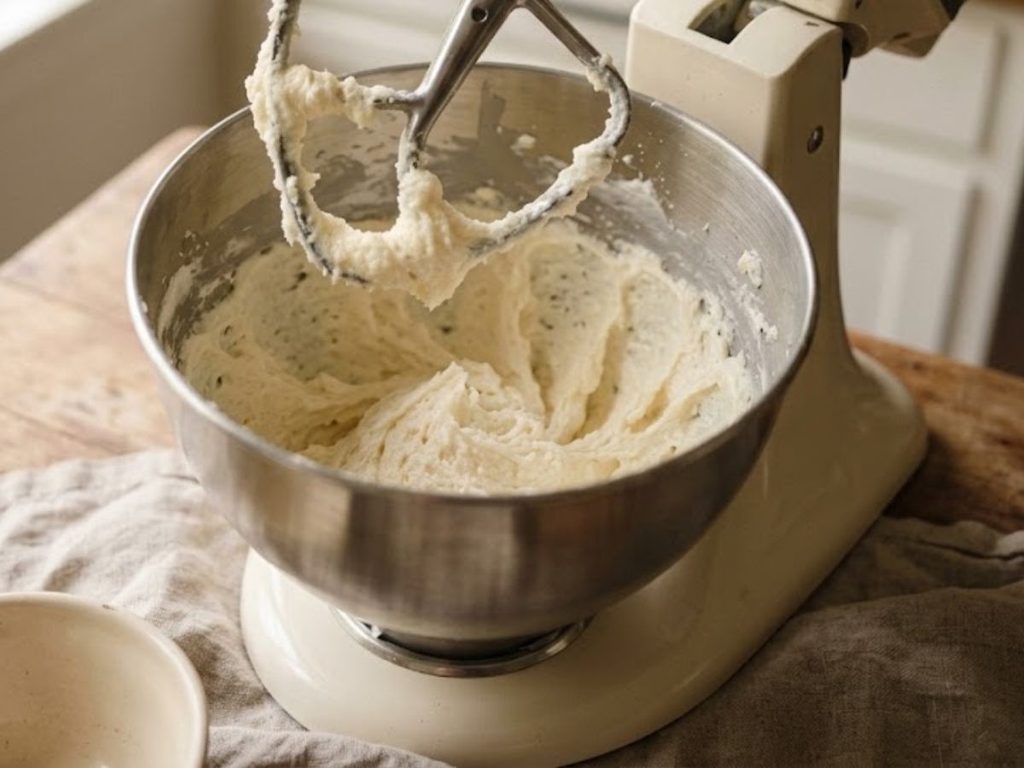
2Add the egg and extracts. Beat in the egg, vanilla, and almond extract until fully combined, scraping down the bowl as needed. The batter should look smooth and glossy, with no slick pools of butter at the bottom. Stop as soon as it comes together, since extra beating whips in air that makes cookies puff and then sag.
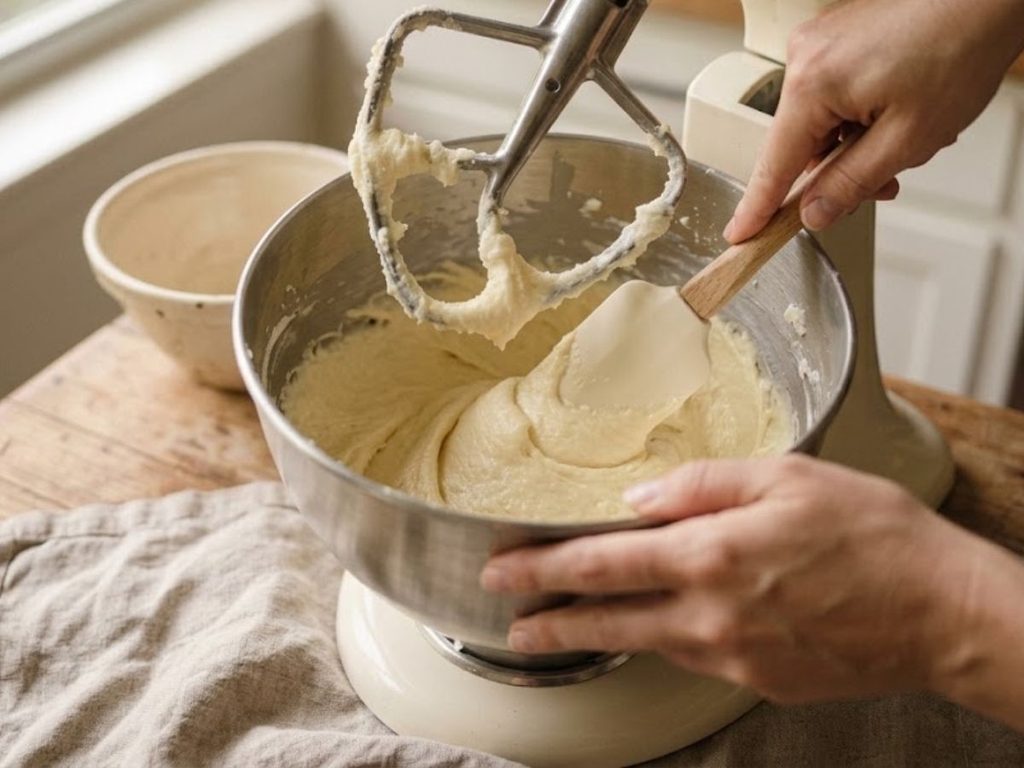
3Add the dry ingredients. Whisk the flour, baking powder, and salt together in a separate bowl, then add to the mixer on low speed, mixing just until the dough comes together with no dry streaks. The dough will look crumbly for a moment and then pull into a soft mass. Stop the mixer the second the last flour disappears, because overworking develops gluten and makes tougher cookies.

4Chill. Divide the dough in half, pat each half into a disk, wrap in plastic, and refrigerate for at least 1 hour (or up to 2 days). This keeps the cookies from spreading into puddles in the oven. The dough should feel firm and cold before you roll it. In a warm South Florida kitchen a chilled disk softens fast, so keep the second disk in the fridge while you work with the first.
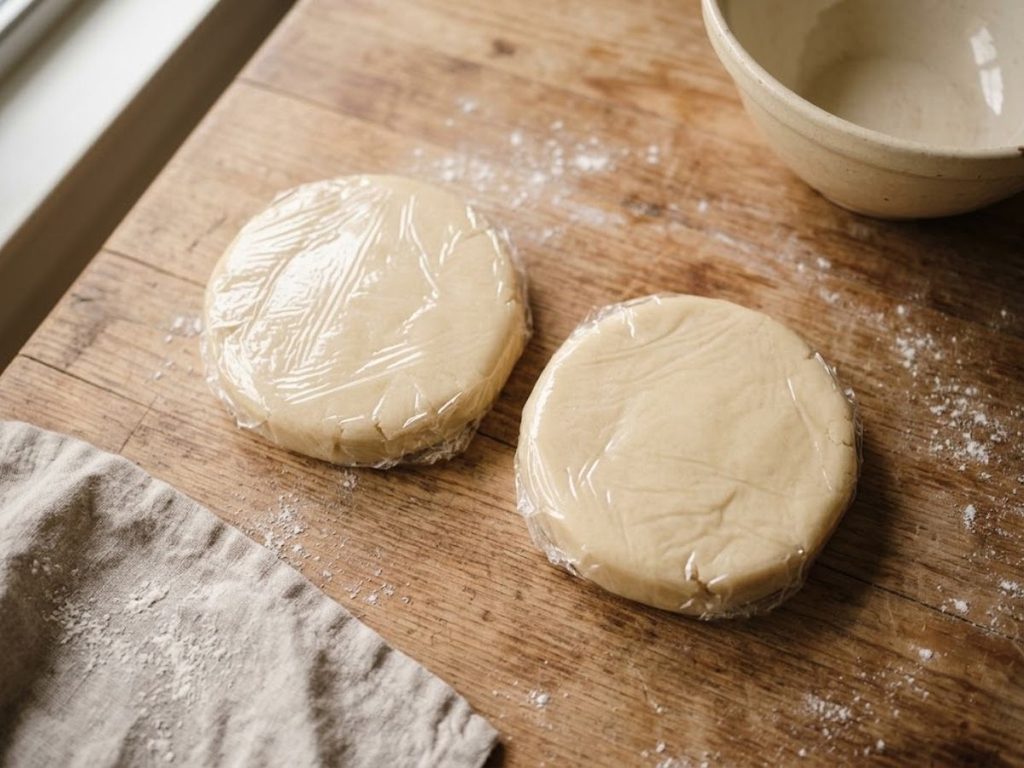
5Roll and cut. Preheat the oven to 350°F (175°C) and line two baking sheets with parchment. Roll one disk of dough to ¼-inch thickness on a lightly floured surface and cut into rounds with the cookie cutter. Transfer to the prepared sheets, spacing 2 inches apart. Turn the dough a quarter turn between passes of the rolling pin so it does not stick, and aim for even thickness all the way to the edges. Press the scraps together gently and re-roll them once, chilling them first if they feel soft.
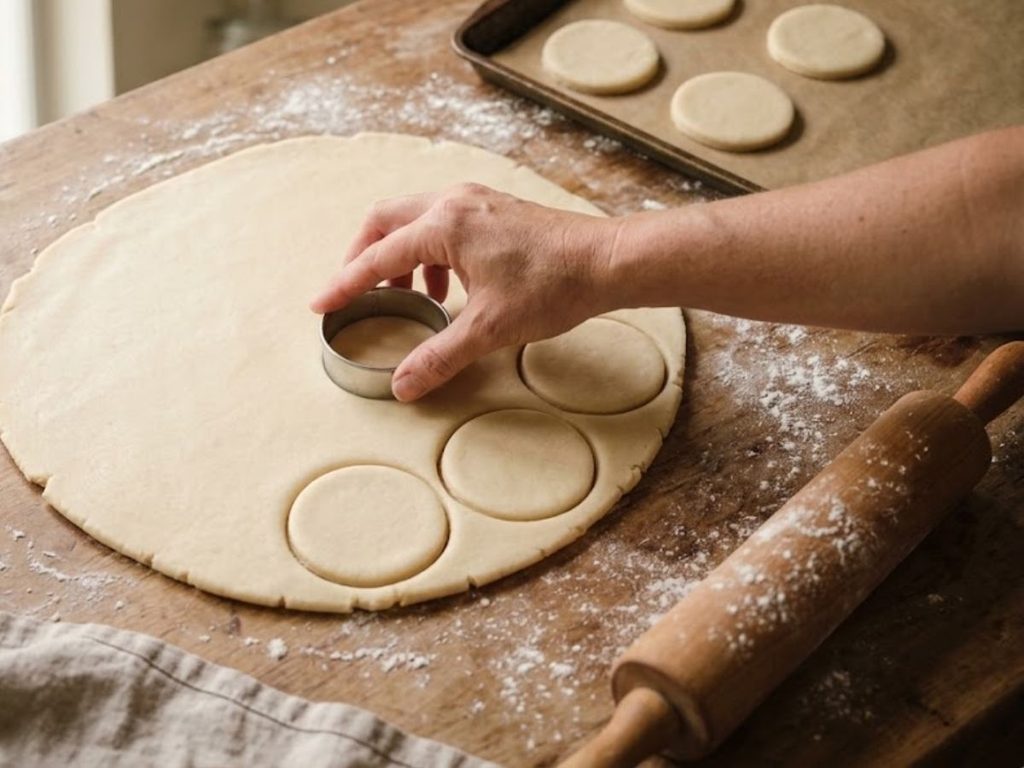
6Bake. Bake for 9-11 minutes, until the edges are just barely set and the centers still look slightly underdone. The tops should have lost their wet shine, with only a hint of color at the edges. If your oven runs hot in the back, rotate the sheet halfway through. These cookies firm up as they cool, and overbaking is the main way they lose their tenderness. Repeat with the second disk of dough.
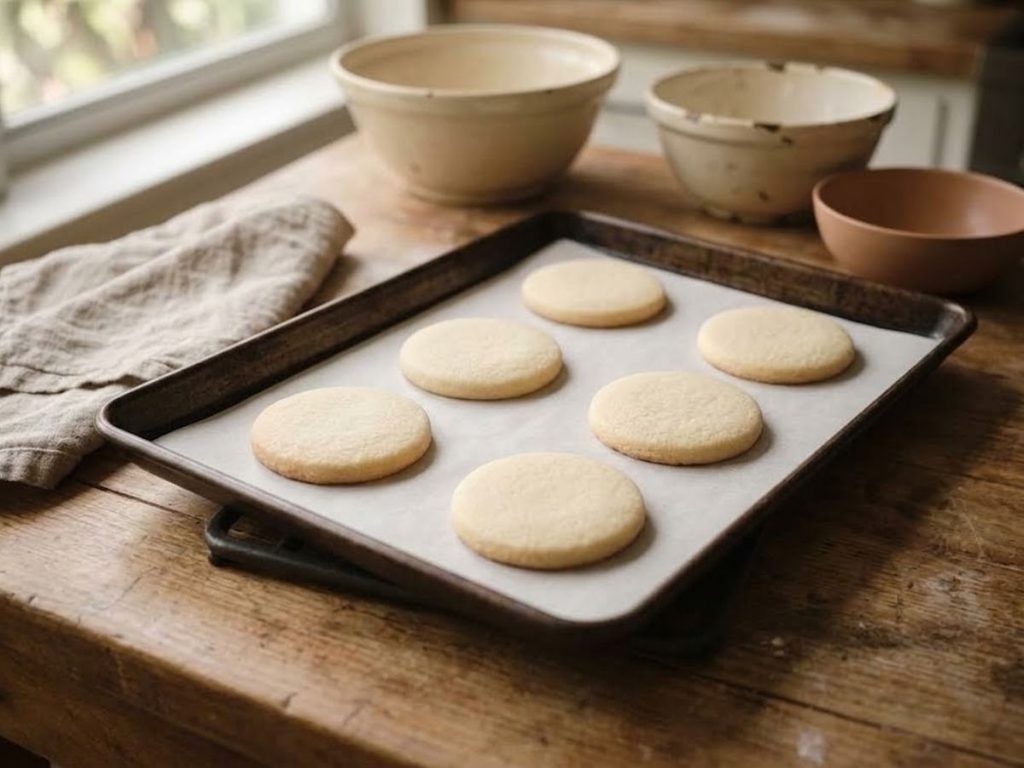
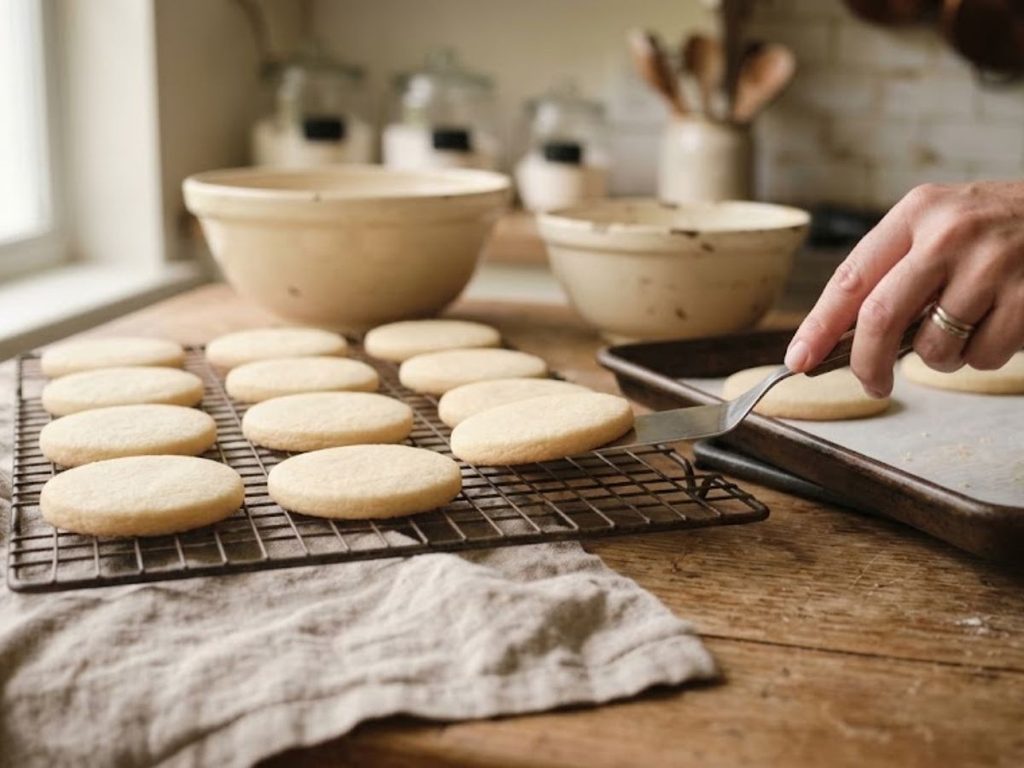
7Cool completely. Let the cookies cool on the baking sheets for 5 minutes, then transfer to a wire rack to cool all the way before glazing. Cookies this tender crack if you move them while still hot, so let the full 5 minutes pass first. Before glazing, touch the underside of a cookie to confirm it feels completely cool, since warm cookies melt the glaze into a thin slick.
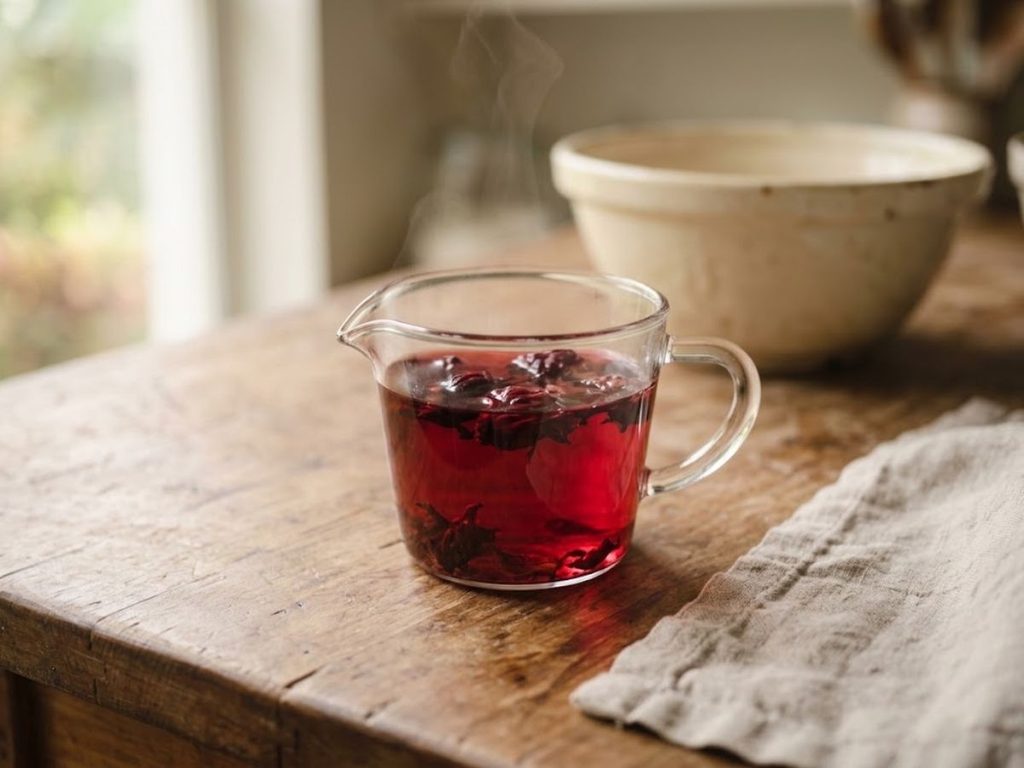
8Steep the hibiscus. While the cookies cool, pour the boiling water over the dried hibiscus flowers and let steep for 10 minutes. Strain, pressing the flowers to extract all the ruby-colored liquid, and let cool to room temperature. The liquid should be a deep ruby red and the flowers pale and spent once pressed. Warm liquid thins the glaze, so make sure it feels cool before you use it.
9Make the glaze. Whisk the powdered sugar with 2 tablespoons of the cooled hibiscus liquid, the rose water, and a pinch of salt until smooth and pourable. Add more hibiscus liquid, a teaspoon at a time, if the glaze is too thick to drizzle. Break up any lumps in the powdered sugar first, since they are hard to whisk out once the liquid goes in. A ribbon lifted on the whisk should sink back into the surface after a few seconds.
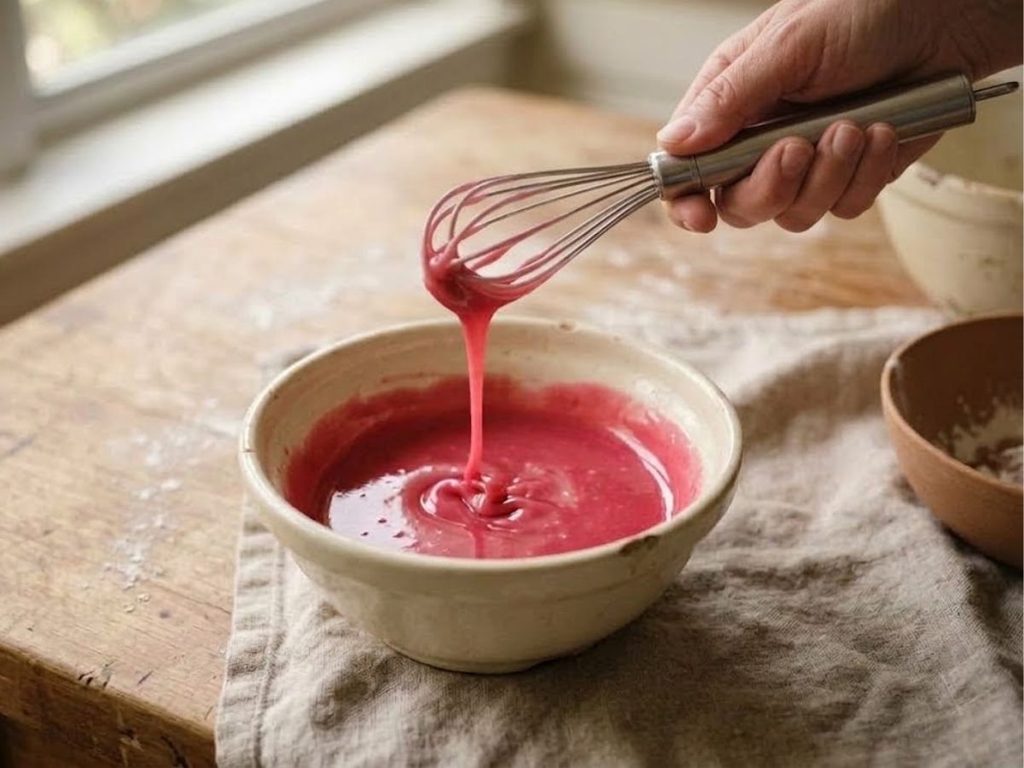
10Glaze and set. Spoon or drizzle the glaze over the cooled cookies and let sit at room temperature for about 20 minutes, until the glaze sets to a matte finish. Set the cookies on a wire rack over a sheet of parchment so drips are easy to clean up. The glaze is set when you can touch it lightly without leaving a print, and in muggy weather that can take longer than 20 minutes.

Tips & Troubleshooting
- Glaze too pink or too pale: Hibiscus liquid varies in strength depending on how long it steeps. Start with less and add more a teaspoon at a time until the color looks right to you.
- Cookies spreading too much: This almost always means the dough wasn’t cold enough. Chill the cut rounds on the sheet for 10 minutes before baking if your kitchen is warm.
- Can’t find rose water: A few drops of lemon juice makes a good non-floral substitute. The glaze will taste bright rather than perfumed, but it still works.
- Glaze won’t set: Humid weather can keep a powdered-sugar glaze tacky for longer. Give it an extra 15-20 minutes, or finish with a light sprinkle of extra powdered sugar.
How to Store
To store: Keep glazed cookies in a single layer (or between sheets of parchment if stacked) in an airtight container at room temperature for up to 5 days.
To freeze: Freeze the unglazed baked cookies in a single layer, then stacked with parchment between layers, for up to 2 months. Thaw and glaze fresh before serving. The glaze doesn’t freeze well.
Nutrition
Per cookie, based on 20 cookies per batch. Estimated from the ingredients used. This is for convenience and is not a substitute for a precise calculation.
150
Calories
24g
Carbs
2g
Protein
6g
Fat
0g
Fiber
55mg
Sodium
Desi’s Notes
This one came out of a trip to a Mexican bakery that had agua de jamaica on the counter and a case of beautiful pink cookies I couldn’t stop thinking about. The glaze is the whole show here. It tastes floral and a little tart, not just sweet.
If you’ve never used rose water, start with less than you think you need. A little goes a long way, and too much reads like perfume instead of flavor.
Before You Bake
Want a printable reference for weighing ingredients or converting between cups and grams? Grab the Conversion & Baker’s-Percentage Cheat Sheet, one of six free Printable Quicksheets on the site.
New to sourdough? Start with the free course
Seven short lessons over 12 days, from mixing your first starter to baking your first loaf with it. Stop anytime.
One short lesson every couple of days. Seven in all, then you’re done. No spam. See our Privacy Policy.
Already have a starter? Bake your first loaf → · Already baking? Browse recipes →
Tried this recipe? Leave a star rating below. It takes 10 seconds and helps other bakers decide what to make next.
Baked this recipe your way? Share it in Community Bakes and inspire other readers.