
Sourdough Discard Waffles
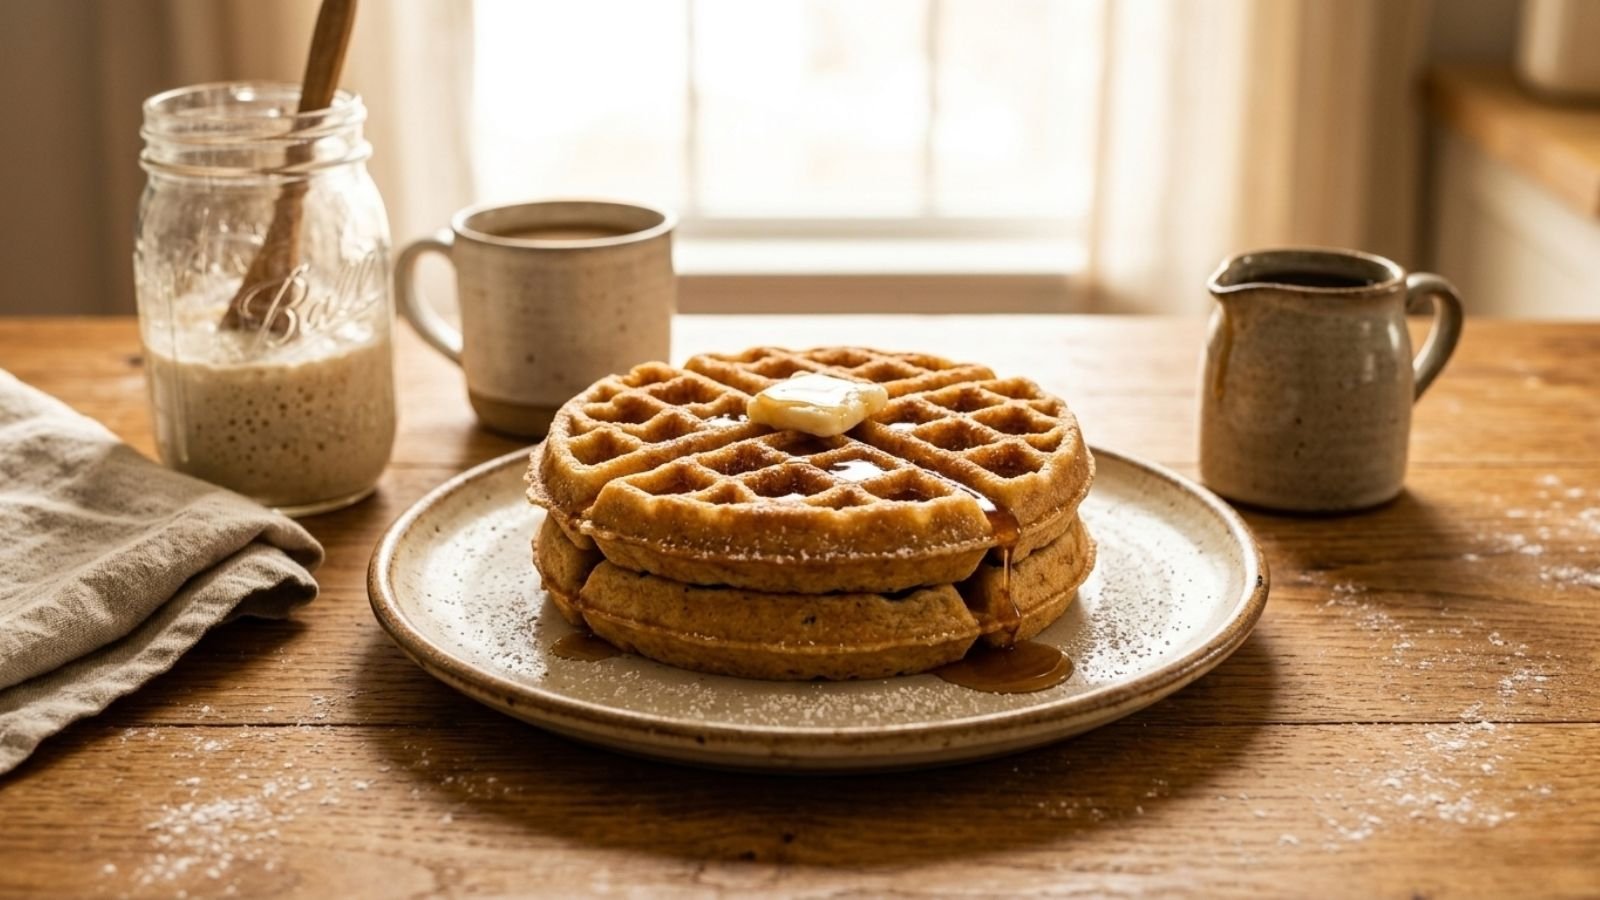
These are the waffles I make on a lazy weekend morning when the discard jar needs emptying — light, a little crisp on the outside, and just tangy enough from the sourdough to taste more interesting than a normal waffle. They also freeze beautifully, so this is one of the few discard recipes I’ll happily make a double batch of just to stock the freezer for busy weekday mornings.
Why You’ll Love It
- Uses a full cup of discard, fed or unfed
- Crisp on the outside, tender in the middle, with a subtle tang from the starter
- Comes together with a whisk and two bowls — no special equipment beyond a waffle iron
- Freezes and reheats beautifully straight from frozen in the toaster
- Easy to make dairy-free with a milk substitute, if that’s what you keep on hand
Ingredients & Equipment
Heads up: Some of the links below are affiliate links. As an Amazon Associate, I earn from qualifying purchases. This means if you click and make a purchase, I may earn a small commission at no extra cost to you.
- All-purpose flour: The base of the batter.
- Granulated sugar: Just a touch, for browning and light sweetness.
- Baking powder: The main leavener, since the discard alone won’t give much lift here.
- Baking soda: Reacts with the discard’s acidity for extra lift.
- Fine salt: Balances the sweetness.
- Large eggs: For structure and richness.
- Milk: Any kind works, dairy or plant-based.
- Unsalted butter: Melted and slightly cooled before mixing in.
- Vanilla extract: Rounds out the flavor.
- Sourdough discard: Unfed straight from the jar is perfect.
- Waffle iron: Any standard waffle iron works; adjust cook time to your model.
- Wire cooling rack: Keeps cooked waffles from going soft while you finish the batch.
- Large mixing bowls: One for dry ingredients, one for wet.
Sample Schedule
Day 1
- Mix the batter and let it rest for 10 minutes while the waffle iron preheats
- Cook and serve warm, or cool and freeze the extras
Sourdough Discard Waffles
Ingredients
Heads up: Some of the links below are affiliate links. As an Amazon Associate, I earn from qualifying purchases. This means if you click and make a purchase, I may earn a small commission at no extra cost to you.
Equipment
Method
- Whisk together the flour, sugar, baking powder, baking soda, and salt in a large bowl.
- In a separate bowl, whisk the eggs, then whisk in the discard, milk, melted butter, and vanilla.
- Pour the wet ingredients into the dry ingredients and whisk just until combined.
- Let the batter rest for 10 minutes while the waffle iron preheats.
- Cook the batter in a greased, preheated waffle iron according to the manufacturer’s instructions, until deeply golden and crisp.
- Transfer to a wire rack to cool slightly before serving, or cool completely before freezing.
Notes
Save This Recipe
Get it emailed to you now, plus new recipes as they go up.
Your email is safe with me. I’ll send this recipe straight over. No spam, ever—and you can unsubscribe anytime.
How to Make It
1Whisk the dry ingredients. In a large bowl, whisk together the flour, sugar, baking powder, baking soda, and salt until evenly combined.
2Whisk the wet ingredients. In a separate bowl, whisk the eggs, then whisk in the sourdough discard, milk, melted butter, and vanilla until smooth.
3Combine. Pour the wet ingredients into the dry ingredients and whisk just until combined — a few small lumps are fine and actually help keep the waffles tender.
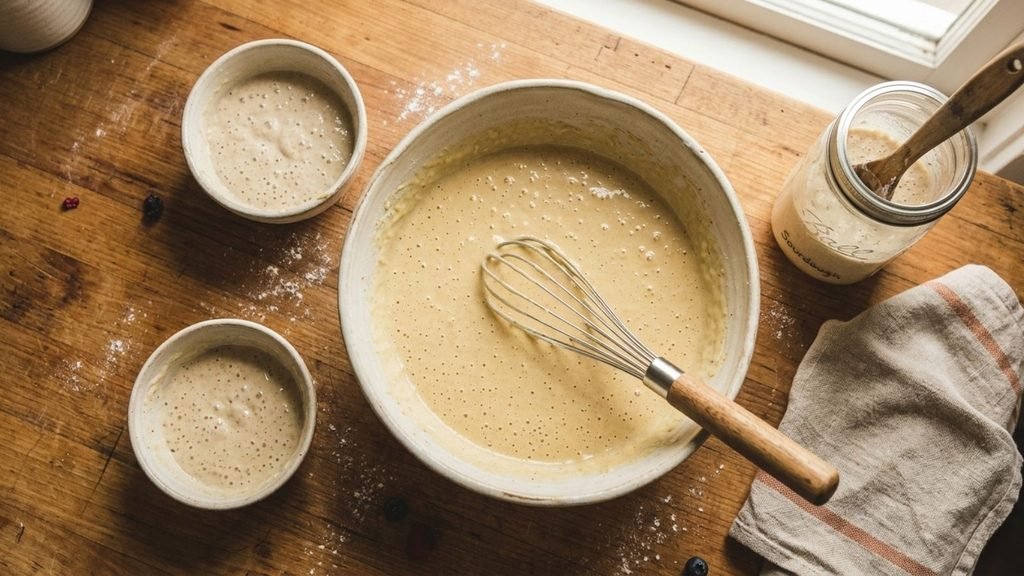
4Rest the batter. Let the batter sit for 10 minutes while your waffle iron preheats. This gives the flour time to hydrate and the batter a chance to relax, which makes for a lighter waffle.
5Cook. Preheat and lightly grease your waffle iron. Pour in enough batter to cover about two-thirds of the surface, close the lid, and cook according to your iron’s instructions, usually 3 to 5 minutes, until deeply golden and crisp.
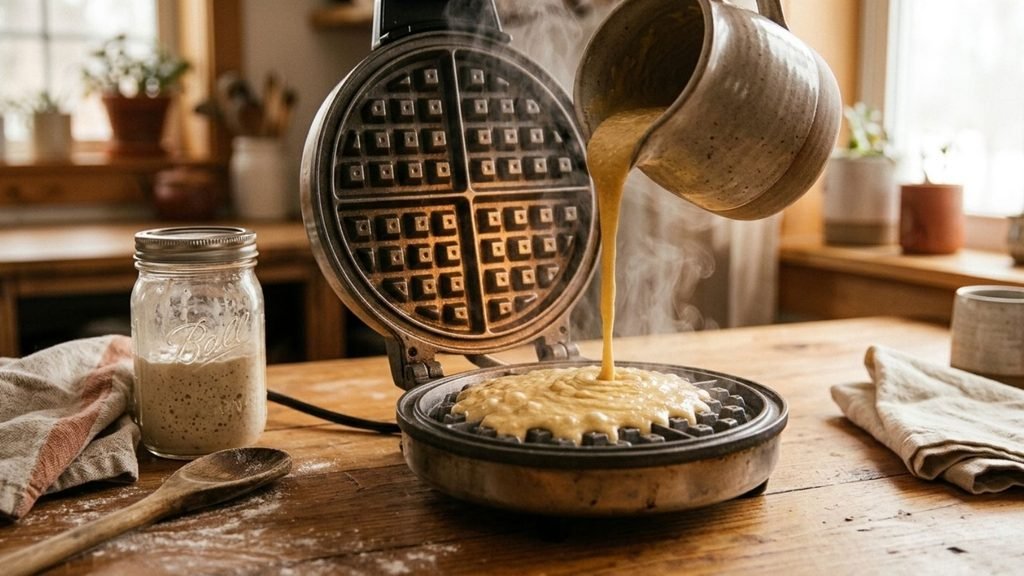
6Cool and serve. Transfer cooked waffles to a wire rack rather than stacking them on a plate — stacking traps steam and makes them go soft. Serve immediately, or cool completely before freezing.

Tips & Troubleshooting
- Don’t skip the resting step — batter that goes straight into the iron tends to make denser, chewier waffles. If your waffles are sticking, your iron probably needs a bit more grease, or a few more minutes of preheating before the first batch goes in. For extra crispness, cook them a minute longer than the iron’s indicator light suggests.
How to Store
Cool waffles completely on a rack before storing to avoid trapping steam. Refrigerate in an airtight container for up to 3 days, or freeze in a single layer on a tray, then transfer to a freezer bag for up to 2 months. Reheat straight from frozen in a toaster or toaster oven until hot and crisp — a microwave will make them soft instead of crisp.
Nutrition
Nutrition values are estimates per waffle and will vary based on exact ingredients used.
210
CALORIES
26
CARBS (G)
6
PROTEIN (G)
9
FAT (G)
4
SUGAR (G)
Desi’s Notes
If you're doubling this for a freezer stash, cook the waffles slightly darker than you'd normally want to eat them right away — they crisp back up perfectly in the toaster, and starting darker keeps them from turning pale and soft on the second cook.
Before You Bake
Scaling this recipe up or down? Run your numbers through the Sourdough Calculator. And if you want a printable reference for troubleshooting or timing, browse all six Printable Quicksheets.
Knead to Know?
New recipes, baking tips, and sourdough troubleshooting — delivered before your starter even finishes its next rise.
Get the latest insights, no spam — just new recipes and baking tips. Unsubscribe anytime. See our Privacy Policy.


Tried this recipe? Leave a star rating below — it takes 10 seconds and helps other bakers decide what to make next.
Baked this recipe your way? Share it in Community Bakes and inspire other readers.