Gluten-Free Sourdough Pizza Crust
Pizza dough is where gluten-free baking gets easier. The crust is thin, so the missing gluten matters less, and the par-bake sets the crust before the toppings go on. Active starter or discard both work here, and the recipe makes two 10-inch pizzas.
Research-backed recipe. The amounts and times follow methods published by several gluten-free bakers, written here as an original recipe inside the ranges those methods share. Treat the times as a range, and let the look of the crust make the call.
A note on celiac disease and shared kitchens. This kitchen also bakes wheat sourdough, so I cannot promise that these recipes are safe for celiac disease. They are written for gluten-free and gluten-sensitive bakers. If you have celiac disease, bake in your own gluten-free setup and read every ingredient label for a gluten-free certification. Ask your doctor what is right for you.
Which one is this?Compare all 3 pizza dough recipes
These 3 pizza dough recipes are close cousins. Here is how they differ, so you can pick the right one.
- Sourdough Pizza Dough20 hr 28 min · Makes 2 pizza crusts
Bread flour with active starter and olive oil, shaped into balls and rested in the fridge before baking.
You want a wheat dough you can plan ahead and keep in the fridge.
- Gluten-Free Pizza CrustYou are here3 hr 40 min · Makes 8 slices
Psyllium gel with brown rice and sorghum flours, tapioca starch and a gluten-free starter, par-baked before the toppings go on.
You bake gluten-free.
- Sourdough Pizza, Neapolitan Style13 hr 14 min · Makes 5 pizza crusts
High-protein bread flour at a wetter hydration, no olive oil in the dough, shaped into a thin crust and par-baked for a home oven or finished fast in a wood-fired one.
You want a thin, blistered Neapolitan-style crust and don't mind a wetter, trickier dough.
Why You’ll Love It
- Works with active starter or discard, whichever you have
- Par-baked, so the crust sets first and holds its toppings
- Make ahead, since the dough rests in the refrigerator for up to a day
- A preheated pan does the work of a pizza stone for a crisp bottom
Ingredients
Volume measurements are included for convenience, but they’re approximate. A kitchen scale will always get you a more consistent crust, especially for the flours and the starter.
- Whole psyllium husk (14 g): The binder. Use whole husks and not powder.
- Filtered water, room temperature (280 g / about 1¼ cups): Gels the psyllium and hydrates the flours.
- Gluten-free sourdough starter or discard (140 g / about ½ cup plus 2 Tbsp): Active starter or fresh discard both work.
- Brown rice flour (80 g / about ½ cup): The whole-grain base.
- Sorghum flour (70 g / about ½ cup): Adds body and flavor.
- Tapioca starch (70 g / about ½ cup plus 1 Tbsp): Gives the crust a little chew and helps it crisp.
- Olive oil (15 g / 1 Tbsp): Keeps the crust tender. Keep a little extra for your hands.
- Fine sea salt (8 g / 1¼ tsp): Seasons the crust.
- Pizza sauce (120 g / ½ cup): Spread thin so the crust stays crisp.
- Low-moisture mozzarella (170 g / 6 oz): Shred it yourself. Low-moisture cheese keeps the pizza from turning watery.
Equipment
Gear guides: Sourdough Equipment Guide·Kitchen Scales·Banneton Sizing·Scoring Tools·Storing the Loaf·Pizza Stone vs. Baking Steel·Shop All Picks →
- Kitchen scale: weigh the flours and the starter for a repeatable dough.
- Mixing bowl: for gelling the psyllium and mixing the dough.
- Whisk: mixes the psyllium gel smooth.
- Rimmed baking sheet: preheats in the oven to crisp the bottom of the crust.
- Parchment paper: lets you shape the crust and slide it onto the hot pan.
Sample Schedule (Same Day)
Mix
- Gel the psyllium for 5 minutes
- Stir together the dough
Rise
- Cover and rest 3 hours at room temperature
- Or refrigerate for up to a day
Bake
- Heat the oven with the pan inside
- Shape, par-bake, then top and finish
Gluten-Free Sourdough Pizza Crust
Method
- Whisk 14 g psyllium husk into the water and let it gel for 5 minutes.
- Stir in the starter, flours, tapioca starch, oil and salt until smooth and sticky.
- Cover and rise 3 hours at room temperature, or up to a day in the refrigerator.
- Heat the oven to 450°F (230°C) with the rimmed baking sheet inside.
- Divide the dough in half and pat each half into a 10-inch round, about ¼ inch thick, on parchment.
- Par-bake each crust on the hot pan for 10 to 12 minutes, until lightly golden and firm.
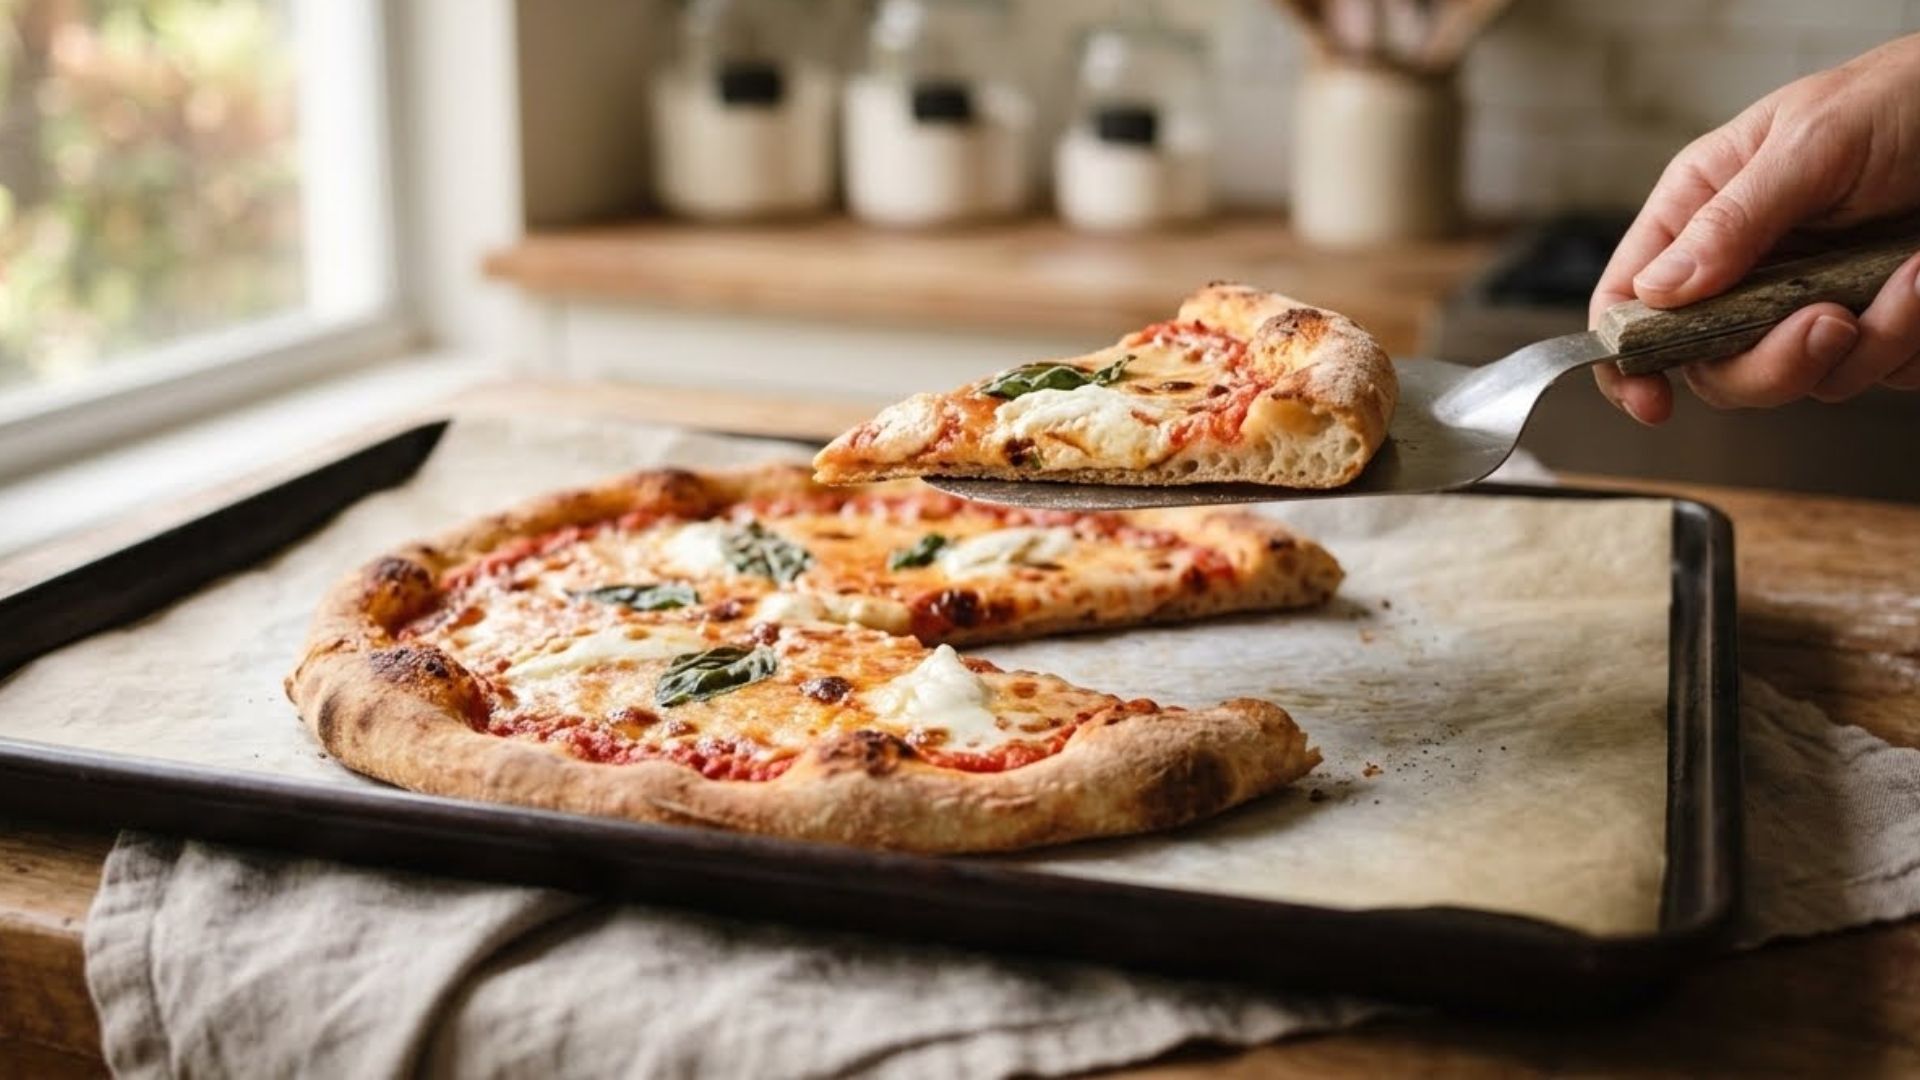
- Top with sauce and mozzarella and bake 6 to 10 minutes more, then rest 3 minutes before slicing.
Notes
Save This Recipe
Get it emailed to you now, plus new recipes as they go up.
Your email is safe with me. I’ll send this recipe straight over. No spam, ever. You can unsubscribe anytime.
How to Make It
1Gel the psyllium. Whisk the psyllium husk into the water and let it sit for 5 minutes until it thickens. If you skip this, the dough comes out loose and crumbly.
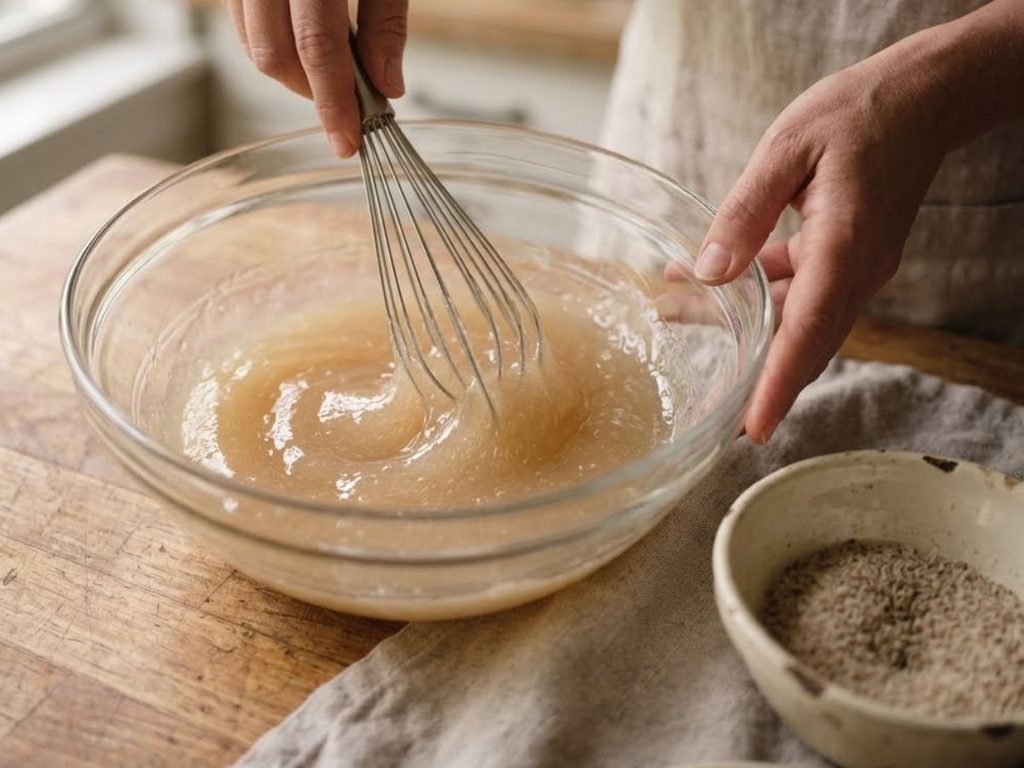
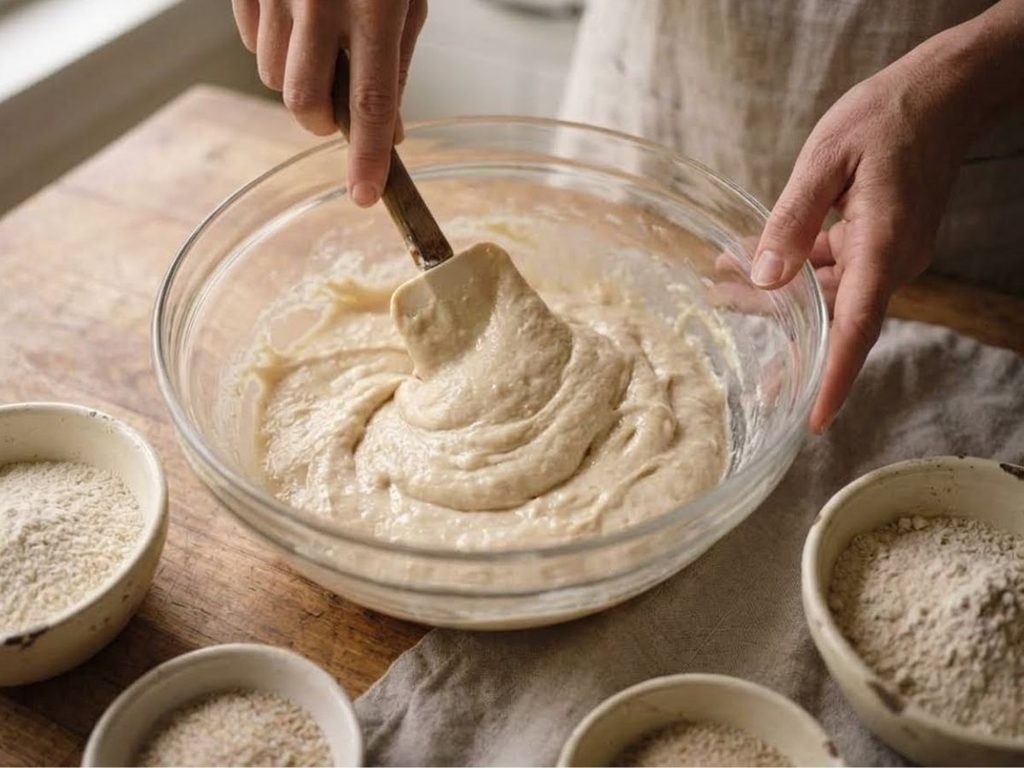
2Mix the dough. Stir in the starter, brown rice flour, sorghum flour, tapioca starch, olive oil and salt until smooth. The dough will be sticky, and if it feels loose, give it a few more minutes for the flours to absorb the water.
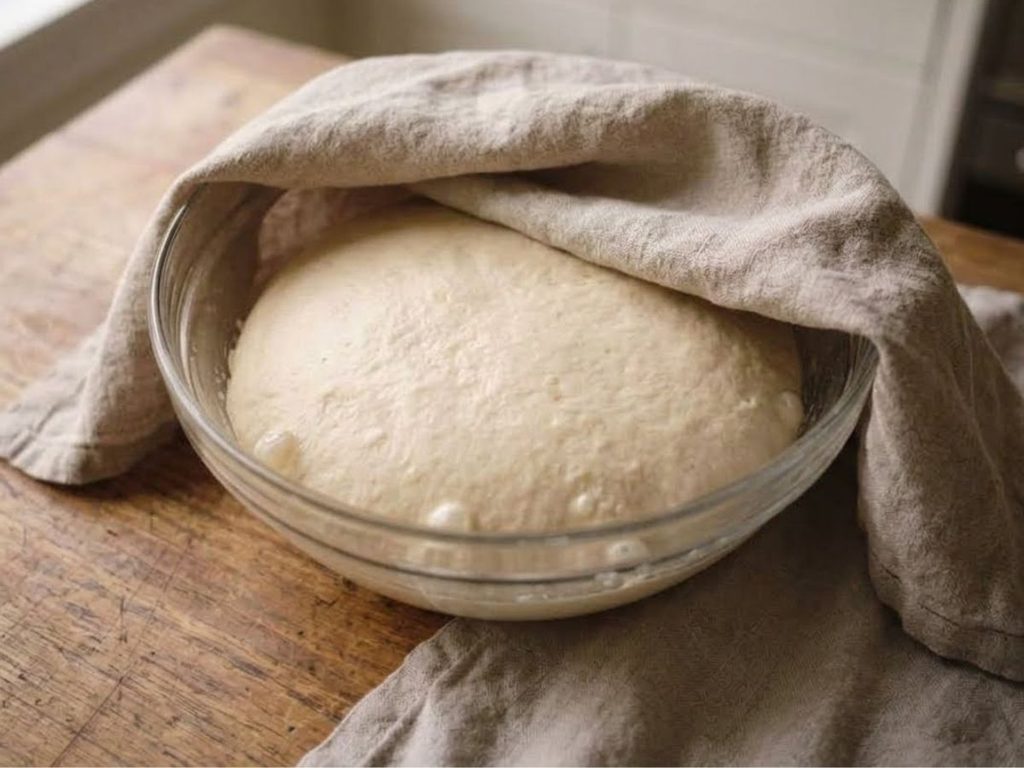
3Let it rise. Cover the bowl and leave it at room temperature for 3 hours, or refrigerate it for up to a day. In a warm kitchen the dough can puff in less time, and the refrigerator slows it down if you are not ready to bake.
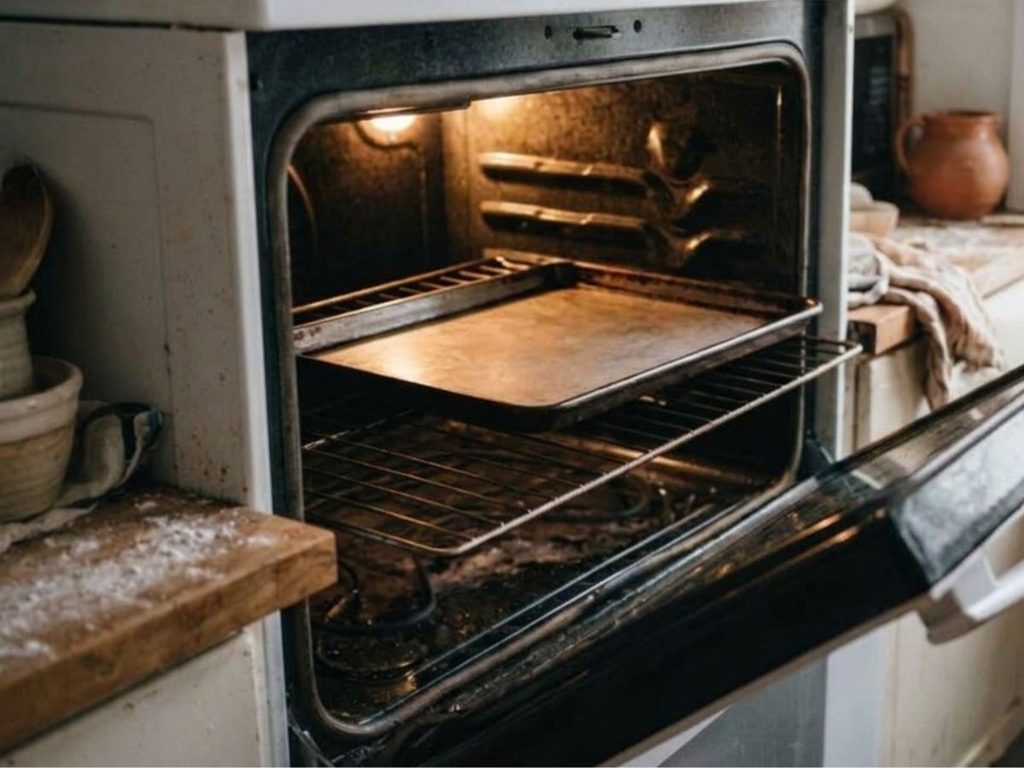
4Heat the oven and pan. Heat the oven to 450°F (230°C) with the rimmed baking sheet inside. A hot pan sets the underside of the crust right away.
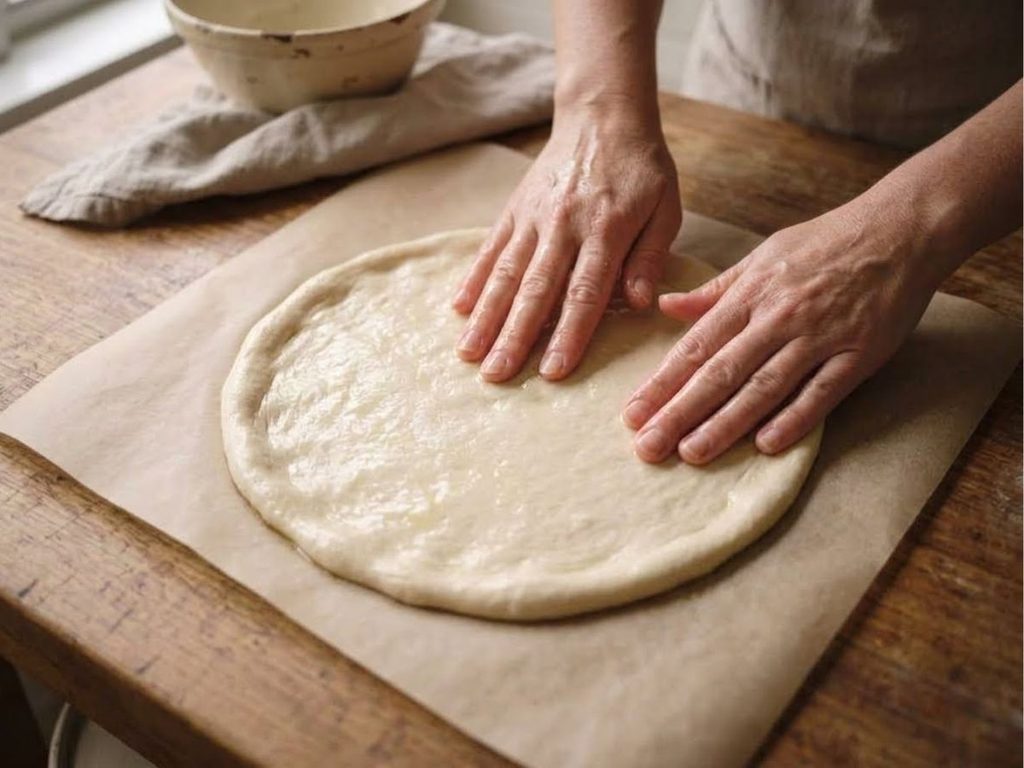
5Shape the crusts. Divide the dough in half and pat each half into a 10-inch round, about ¼ inch thick, on its own sheet of parchment, using oiled, wet hands. Thin patches burn first, so keep the thickness even.
6Par-bake the crusts. Slide a crust on its parchment onto the hot pan and bake for 10 to 12 minutes, until the edges are lightly golden and the crust feels firm. Par-bake one at a time unless your pan holds both.
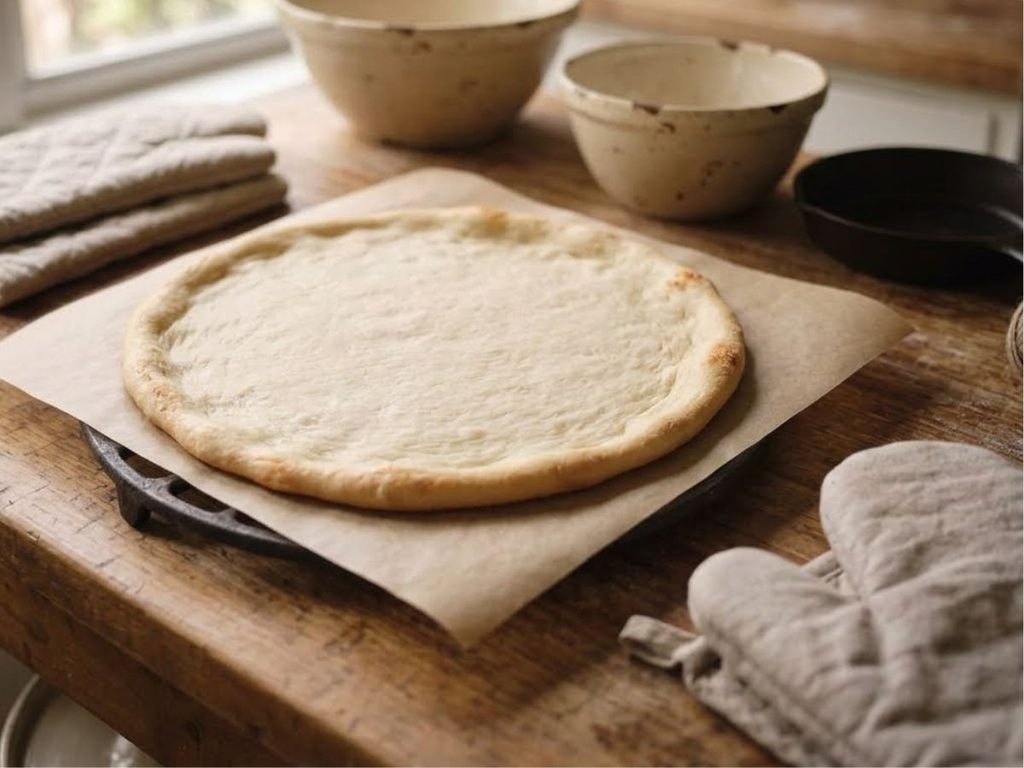
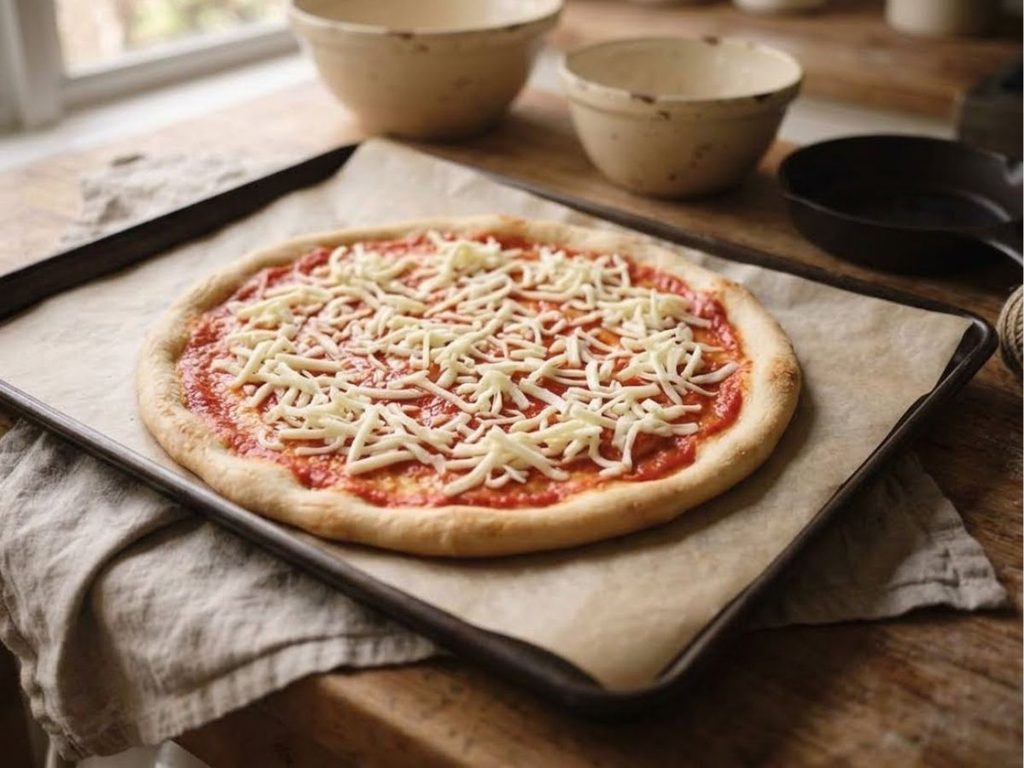
7Top and finish. Spread the sauce thinly, add the mozzarella and bake 6 to 10 minutes more, until the cheese melts and the edges brown. Let the pizza rest 3 minutes on the pan before slicing so the cheese sets.
Tips & Troubleshooting
- Gummy middle: Par-bake a little longer and go lighter on sauce.
- Crust tears when lifting: It needs more time in the par-bake to firm up.
- Soggy center: Use low-moisture cheese and drain wet toppings first.
- Dough too sticky to shape: Oil your hands and the parchment, and do not add flour.
How to Store
To store: Refrigerate leftover slices for up to 3 days and reheat them in a hot oven or skillet.
To freeze: Freeze par-baked, untopped crusts between sheets of parchment for up to 2 months, then top and bake from frozen.
Nutrition
Nutrition values are estimates per slice and will vary based on exact ingredients used.
219
CALORIES
32
CARBS (G)
7
PROTEIN (G)
8
FAT (G)
3.2
SAT. FAT (G)
3.1
FIBER (G)
1.6
SUGAR (G)
590
SODIUM (MG)
Desi’s Notes
This crust follows the hydration and oven temperatures that published gluten-free sourdough pizza methods share, so adjust the par-bake and the topping bake to your own oven. A pan that is truly hot is what crisps the bottom.
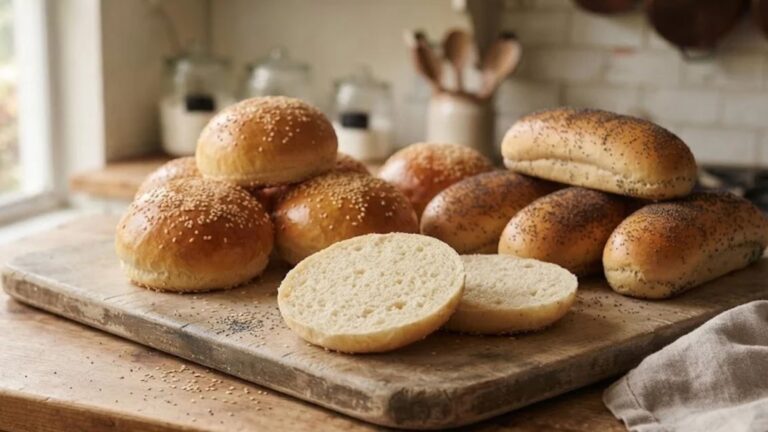
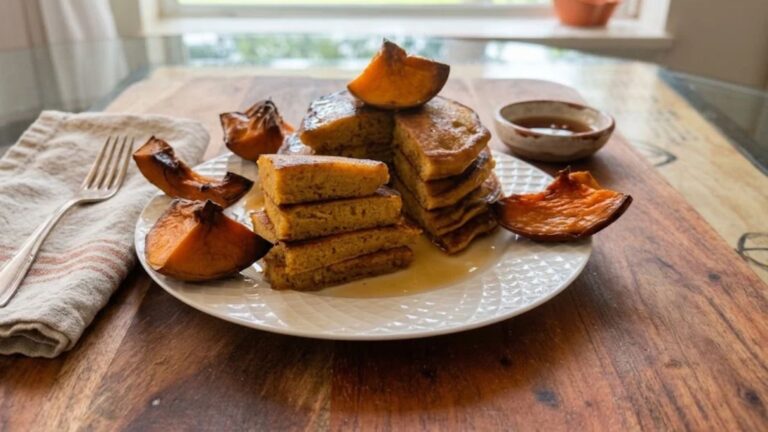
Active starter or discard both work, which makes this another good home for discard from the Gluten-Free Sourdough Starter. For breakfast, try the Gluten-Free Sourdough Discard Pancakes, and for sandwiches the Gluten-Free Sourdough Pan Loaf. The whole set lives on the Gluten-Free Sourdough page.
A gluten-free focaccia is Gluten-Free Sourdough Focaccia.
For gluten-free rolls, see Gluten-Free Sourdough Dinner Rolls.
Before You Bake
Scaling this recipe up or down? Run your numbers through the Sourdough Calculator. And if you want a printable reference for troubleshooting or timing, browse all six Printable Quicksheets.
New to sourdough? Start with the free course
Seven short lessons over 12 days, from mixing your first starter to baking your first loaf with it. Stop anytime.
One short lesson every couple of days. Seven in all, then you’re done. No spam. See our Privacy Policy.
Already have a starter? Bake your first loaf → · Already baking? Browse recipes →


Tried this recipe? Leave a star rating below. It takes 10 seconds and helps other bakers decide what to make next.
Baked this recipe your way? Share it in Community Bakes and inspire other readers.