
Flour-Stencil Sourdough Boule
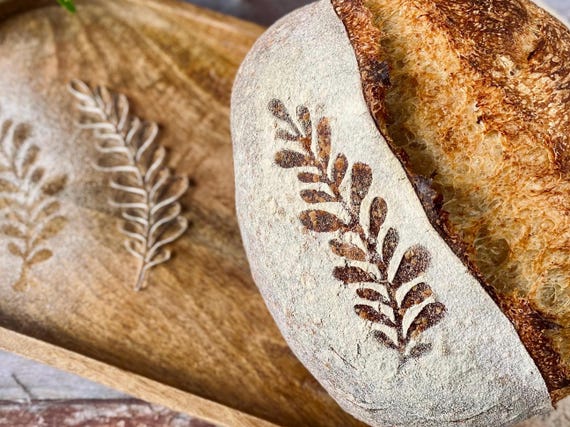
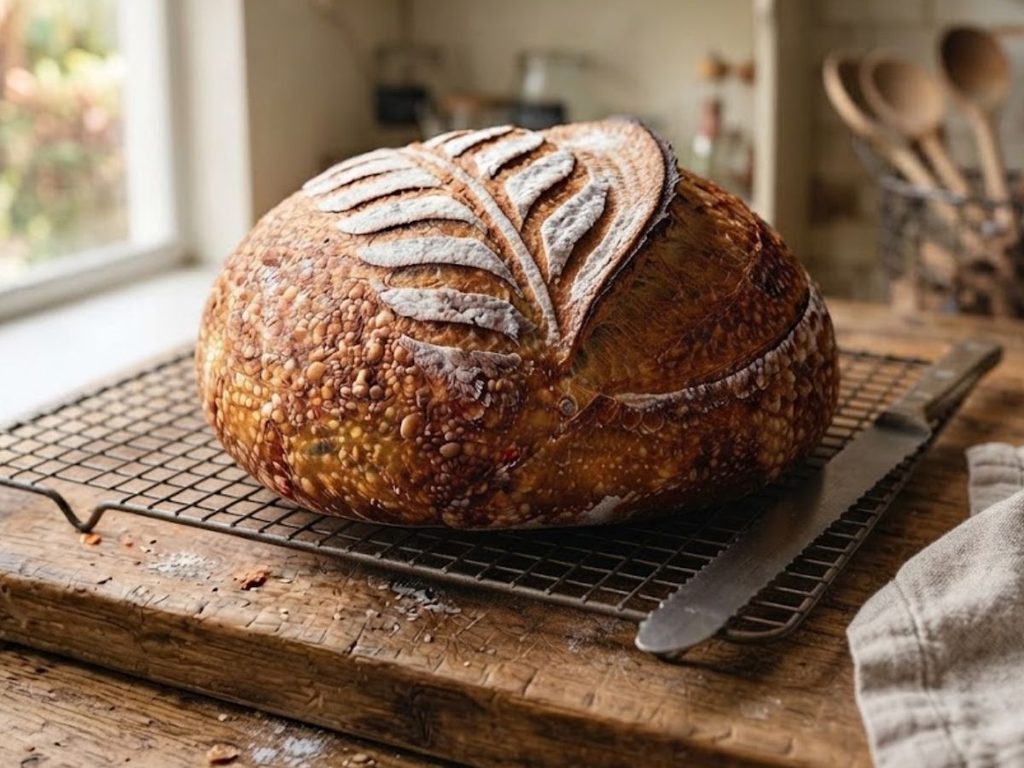
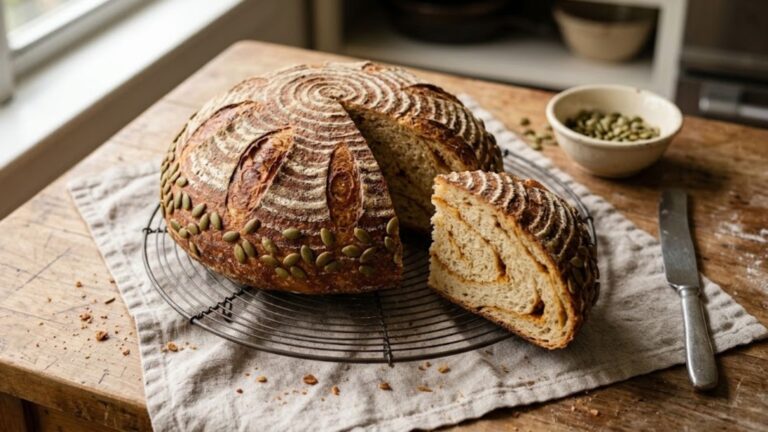
Decorated bread is not just for professional bakeries. With a paper stencil and a sieve of flour, you can turn a plain boule into a loaf that looks like it came from a bakery window. The design bakes in as a pale pattern against a deeply golden crust.
The dough here is a simple, reliable sourdough boule. The technique is what is new: cut a stencil, dust it, and bake. You can use a leaf, a heart, a lace doily or your own design.
Which one is this?Compare all 9 decorative boule recipes
These 9 decorative boule recipes are close cousins. Here is how they differ, so you can pick the right one.
- Wheat Stalk Scored15 hr 15 min · Makes 12 slices
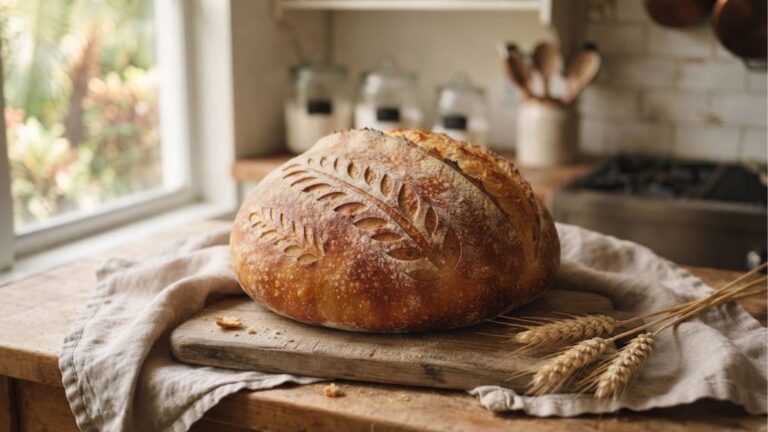
A scored wheat stalk pattern on a dough of bread flour and rice flour.
You want a decorative loaf that needs only scoring.
- Flour-StencilYou are here15 hr 15 min · Makes 12 slices
A stenciled flour design on a dough of bread flour and rice flour.
You want a pattern made with a stencil and flour.
- Snowflake Scored17 hr 15 min · Makes 12 slices
A scored snowflake pattern on a bread flour and whole wheat dough.
You want a winter loaf for the table.
- Painted17 hr 15 min · Makes 12 slices
A painted design on a bread flour and whole wheat dough.
You want a hand-painted loaf.
- Dough Applique Flower Bouquet17 hr 25 min · Makes 12 slices
Baked dough flowers on top of a bread flour and whole wheat loaf.
You want a bouquet loaf to give or serve.
- Marbled Beet and Turmeric Swirl17 hr 20 min · Makes 12 slices
Colored dough swirled through a bread flour loaf.
You want a loaf that shows its color when sliced.
- Black Cocoa Jack-o'-Lantern18 hr 20 min · Makes 12 slices
Black cocoa dough with a jack-o'-lantern design, made with bread flour.
You want a Halloween loaf.
- Pumpkin Spice Swirl Harvest17 hr 15 min · Makes 1 loaf
A pumpkin spice swirl in a dough of bread flour and cornstarch.
You want an autumn swirl loaf.
- Ube Coconut18 hr 40 min · Makes 1 loaf
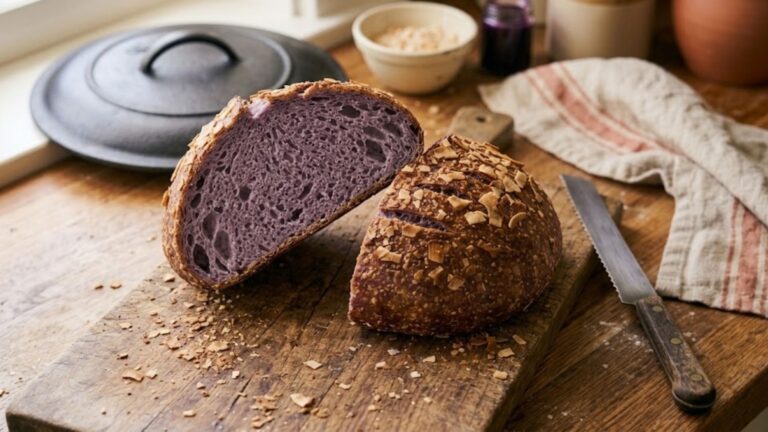
Dough colored with ube extract and ube powder, scored in a leaf vein pattern with a toasted coconut crust.
You want a purple loaf with a toasted coconut crust.
Why You’ll Love It
- A dramatic, high-contrast design with no special scoring skills
- Works with any basic sourdough boule recipe, so there is no new dough to learn
- Perfect for holiday tables, gifts and farmers market loaves
- Stencils can be cut from parchment and reused
- Rice flour gives a crisp, bright white pattern
Ingredients
Volume measurements are included for convenience, but they’re approximate. A kitchen scale will always get you a more consistent batch, especially with two different flours in the mix.
The dough is a standard boule with a medium hydration. Rice flour is the trick for the stencil, since it does not absorb moisture and stays bright white after baking.
- Bread flour (450 g / about 3¾ cups): Gives a firm, easy-to-handle dough that holds the stencil pattern.
- Lukewarm water (315 g / 1⅓ cups): About 80°F (27°C).
- Active sourdough starter (90 g / about 6 tbsp): Fed 4 to 6 hours earlier and bubbly.
- Fine salt (9 g / 1½ tsp): Adds flavor and strengthens the dough.
- Rice flour (20 g / 3 tbsp): White rice flour, the best choice for a crisp white design.
Equipment
Gear guides: Sourdough Equipment Guide·Kitchen Scales·Banneton Sizing·Scoring Tools·Storing the Loaf·Pizza Stone vs. Baking Steel·Shop All Picks →
- Parchment paper and small sharp scissors or a craft knife: for cutting your stencil.
- Fine-mesh sieve: for dusting an even, light layer of flour.
- Dutch oven: gives the loaf steam and a strong rise, so the design stays crisp.
- Lame or sharp knife: for one confident cut beside the stencil.
- Banneton or bowl: for the cold final proof, dusted well with rice flour.
- Instant-read thermometer: confirms dough and water temperature, which matters in a warm kitchen where fermentation runs fast.
- Mixing bowl: for mixing the dough and for turning it through the folds.
- Kitchen scale: to weigh flour, water and starter in grams so every bake repeats.
Want a stencil you can reuse?
Paper works fine for one bake. A set of acrylic stencils rinses clean and comes out again every holiday.
Botanical Bread Stencils (Set of 4)
Four reusable acrylic stencils for dusting a flour pattern onto a loaf right before it goes into the oven. They rinse clean with soap and water, and they work with cocoa or powdered sugar on cakes too.
Sample Schedule
Day 1
- Mix and fold the dough over 3 to 4 hours
- Bulk ferment, shape and refrigerate overnight
Day 2
- Preheat the Dutch oven for 45 minutes
- Stencil, score and bake covered for 30 minutes
- Bake uncovered for 15 minutes

Flour-Stencil Sourdough Boule
Method
- Whisk the starter into the lukewarm water (about 80°F) until fully dissolved, then add the flour and mix. Rest 30 minutes, then add the salt and do four sets of stretch and folds, 30 minutes apart.
- Bulk ferment at room temperature for 4 to 6 hours total, until about 50 percent bigger with a domed top and a few bubbles.
- Shape into a tight round, place seam side up in a banneton dusted with half the rice flour, and refrigerate 8 to 14 hours.
- Cut a bold stencil with large openings from parchment paper.
- Preheat a Dutch oven with its lid at 475°F (245°C) for 45 minutes.
- Turn the cold loaf onto parchment, lay the stencil on top, sift the remaining rice flour over it in a light layer, and lift the stencil straight up.
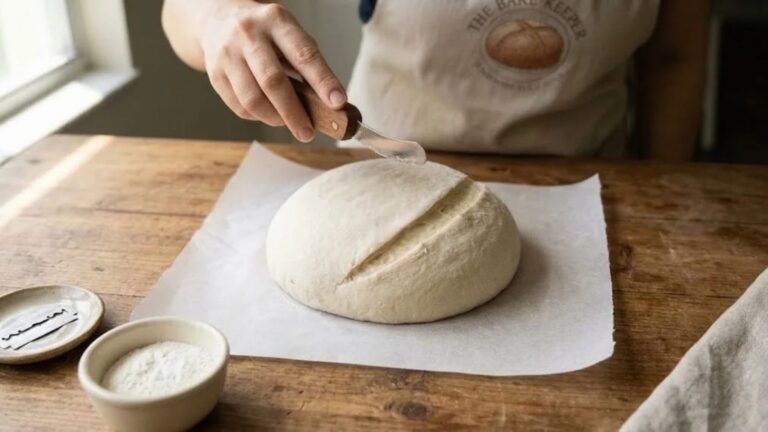
- Score one curved cut about ¼ inch deep beside the design.
- Bake covered for 30 minutes, then uncovered at 450°F (230°C) for 15 minutes, until the center reads about 205°F (96°C). Cool 1 hour.
Notes
Save This Recipe
Get it emailed to you now, plus new recipes as they go up.
Your email is safe with me. I’ll send this recipe straight over. No spam, ever. You can unsubscribe anytime.
How to Make It
1Mix and rest. Whisk the 90 g of starter into the 315 g of lukewarm water, about 80°F, until fully dissolved. Add the 450 g of flour and stir until no dry flour remains. Cover and rest for 30 minutes. Add the 9 g of salt, wetting your hand and squeezing it into the dough, then do four sets of stretch and folds, 30 minutes apart. To fold, grab one side of the dough, stretch it up gently and fold it over the center, then turn the bowl and repeat until you have folded all four sides.

2Bulk ferment. Let the dough rise at room temperature until it has grown about 50 percent, with a domed top and a few bubbles, usually 4 to 6 hours total, counting the time for the folds. In a warm South Florida kitchen near 80°F it can finish closer to 4 hours, so judge by the dough instead of the clock.

3Shape and chill. Turn the dough onto a lightly floured counter and shape it into a tight round by pulling the edges toward the center, then dragging it toward you on the counter to build surface tension. Dust a banneton or bowl with half of the rice flour, about 10 g, place the dough seam side up, cover, and refrigerate for 8 to 14 hours. Cold dough gives the cleanest stencil lines.

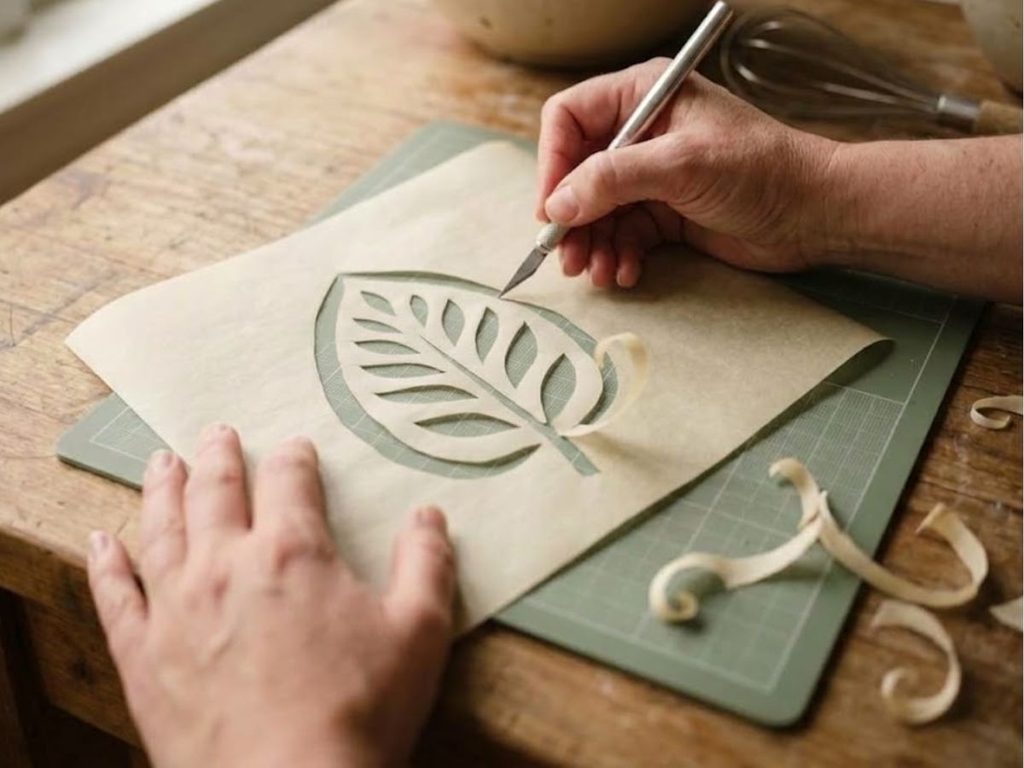
4Make the stencil. While the dough chills, cut a stencil from a sheet of parchment paper, a little larger than the loaf so you can hold the edges. Keep the design simple and bold: a leaf, a heart or a few geometric shapes. Cut the shapes out so the openings are the parts that will be dusted. Stencils with big openings work best, because thin bridges curl and smudge the flour.
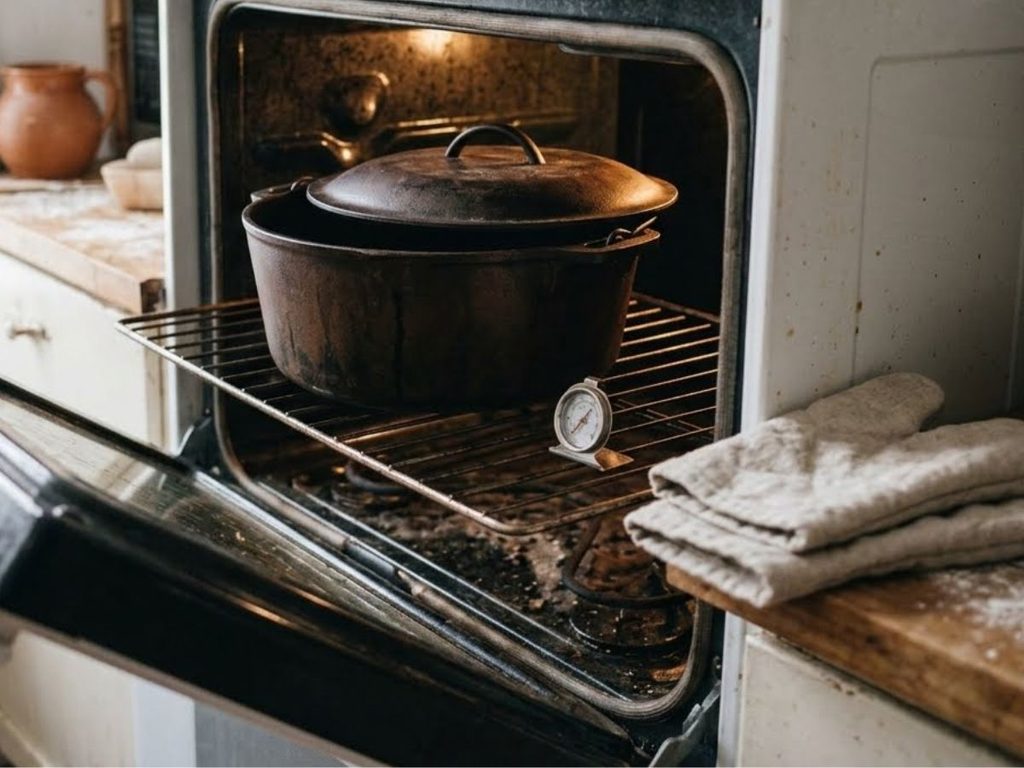
5Preheat the oven. Place a Dutch oven with its lid in the oven on a rack in the lower third and preheat to 475°F (245°C) for 45 minutes. Give it the full time. The pot needs to be fully hot when the loaf goes in so the bread springs up.
6Stencil the loaf. Turn the cold dough out onto a sheet of parchment so the smooth top faces up. If the surface looks dry, brush away any loose flour. Lay the stencil gently on top, sift the remaining 10 g of rice flour over it through a fine mesh sieve in an even, light layer, and lift the stencil straight up so the design stays crisp. Work quickly, since the surface turns sticky as the dough warms.

7Score beside the design. Make one confident curved cut about ¼ inch deep along the side of the loaf, away from the design, with a sharp blade or lame. This gives the loaf a place to expand. Avoid cutting through the stencil area, or the pattern will distort as the loaf opens.

8Bake. Wearing oven mitts, lift the loaf by its parchment into the hot Dutch oven. Cover and bake for 30 minutes. Remove the lid, reduce the oven to 450°F (230°C), and bake 15 minutes more, until deep golden brown and the center reads about 205°F (96°C). Cool on a rack for at least 1 hour.
Tips & Troubleshooting
- Design looks blurry: The flour was applied too heavily, or the stencil lifted at an angle. Dust lightly and lift straight up.
- Design cracked or faded: The surface of the dough was too wet or the loaf expanded a lot. Use cold dough and a lower-hydration recipe.
- Design disappeared: Wheat flour browns in the oven. Use rice flour, which stays white.
- Stencil stuck to the dough: Cut the stencil from parchment, not paper, and keep the dough cold so the surface is not tacky.
- No oven spring: The dough overproofed or the oven was not hot enough. Preheat the Dutch oven for a full 45 minutes.
How to Store
To store: Keep the cooled loaf cut side down in a paper or linen bag at room temperature for up to 3 days. The design stays crisp on the crust.
To freeze: Slice and freeze for up to 3 months. The decorated crust is best on day one, so serve the loaf whole if you can.
Nutrition
Nutrition values are estimates per slice and will vary based on exact ingredients used.
150
CALORIES
31
CARBS (G)
5
PROTEIN (G)
0.6
FAT (G)
0.1
SAT. FAT (G)
1
FIBER (G)
0.1
SUGAR (G)
290
SODIUM (MG)
Desi’s Notes
Good first stencils include a single leaf, a heart, a simple wheat stalk, or the lace pattern from a paper doily. For a two-tone effect, bake the loaf and then dust cocoa powder through the stencil on a freshly baked loaf.
If you would rather cut a pattern into the dough, try the Snowflake-Scored Sourdough Boule or the Wheat Stalk Scored Sourdough Boule. The general rules for depth and angle are in my sourdough scoring patterns guide.
For a Halloween loaf, see Black Cocoa Sourdough Jack-o’-Lantern Boule.
For another decorated loaf, see Painted Sourdough Boule.
Before You Bake
Scaling this recipe up or down? Run your numbers through the Sourdough Calculator. And if you want a printable reference for troubleshooting or timing, browse all six Printable Quicksheets.
New to sourdough? Start with the free course
Seven short lessons over 12 days, from mixing your first starter to baking your first loaf with it. Stop anytime.
One short lesson every couple of days. Seven in all, then you’re done. No spam. See our Privacy Policy.
Already have a starter? Bake your first loaf → · Already baking? Browse recipes →

Tried this recipe? Leave a star rating below. It takes 10 seconds and helps other bakers decide what to make next.
Baked this recipe your way? Share it in Community Bakes and inspire other readers.